

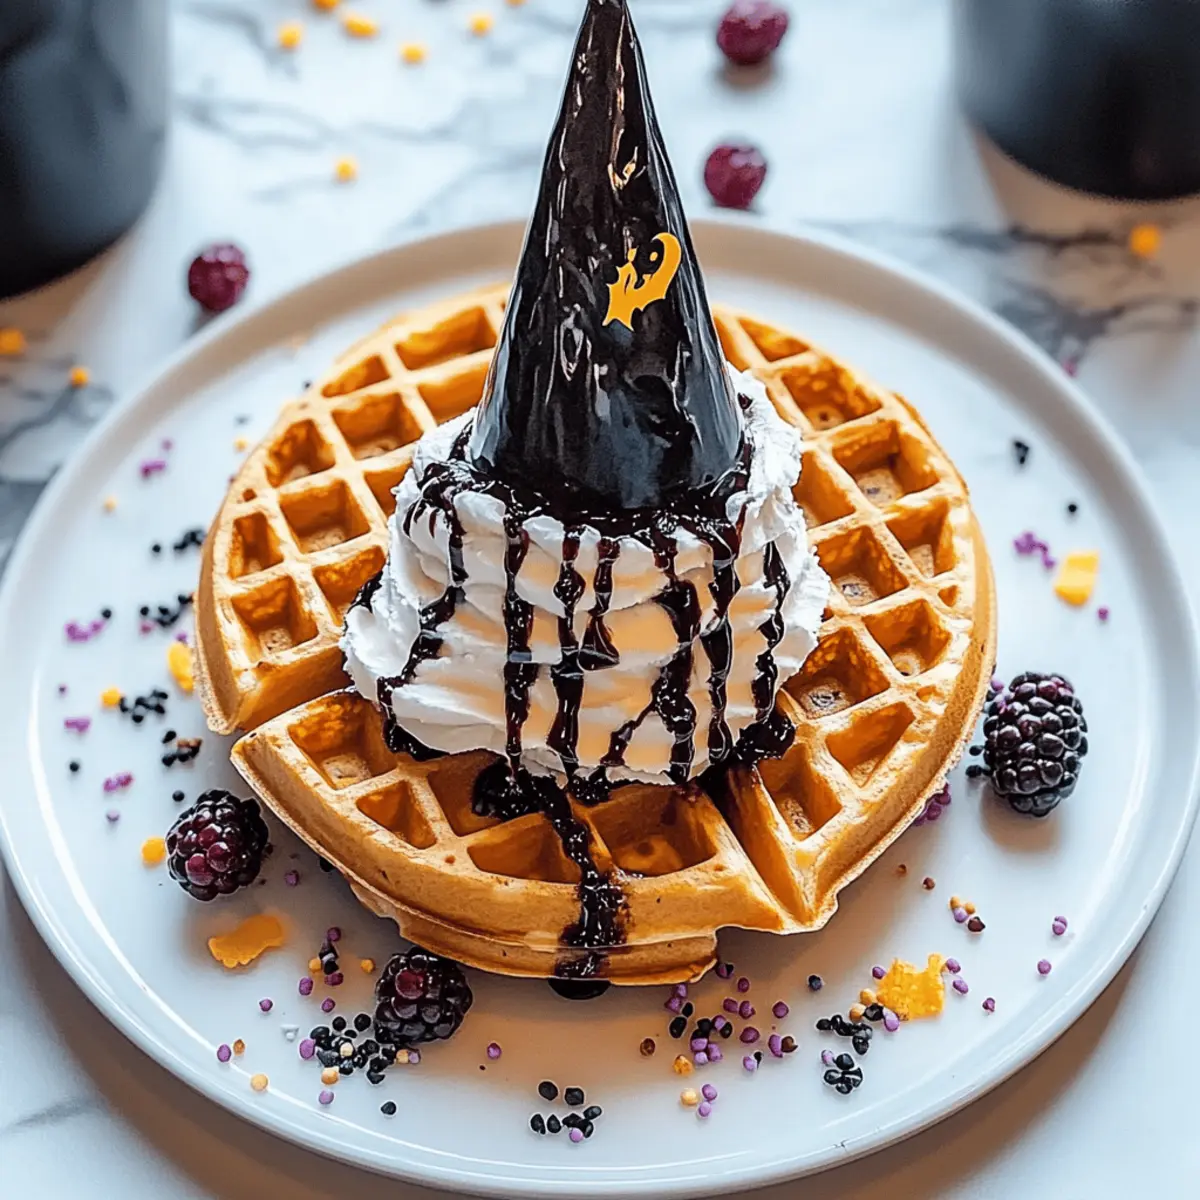
The air is crisp, and all around me, pumpkins are popping up on doorsteps—Halloween is just around the corner! As a home chef who thrives on creativity in the kitchen, I’m excited to share a delightful way to kick off the spooky season: Halloween Witch Hat Waffles. These whimsical treats aren’t just adorable, resembling charming witch hats; they also bring joy to family breakfasts with their easy customizations and delightful flavors. What’s even better? They’re quick to whip up, making them perfect for busy mornings while ensuring everyone can join in on the fun. Whether you choose to top them with whipped cream, colorful sprinkles, or fresh berries, every waffle can be a canvas for your imagination. Are you ready to mesmerize your family with this magical breakfast? Let’s dive in!
Why are these Witch Hat Waffles magical?
Whimsical allure: The playful design of these Halloween Witch Hat Waffles brings a fun twist to breakfast that kids and adults alike will love.
Customizable toppings: Everyone can get creative, from adding colorful sprinkles to luscious chocolate sauce, making each plate unique.
Quick prep time: These waffles come together in a flash, perfect for busy mornings or spontaneous Halloween celebrations.
Diet-friendly options: With simple substitutions, they can easily be made gluten-free or dairy-free to cater to various dietary needs, ensuring all can indulge.
Family fun: Involve your little ones in decorating their own waffles—it’s a great way to bond and spark joy during the festive season.
Deliciously rich flavor: The chocolatey goodness makes for a breakfast treat that’s as satisfying as it is charming, setting the mood for a spook-tacular day ahead!
Halloween Witch Hat Waffle Ingredients
For the Waffle Batter
- All-purpose flour – Provides structure for the waffles; substitute with gluten-free flour blend for gluten-free options.
- Unsweetened cocoa powder – Adds rich chocolate flavor to delight your taste buds.
- Baking powder – Helps the waffles rise for a light and fluffy texture.
- Granulated sugar – Sweetens the batter; try honey or maple syrup for a natural alternative.
- Large eggs – Essential for binding all the delicious ingredients together.
- Milk – Adds moisture; replace with any non-dairy milk for a dairy-free version.
- Melted butter – Contributes richness; can be substituted with coconut oil or vegetable oil.
- Vanilla extract – Elevates the overall flavor with a hint of sweetness.
For Decorating
- Whipped cream – Used for creating the charming hat brim that kids will adore.
- Chocolate sauce – Drizzle on top for added flavor and to enhance the visual appeal of your Halloween Witch Hat Waffles.
- Colorful sprinkles – Fun topping that adds an enchanting touch and matches the festive theme.
- Fresh berries – Perfect for decoration around the hat, providing a pop of color and freshness.
These Halloween Witch Hat Waffles are not only a treat for the eyes but a delicious way to celebrate this spooky season!
Step‑by‑Step Instructions for Halloween Witch Hat Waffles
Step 1: Mix Dry Ingredients
In a large mixing bowl, whisk together 1 cup of all-purpose flour, 1/4 cup of unsweetened cocoa powder, 2 teaspoons of baking powder, and 1/4 cup of granulated sugar until well combined. Ensure there are no lumps in the cocoa powder, as this will make your Halloween Witch Hat Waffles richer and smoother. Set aside to prepare for the wet ingredients.
Step 2: Combine Wet Ingredients
In a separate bowl, beat 2 large eggs until fluffy, then whisk in 1 cup of milk, 1/4 cup of melted butter, and 1 teaspoon of vanilla extract. Mix these ingredients thoroughly until they transform into a smooth and creamy mixture. This blend will add moisture and a delightful flavor to your waffles.
Step 3: Combine Mixtures
Slowly pour the wet mixture into the dry ingredients, stirring gently with a spatula until just combined. Be cautious not to overmix, as this will ensure your Halloween Witch Hat Waffles remain light and fluffy. A few small lumps are perfectly fine—this means you’ll achieve the best texture!
Step 4: Preheat Waffle Maker
Preheat your waffle maker according to the manufacturer’s instructions, typically around 375°F (190°C). A well-preheated waffle maker is crucial for achieving that golden-brown, crispy exterior on your Halloween Witch Hat Waffles. Once ready, lightly grease the plates with cooking spray to prevent sticking.
Step 5: Cook Waffles
Pour an appropriate amount of batter, approximately 1/2 cup, into the preheated waffle maker, ensuring even coverage. Close the lid and cook for about 3-5 minutes until the waffles become golden brown and steam subsides. Keep an eye on your waffles; visual cues help determine the perfect doneness.
Step 6: Decorate
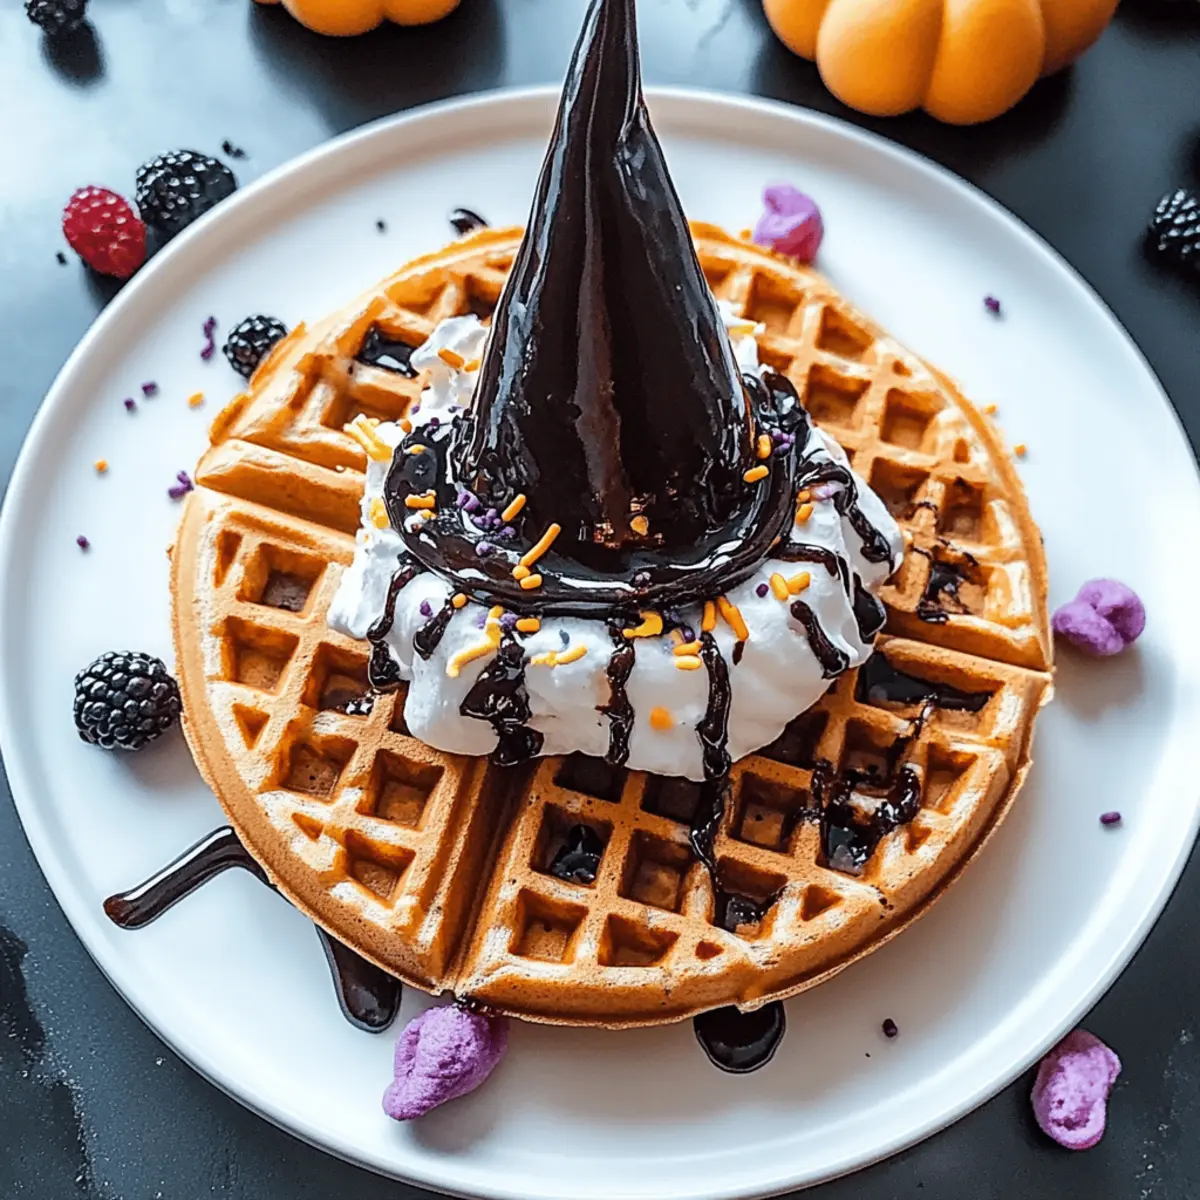
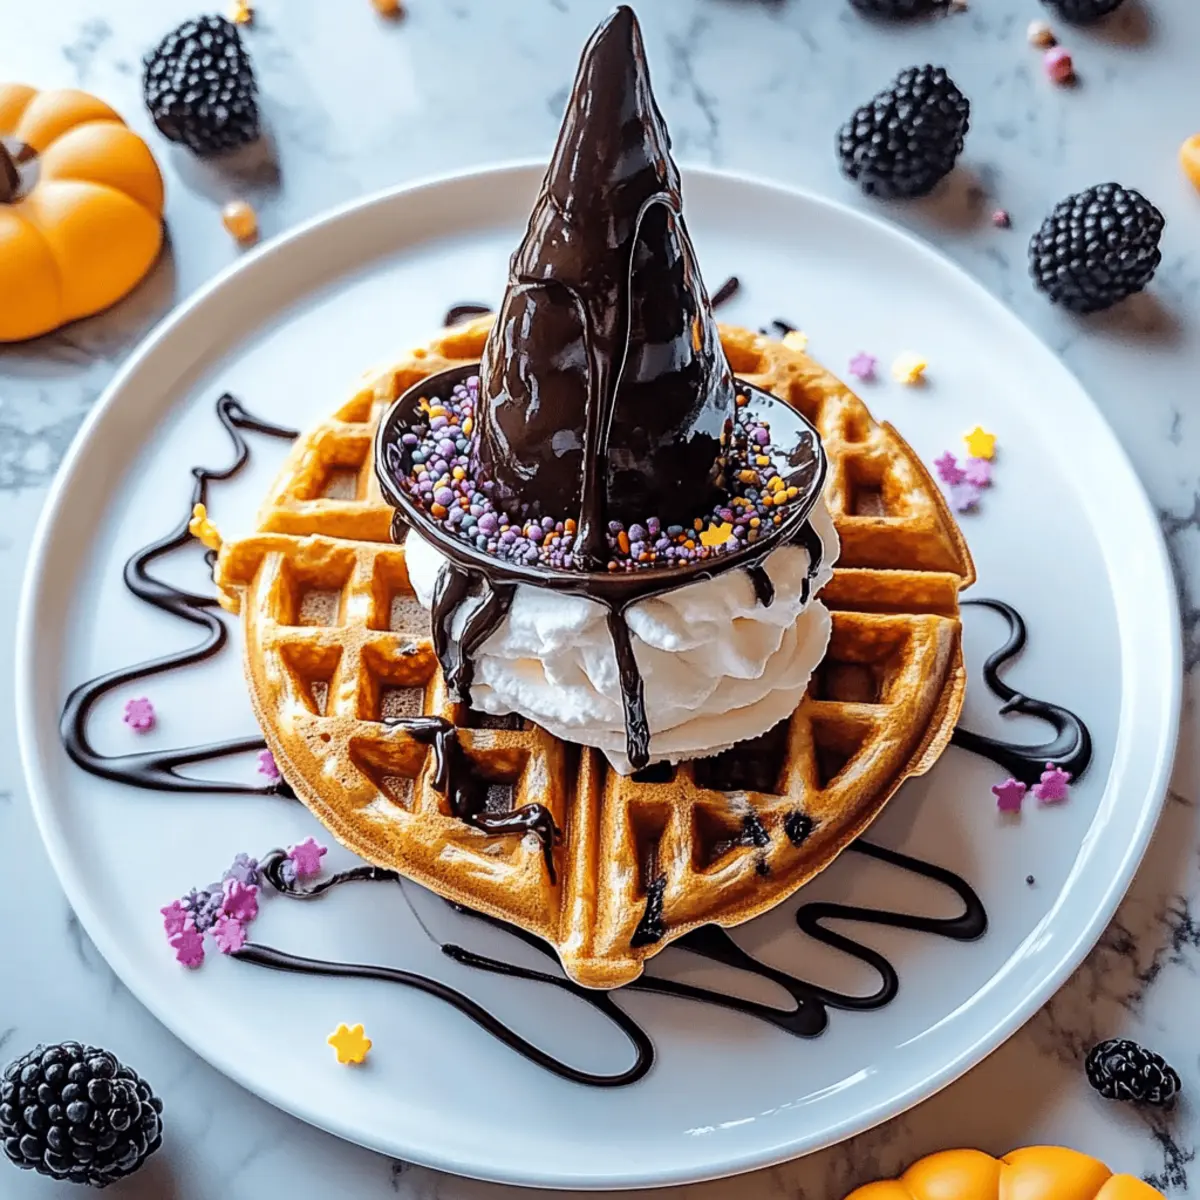
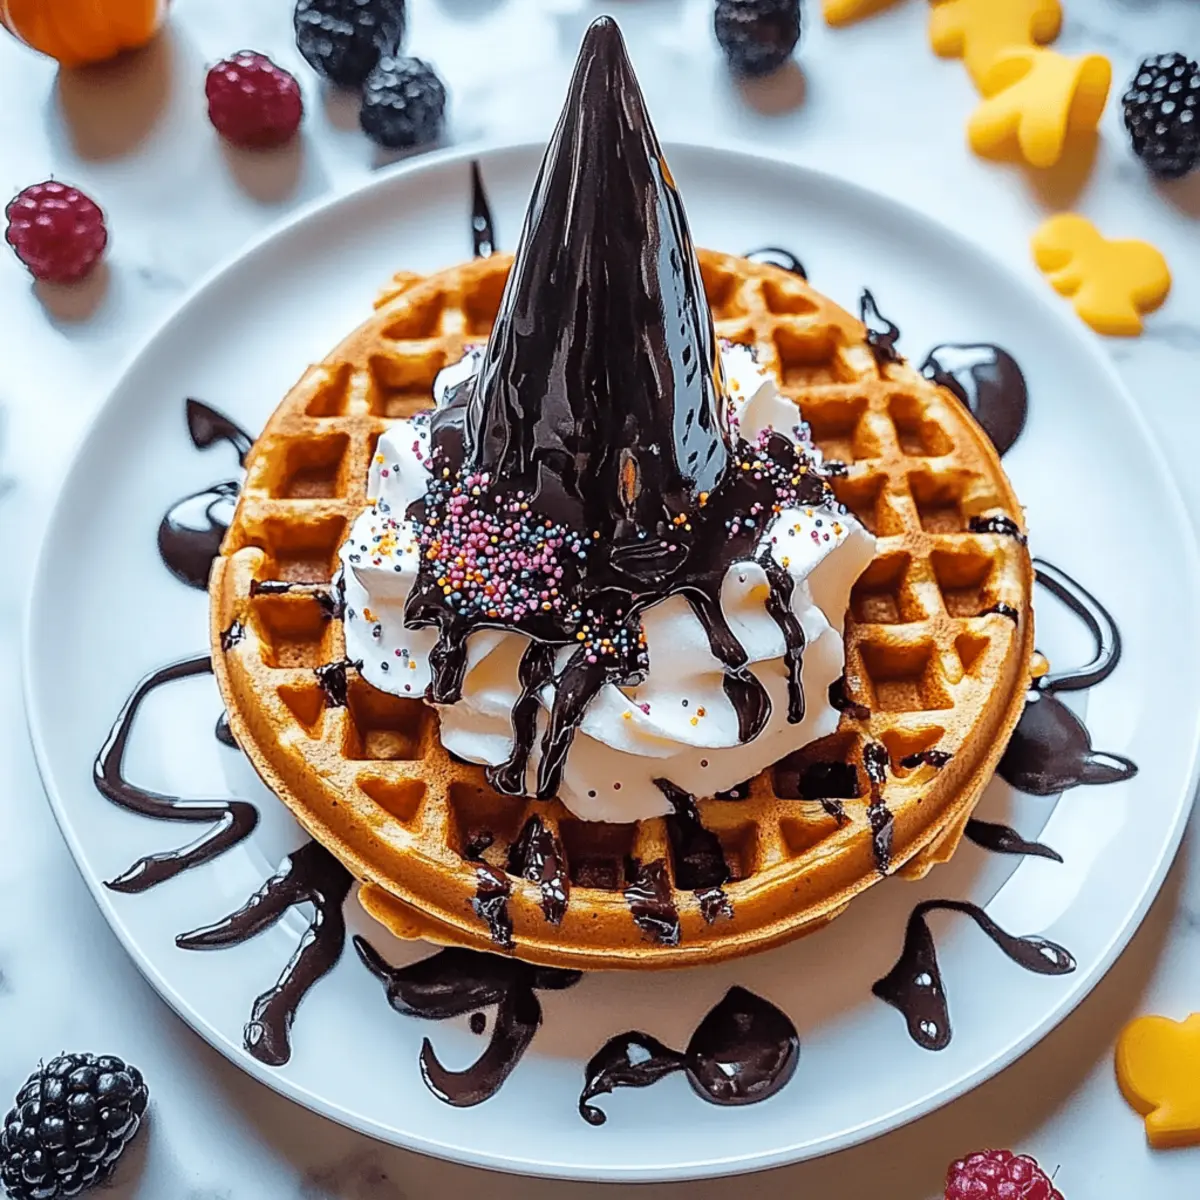
Once cooked, remove the waffles and let them cool briefly on a wire rack. Begin decorating by piping whipped cream around the edge to create the iconic brim, then drizzle with chocolate sauce. Top with colorful sprinkles and fresh berries for a festive touch, transforming your Halloween Witch Hat Waffles into a delightful masterpiece!
Expert Tips for Halloween Witch Hat Waffles
- Mix with Care: Avoid overmixing the batter to keep your waffles light and fluffy. A few lumps are actually a good sign for texture!
- Golden Perfection: Preheat your waffle maker for crispy exteriors. Keep an eye on cooking time; aim for golden brown, not soggy.
- Fun Toppings: Encourage kids to decorate their own waffles. This adds personal flair and enhances family bonding during breakfast!
- Substitution Secrets: For gluten-free Halloween Witch Hat Waffles, swap all-purpose flour with a gluten-free blend; it works wonders without sacrificing flavor.
- Spooky Variations: Get creative! Add pumpkin puree or spices for a seasonal touch, making breakfast even more festive and flavorful.
- Storage Savvy: Leftover waffles can be stored in an airtight container for up to 5 days or frozen for up to 3 months—perfect for quick breakfasts later!
Make Ahead Options
These Halloween Witch Hat Waffles are a fantastic choice for meal prep, saving you time on busy mornings! You can mix the dry ingredients (flour, cocoa powder, baking powder, and sugar) up to 3 days in advance and store them in an airtight container. The wet ingredients can also be prepared 24 hours ahead; just whisk the eggs, milk, melted butter, and vanilla, then refrigerate them. When you’re ready to cook, simply combine both mixtures and follow the usual waffle-making steps. This will maintain the waffles’ quality, ensuring they turn out just as fluffy and delicious for your family breakfast. Enjoy the convenience while still creating enchanting treats!
Halloween Witch Hat Waffles Variations & Substitutions
Feel free to unleash your creativity and customize these delightful waffles to suit your taste and dietary needs!
-
Gluten-Free: Substitute all-purpose flour with a gluten-free flour blend for a totally guilt-free treat that everyone can enjoy.
-
Dairy-Free: Swap the regular milk for almond, soy, or oat milk to cater to dietary restrictions without sacrificing flavor.
-
Natural Sweetener: Replace granulated sugar with honey or maple syrup, adding a touch of natural sweetness that pairs beautifully with chocolate.
-
Pumpkin Spice Twist: Incorporate 1/2 cup of pumpkin puree and sprinkle in your favorite spices (like cinnamon and nutmeg) for a deliciously seasonal flair.
-
Nutty Delight: Fold in a handful of chopped nuts or chocolate chips to the batter for added texture and a delightful crunch.
-
Colorful Fun: Experiment with natural food coloring to create a rainbow of spooky hues—adding not just flavor but a visual feast to your breakfast spread.
-
Fruity Goodness: Garnish with different fruits like bananas or apple slices, adding an unexpected burst of flavor along with vibrant colors.
-
Chili Kick: For a surprising twist, add a pinch of cayenne pepper to the batter for a mild kick that dances on your taste buds, making breakfast into a thrilling experience.
With so many options, there’s a variation for every palate! If you’re looking for more inspiration, check out our gluten-free alternatives or spice up breakfast with a fun pumpkin puree recipe.
Storage Tips for Halloween Witch Hat Waffles
Fridge: Store leftover Halloween Witch Hat Waffles in an airtight container for up to 5 days. This keeps them fresh and ready for quick breakfasts.
Freezer: To enjoy these delightful waffles later, freeze them in a single layer on a baking sheet until firm, then transfer to a zip-top bag and store for up to 3 months.
Reheating: For the best texture, reheat frozen waffles in a toaster or toaster oven until they’re warm and crispy. Avoid microwaving them as it can make them soggy.
Serving Suggestions: Pair reheated waffles with a dollop of fresh whipped cream and colorful toppings for a magical breakfast experience!
What to Serve with Halloween Witch Hat Waffles
Looking to create a magical breakfast spread that complements each enchanting bite?
- Fresh Fruit Salad: A vibrant mix of berries and citrus adds a refreshing contrast to the rich, chocolatey waffles, balancing the sweetness perfectly.
- Maple Syrup Drizzle: Elevate the sweetness with a warm, buttery maple syrup that invites a comforting touch, enhancing each delicious bite.
- Coffee or Hot Chocolate: A warm beverage is perfect for cozying up to the spirit of the season; both pair beautifully with the chocolate flavors of the waffles.
- Greek Yogurt Parfait: Layer yogurt with granola and fruit for a delightful crunch that provides a protein boost and creamy texture, balancing the whimsical waffles.
- Caramelized Bananas: Sweet bananas, sautéed until golden, bring a warm, luscious element that complements the richness of the Halloween Witch Hat Waffles.
- Nut Butter Spread: Almond or peanut butter adds a nutty flavor and creamy texture, perfect for those who crave a heartier meal to kick off the day.
- Pumpkin Spice Latte: The cozy autumnal flavors of a pumpkin spice latte add an irresistible touch to your breakfast table, enhancing the Halloween spirit.
Halloween Witch Hat Waffles Recipe FAQs
How do I know if my ingredients are ripe or fresh?
Absolutely! When selecting your ingredients, look for all-purpose flour that is fresh and free of clumps. For cocoa powder, ensure there are no lumps; it should be a fine, powdery consistency. Eggs should be free of cracks and smell fresh—if they have an off-odor, throw them out. Use milk that is within the expiration date, and when checking for butter, ensure it’s still properly sealed and not discolored.
What’s the best way to store leftover waffles?
Very! To store your Halloween Witch Hat Waffles, place them in an airtight container in the refrigerator where they’ll stay fresh for up to 5 days. To maintain their wonderful texture, I recommend layering parchment paper between the waffles to prevent them from sticking together.
Can I freeze Halloween Witch Hat Waffles for later?
Absolutely! To freeze these delightful waffles, lay them out in a single layer on a baking sheet and freeze until solid, which usually takes about 1-2 hours. Once firm, transfer them to a zip-top freezer bag, removing excess air, and they will keep for up to 3 months. When ready to enjoy, reheat them in a toaster for a perfectly crispy texture.
What should I do if my waffles aren’t cooking properly?
If your waffles aren’t cooking properly, there are a few troubleshooting steps to consider. First, ensure your waffle maker is sufficiently preheated—this typically takes 5-10 minutes. If you’re finding they stick, try using a cooking spray before pouring in the batter. If they’re not browning, check that you’re using the right amount of batter—about 1/2 cup is ideal. Adjust cooking time as well, since some models may vary; they should cook until steam diminishes and they’re golden brown.
Are there any dietary concerns for pets or allergies with this recipe?
Yes! With Halloween Witch Hat Waffles, the main ingredients are safe for adults and children, but be cautious of any allergies. The recipe includes eggs and dairy, which can be problematic for some individuals; always check for allergies in your guests. As for pets, it’s best to keep these sugary waffle treats away from them, as chocolate can be harmful to dogs and cats.
Can I make these waffles dairy-free or gluten-free?
Very! To make your Halloween Witch Hat Waffles gluten-free, simply substitute all-purpose flour with a gluten-free blend, ensuring it contains xanthan gum to help with binding. For a dairy-free version, swap regular milk for almond milk, oat milk, or any other non-dairy milk, and use coconut oil or a non-dairy butter alternative instead of regular butter. These options maintain the same delicious flavor while catering to your dietary needs!
Spook up Your Breakfast with Halloween Witch Hat Waffles
Ingredients
Equipment
Method
- In a large mixing bowl, whisk together the flour, cocoa powder, baking powder, and sugar until well combined.
- In a separate bowl, beat the eggs until fluffy and then whisk in the milk, melted butter, and vanilla extract until smooth.
- Slowly pour the wet mixture into the dry ingredients, stirring gently until just combined.
- Preheat your waffle maker according to the manufacturer's instructions, usually around 375°F (190°C).
- Pour about 1/2 cup of batter into the preheated waffle maker and cook for 3-5 minutes until golden brown.
- Remove the waffles and let cool briefly. Decorate with whipped cream, chocolate sauce, sprinkles, and berries.