

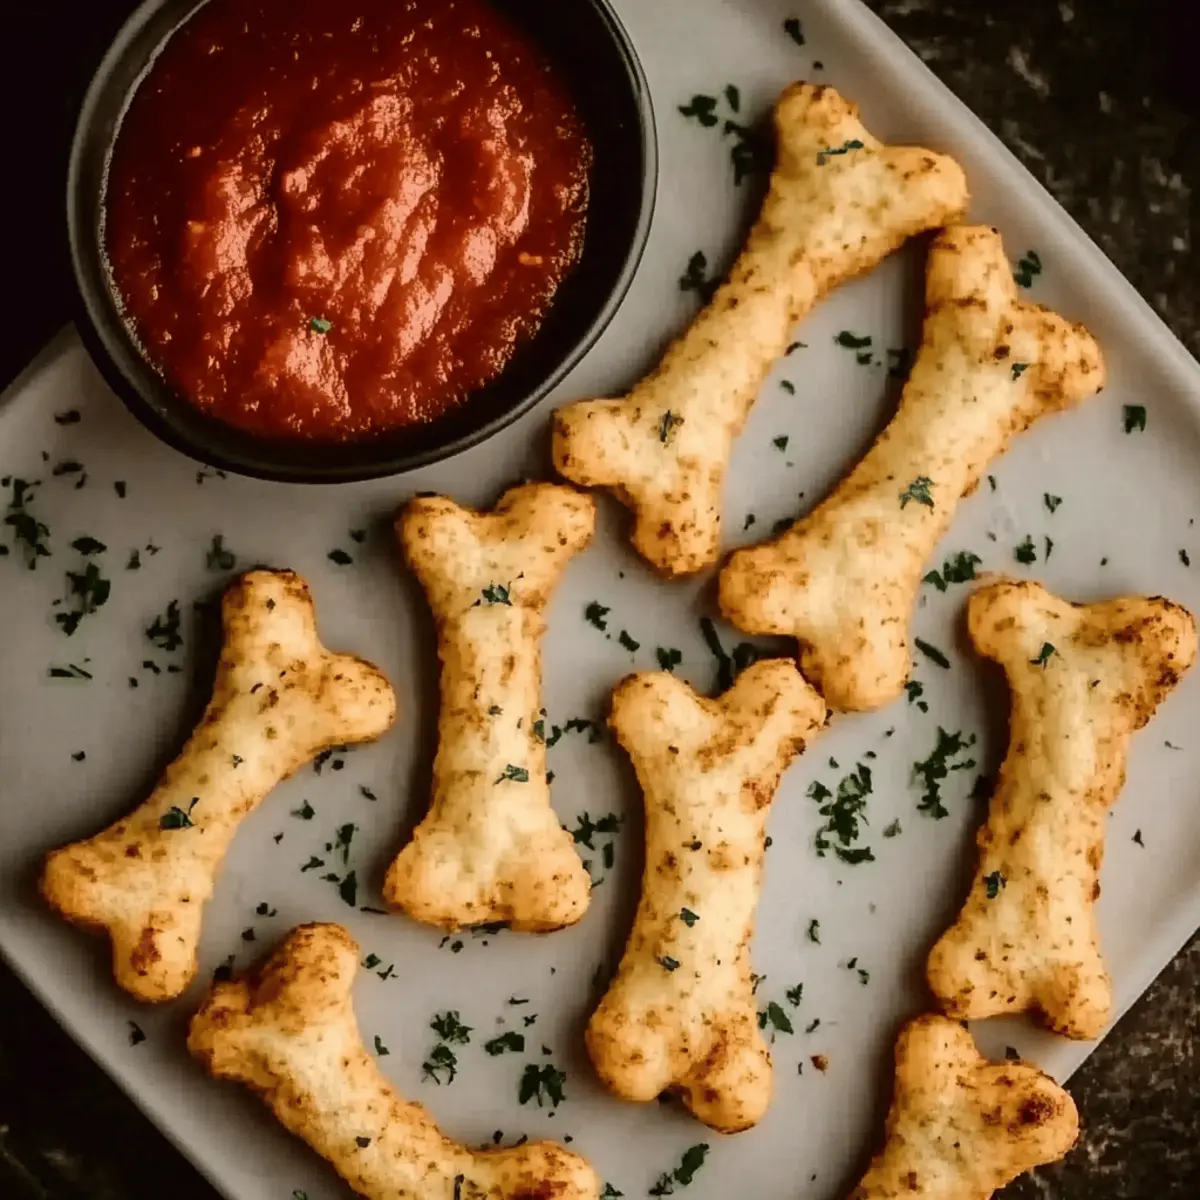
The aroma of freshly baked bread lingers in the air, but there’s a spooky twist! Welcome to the delightfully eerie world of Cheesy Halloween Breadstick Bones, where your culinary imagination can run wild. These whimsical breadsticks are the perfect accompaniment to your Halloween festivities, combining a buttery, crispy exterior with a gooey mozzarella center. What makes them even more enticing is their easy, kid-friendly preparation—perfect for little hands wanting to lend a helping hand in the kitchen! Dipped in warm marinara “blood,” these playful snacks are not only a crowd-pleaser but also a deliciously memorable addition to any Halloween gathering. Ready to get your hands a little messy and impress your friends with a frightfully fun treat? Let’s dive into the bone-chilling details!
Why Make Cheesy Halloween Breadstick Bones?
Spooktacular Fun: These Cheesy Halloween Breadstick Bones are a playful twist on traditional snacks, making them perfect for all ages during Halloween celebrations.
Kid-Friendly Cooking: Your little chefs will love shaping the dough into spooky bones, creating cherished family memories while honing their kitchen skills.
Irresistible Flavor: With a buttery crunch and gooey melted mozzarella, they don’t just look great—they taste incredible too! Pair with warm marinara “blood” for an extra kick.
Versatile Treat: Serve them as appetizers, alongside Halloween-themed meals like a festive pasta salad, or as a fun part of your trick-or-treating lineup!
Quick Preparation: Whip up a batch in no time, giving you more moments to enjoy the fun of Halloween. For more cheesy goodness, check out these Cheesy Beef Burritos or Cheesy Bacon Breakfast ideas!
Cheesy Halloween Breadstick Bones Ingredients
• Get ready to make the spookiest snack of the season!
For the Dough
- Pizza Dough – The foundation of your breadstick bones; choose store-bought for quick prep or make it from scratch for that homestyle touch.
- Butter – Adds richness and helps the cheese adhere beautifully while baking.
For the Toppings
- Parmesan Cheese – Sprinkled on top for that extra savory flavor and a golden, inviting finish.
- Mozzarella Cheese – The star of the show; be generous for a gooey, melty experience that’s irresistibly cheesy!
For Dipping
- Marinara Sauce – Used for dipping, this classic sauce gives a fun, “bloody” touch to your Halloween menu; opt for your favorite brand to enhance flavor.
These Cheesy Halloween Breadstick Bones will surely steal the spotlight at your Halloween gathering!
Step‑by‑Step Instructions for Cheesy Halloween Breadstick Bones
Step 1: Preheat and Prepare
Begin by preheating your oven to 375°F (190°C) and line two baking sheets with parchment paper. This will ensure your Cheesy Halloween Breadstick Bones bake to a perfect golden crisp without sticking. Gather all your ingredients nearby, including the pizza dough and melted butter, so you’re ready to go!
Step 2: Divide and Roll the Dough
Next, take the prepared pizza dough and divide it into 10 equal portions. Roll each portion into an 8-inch rope, using your hands to create a smooth, even shape. As you roll, visualize how each piece will transform into eerie bones—this is where the fun begins!
Step 3: Shape the Bones
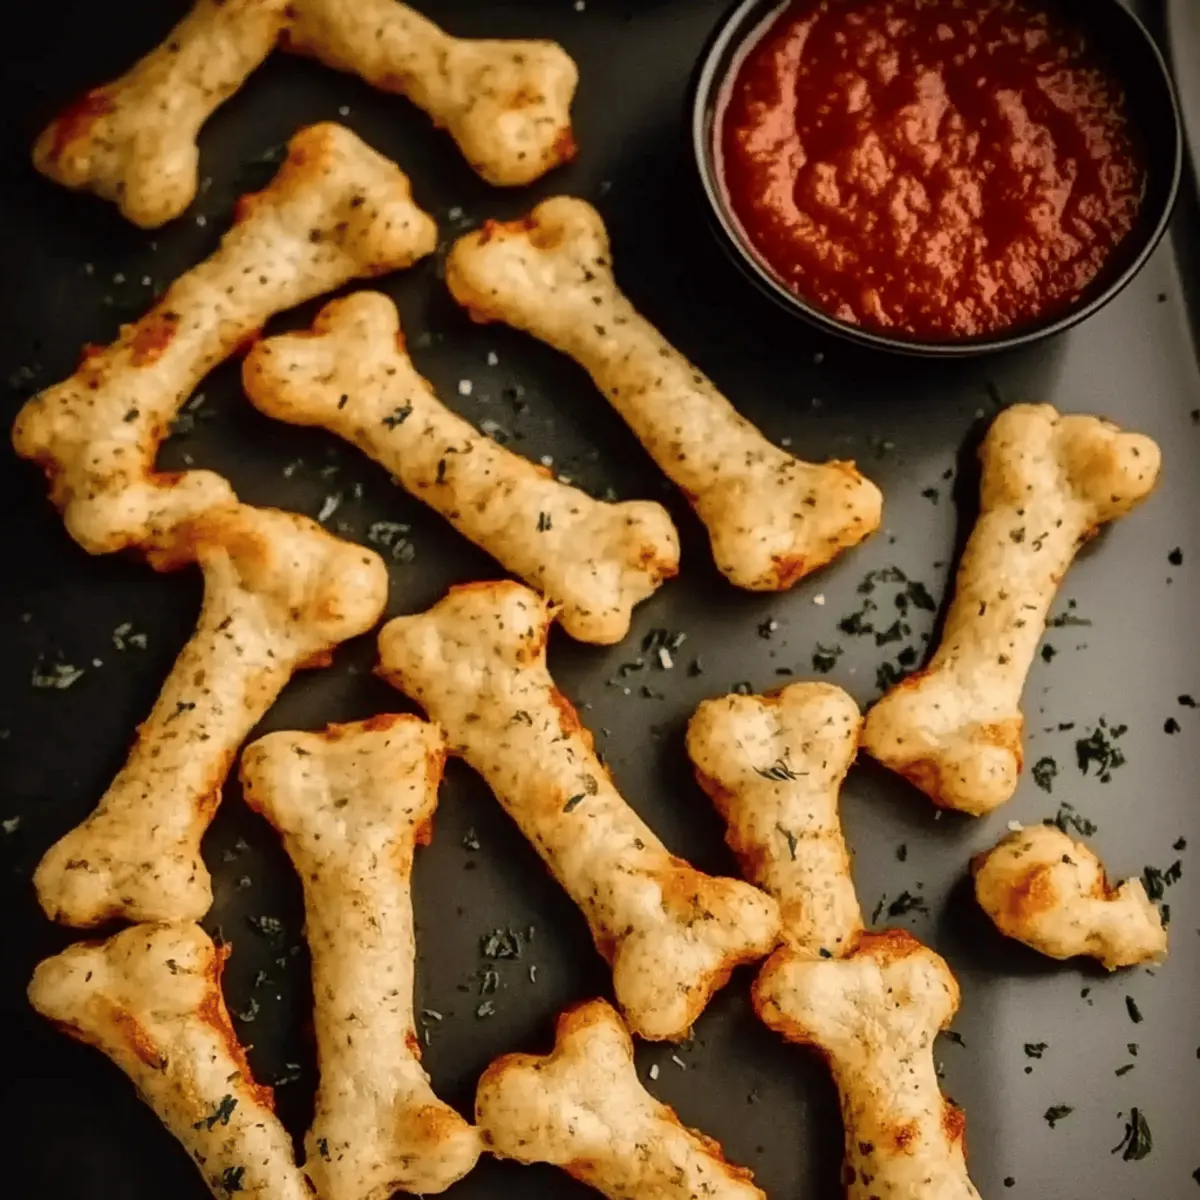
Now it’s time to shape the dough into bone forms! Manipulate each roll to have thicker ends and a narrower center. To create realistic bone visuals, snip the ends with kitchen scissors, making small cuts to mimic bone joints. Place each shaped dough stick on the prepared baking sheets for the next step.
Step 4: Butter and Sprinkle
With your bones shaped and ready, brush each one generously with melted butter. This adds flavor and helps the toppings stick perfectly! Once buttered, sprinkle a layer of Parmesan cheese over each stick, creating a delightful cheesy layer that will bake up beautifully golden.
Step 5: Bake the Bones
Slide the baking sheets into your preheated oven and bake for 15 minutes. Keep an eye on them—the Cheesy Halloween Breadstick Bones should start turning golden brown around the edges, revealing the delightful aroma of baked dough and cheese filling your kitchen.
Step 6: Add the Mozzarella
After 15 minutes of baking, carefully remove the sheets from the oven. Now comes the exciting part! Generously sprinkle mozzarella cheese on top of each bone and return them to the oven to bake for an additional 5-7 minutes, or until the cheese is fully melted and bubbling over the crispy bones.
Step 7: Serve with Marinara
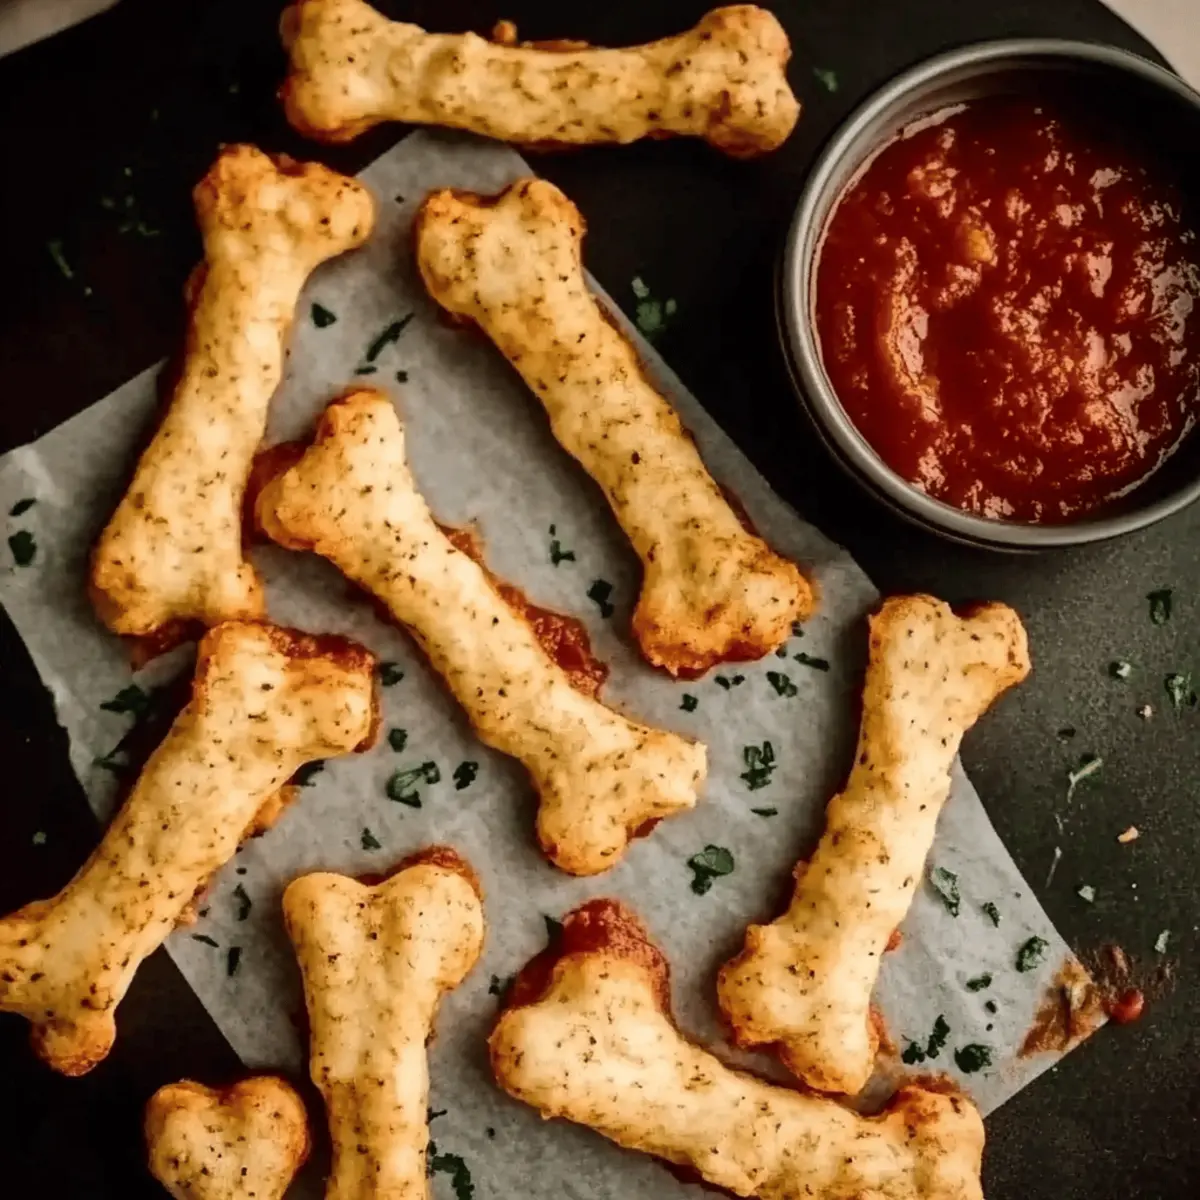
Once the cheese is gooey and has reached a bubbly delight, take the Cheesy Halloween Breadstick Bones out of the oven and let them cool slightly. Serve these spooky snacks warm alongside a dish of marinara sauce for dipping, transforming your meal into a spine-chilling treat perfect for Halloween fun!
Expert Tips for Cheesy Halloween Breadstick Bones
- Room Temperature Dough: Ensure your pizza dough is at room temperature before shaping; this makes it easier to manipulate into bone shapes.
- Fresh Cheese Advantage: Use freshly grated mozzarella rather than pre-shredded for better melting; it creates a gooey, delicious finish that enhances your cheesy Halloween breadstick bones.
- Mind the Toppings: Avoid overloading on mozzarella. Too much can lead to a soggy texture; stick to a generous but controlled sprinkle for the best results.
- Perfect Baking: Keep an eye on the breadsticks as they bake. Each oven is different, so check for a golden brown color before adding the mozzarella to prevent burning.
- Storage Solutions: Store any leftovers in the refrigerator in an airtight container. Reheat them quickly in the oven to maintain the crispy exterior!
What to Serve with Cheesy Halloween Breadstick Bones
Elevate your Halloween gathering with delicious side dishes that complement these creepy, cheesy delights.
-
Creepy Pasta Salad: Tossed with colorful vegetables and a spooky dressing, this salad adds freshness and fun to your meal.
-
Pumpkin Soup: The velvety texture of pumpkin soup brings warmth and a hint of sweetness, perfectly balancing the cheesy breadsticks.
-
Ghostly Pizza Bites: Mini pizzas topped with ghostly cheese and pepperoni make for a playful and satisfying pairing that kids will love.
-
Spooky Vegetable Platter: Serve raw veggies with a “bloody” beet hummus for a healthy, crunchy option that brings vibrant colors to the table.
-
Witch’s Brew Punch: This refreshing drink infused with citrus and topped with spooky floating fruit will keep your guests hydrated and in the Halloween spirit.
-
Chocolate Mousse Eyeballs: A rich dessert with a delightful fright! These chocolate mousse “eyeballs” finish off your spooky feast with a touch of sweetness.
Each of these pairs adds its own magic, enhancing your Halloween experience with flavors and textures that surprise and delight!
Cheesy Halloween Breadstick Bones Variations
Feel free to get creative with these ideas and make the recipe your own while adding delightful twists!
- Mini Bone Cups: Use leftover dough to create mini bone-shaped cups filled with cheese for a unique dipping experience. These cute, edible containers make for a fun surprise!
- Spicy Twist: Add crushed red pepper flakes to the melted butter before brushing for a kick. This fiery addition will tantalize your taste buds and surprise your guests!
- Herb Infusion: Mix in some dried Italian herbs or garlic powder into the butter for a flavor boost. This aromatic touch not only enhances the taste but also creates an inviting aroma in your kitchen.
- Cheesy Double Trouble: For an extra cheesy delight, layer a bit of cream cheese under the mozzarella. This will provide a creamy surprise with every bite while keeping things deliciously comforting.
- Veggie Add-In: Finely chop vegetables like spinach, bell peppers, or mushrooms, and fold them into the dough. This adds color and nutrients while keeping the playful spirit of Halloween alive!
- Gluten-Free Option: Substitute traditional pizza dough with a gluten-free version to make this recipe accessible for everyone at your Halloween party. You won’t miss out on the fun!
- Sweet Twist: Try using a sweet dough for dessert versions with cinnamon and sugar, served with warm chocolate sauce for dipping. It’s a playful take on the Halloween treats for those with a sweet tooth!
With all these imaginative variations, your Cheesy Halloween Breadstick Bones can cater to every taste and preference. Want more cheesy goodness? Pair these delightful treats with a comforting dish like Cheesy Hamburger Potato or start your day with a hearty Cheesy Bacon Breakfast!
How to Store and Freeze Cheesy Halloween Breadstick Bones
Fridge: Store leftover Cheesy Halloween Breadstick Bones in an airtight container for up to 3 days. Reheat in the oven to restore crispiness.
Freezer: For longer storage, freeze the cooled breadsticks in a single layer on a baking sheet, then transfer to a freezer-safe bag for up to 2 months.
Reheating: To reheat from frozen, bake at 375°F (190°C) for 10-15 minutes until heated through and crispy again.
Make Ahead: You can prepare and shape the breadsticks a day in advance, storing them in the fridge before baking for a quick, easy Halloween snack!
Make Ahead Options
These Cheesy Halloween Breadstick Bones are a fantastic option for busy cooks looking to save time! You can prepare the dough and shape the “bones” up to 24 hours in advance; simply place them on a baking sheet, cover with plastic wrap, and refrigerate to maintain freshness. Additionally, you can brush them with melted butter and sprinkle Parmesan cheese before refrigerating, ensuring they stay flavorful. When you’re ready to serve, all that’s left is to bake them as instructed, adding mozzarella during the last minutes of baking for that gooey goodness. This way, you can enjoy delicious, homemade treats with minimal effort when Halloween festivities roll around!
Cheesy Halloween Breadstick Bones Recipe FAQs
What type of pizza dough should I use?
You can use either store-bought pizza dough for convenience or make your own from scratch for a homestyle touch. If you opt to make it from scratch, aim for a dough that’s slightly less sticky to achieve the perfect shape for your spooky bones!
How long can I store the leftovers?
Store any leftover Cheesy Halloween Breadstick Bones in an airtight container in the refrigerator for up to 3 days. To enjoy them again, simply reheat in the oven at 375°F (190°C) for about 5-7 minutes to bring back that crispy exterior.
Can I freeze Cheesy Halloween Breadstick Bones?
Absolutely! To freeze, first let the baked breadsticks cool completely. Lay them out in a single layer on a baking sheet and freeze them for about an hour. After they are frozen, transfer them to a freezer-safe bag or container—this prevents them from sticking together—and they can be stored for up to 2 months.
What should I do if my breadsticks come out soggy?
To avoid sogginess, be mindful not to overload your breadsticks with too much cheese. Stick to the suggested amount of mozzarella and be sure to bake them until they achieve that golden brown color. If you find your breadsticks are soggy after baking, reheat them in the oven for a few minutes, which can help restore their crispy texture.
Are Cheesy Halloween Breadstick Bones suitable for kids with allergies?
It’s a great question! These breadsticks contain dairy (butter, mozzarella, and Parmesan), so be cautious if kids have lactose intolerance or dairy allergies. You can substitute dairy-free cheese alternatives to make them allergy-friendly, ensuring everyone gets to join in the spooky fun!
How can I add extra flavor to the cheese topping?
Want to spice things up? Mix in some crushed red pepper flakes or savory herbs like oregano and garlic powder into the melted butter before brushing it on your breadsticks. This will enhance the flavor while maintaining that ooey-gooey cheesy goodness!
Cheesy Halloween Breadstick Bones for Spooky Family Fun
Ingredients
Equipment
Method
- Preheat your oven to 375°F (190°C) and line two baking sheets with parchment paper.
- Divide the pizza dough into 10 equal portions and roll each into an 8-inch rope.
- Shape each dough rope into bone forms with thicker ends and a narrower center.
- Brush each shaped bone with melted butter and sprinkle with Parmesan cheese.
- Bake in preheated oven for 15 minutes until golden brown.
- Sprinkle mozzarella cheese on top of each bone and bake for an additional 5-7 minutes.
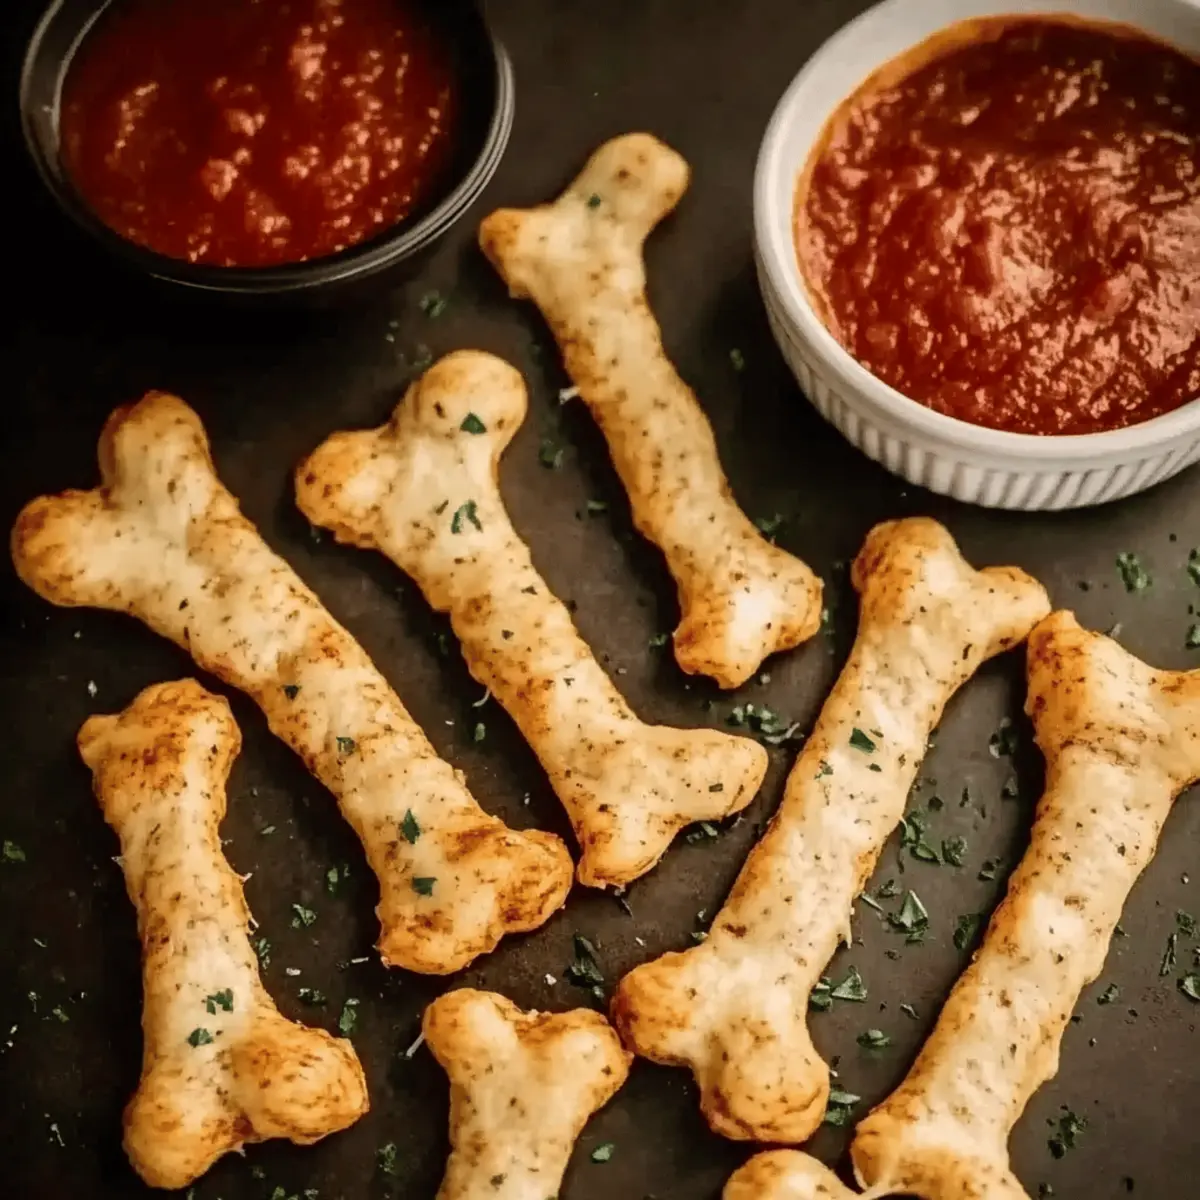
- Serve warm with marinara sauce for dipping.