

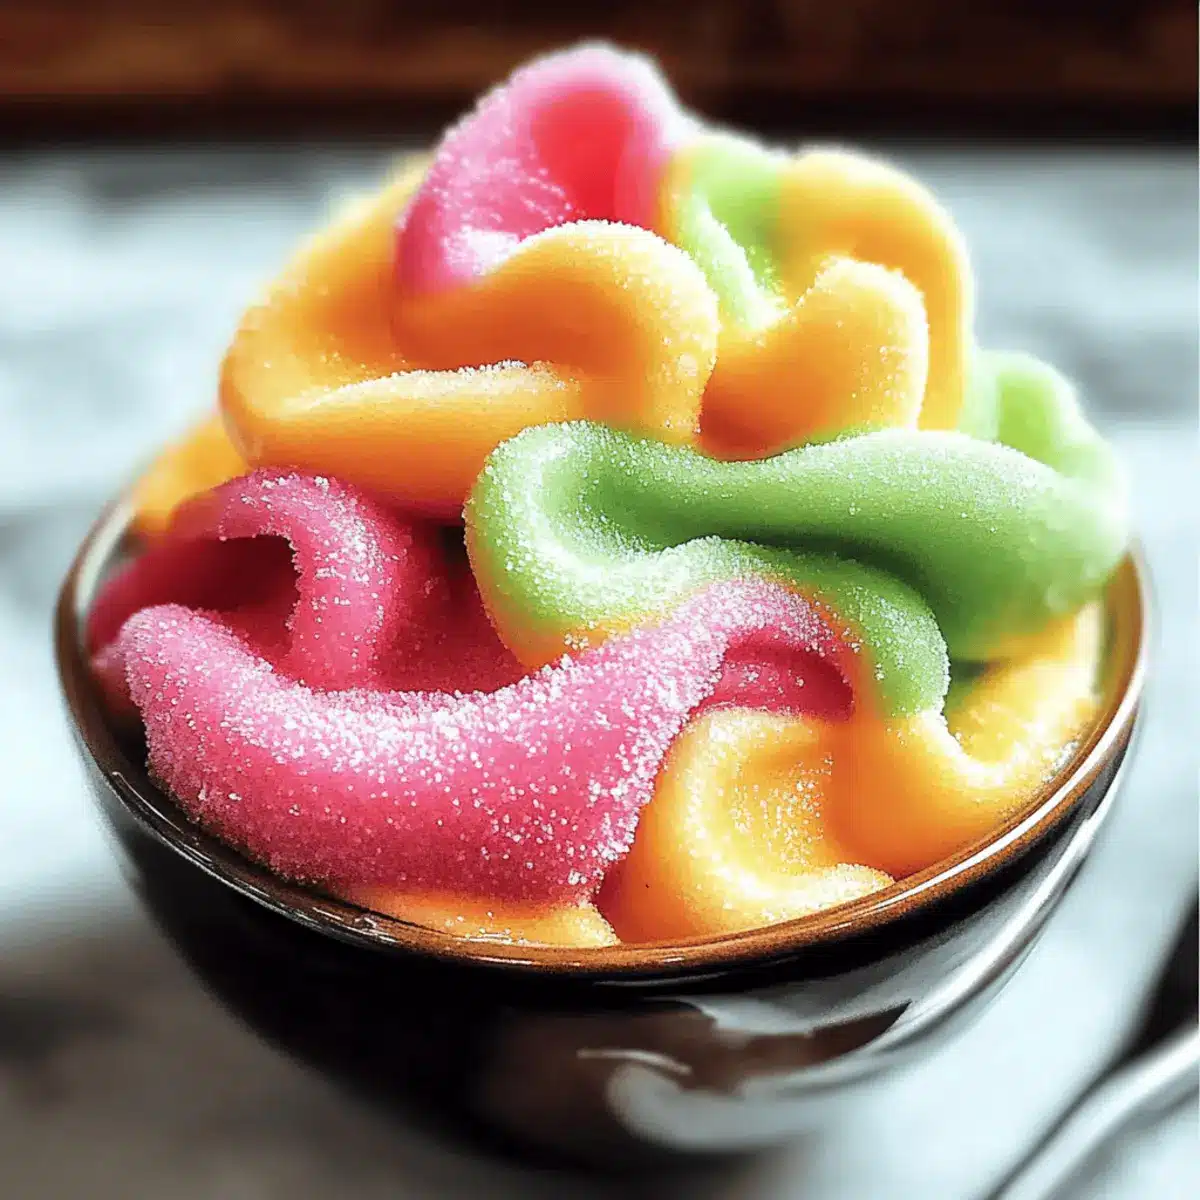
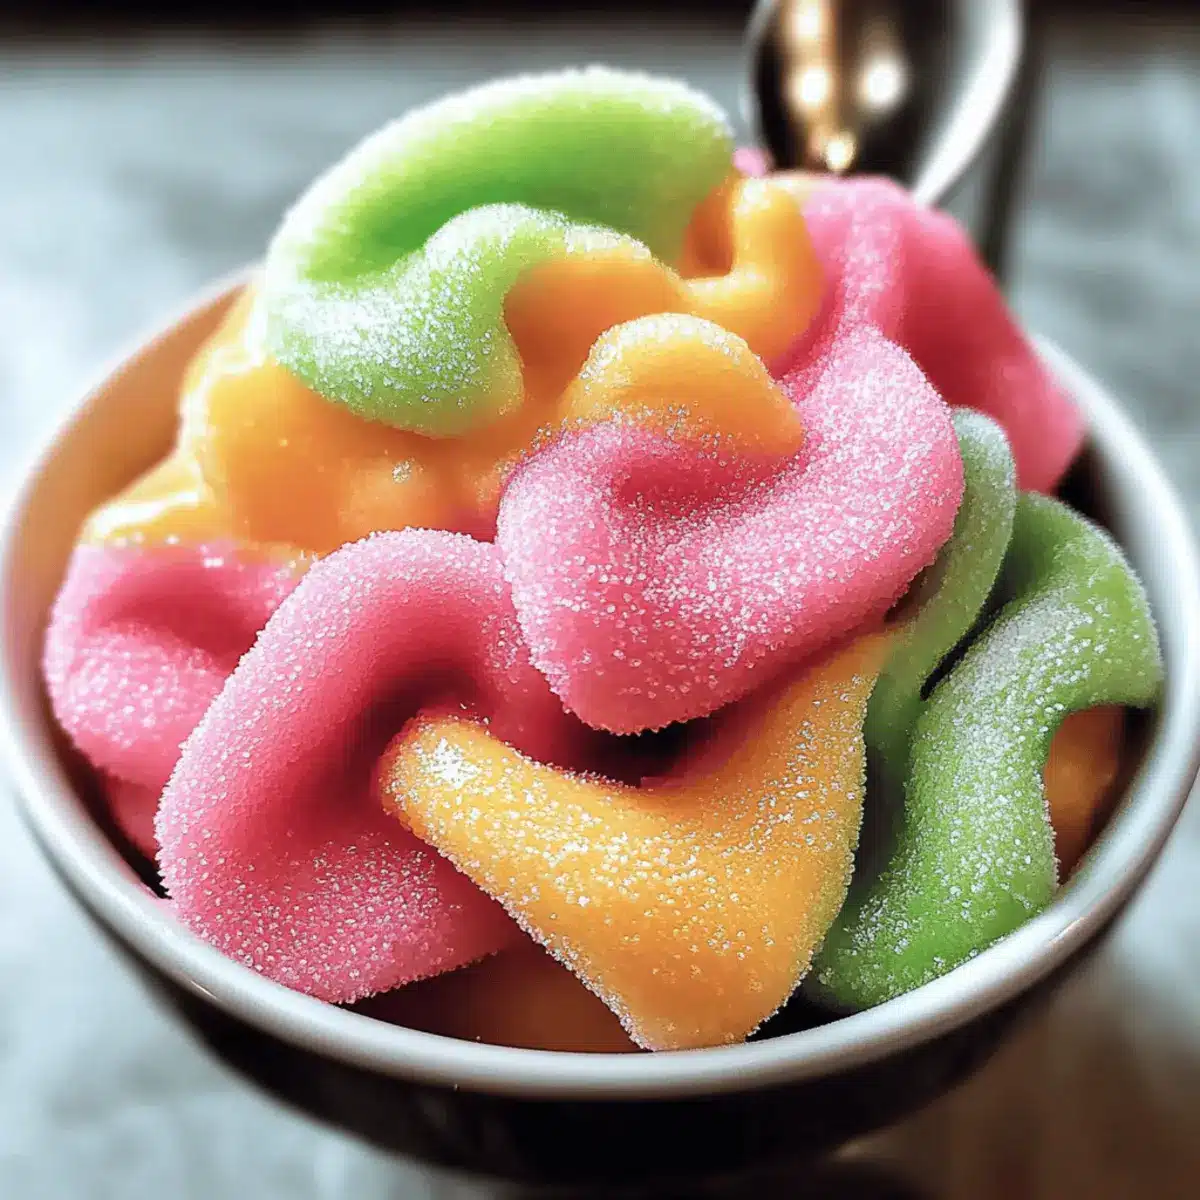
The first warm rays of summer sunlight danced through my kitchen window as I dived into making Homemade Rainbow Sherbet. This delightful frozen treat not only disappeared swiftly at my last barbecue but also sparked laughter and joy among family and friends. With each vibrant layer of creamy goodness, I discovered how easy it is to customize flavors that suit everyone’s taste—be it tangy lime, sweet raspberry, or zesty orange. This sherbet becomes your go-to summer dessert, ensuring you bid farewell to store-bought alternatives. Whether you’re looking to impress at a gathering or simply want to indulge in a refreshing dessert after a picnic, this recipe offers the perfect blend of nostalgia and creativity. Curious about how to create this colorful masterpiece in your very own kitchen? Let’s get started!
Why is Homemade Rainbow Sherbet a Must-Try?
Endless Customization: Each layer of this sherbet invites you to experiment with flavors and textures, ensuring every scoop is uniquely delightful.
Dairy-Free Options: Enjoy a guilt-free treat by using alternatives like almond or coconut milk—perfect for all dietary preferences.
Summer Refreshment: The vibrant fruit flavors and creamy texture are the embodiment of summer, making it a hit at BBQs or pool parties.
Childhood Nostalgia: This sherbet captivates with its lively colors, evoking joyful memories of warm afternoons spent indulging in ice cream.
If you’re ready to embrace this fun recipe, don’t forget to check out our tips on dairy-free options for added versatility!
Homemade Rainbow Sherbet Ingredients
For the Base
- Heavy Cream – Provides a rich, creamy base; opt for full-fat for the best texture.
- Milk – Essential for smoothing the texture; whole milk is recommended for creaminess.
- Granulated Sugar – Sweetens the mixture; adjust based on the sweetness of the fruit you choose.
- Vanilla Extract – Enhances overall flavor; using pure extract gives the best taste.
For the Flavors
- Fresh/Frozen Raspberries – Creates the fruity raspberry flavor; ensure berries are ripe for optimal taste.
- Orange Juice – Fresh juice provides the best flavor; you can substitute with any citrus juice if desired.
- Lime Juice – Freshly squeezed offers a bright note; adjust the quantity for your preferred tartness.
For the Presentation
- Food Colorings – Optional; use natural dyes to enhance the visual appeal of your Homemade Rainbow Sherbet.
Step‑by‑Step Instructions for Homemade Rainbow Sherbet
Step 1: Prepare the Base
In a medium saucepan over medium heat, combine heavy cream, milk, and granulated sugar. Stir continuously for about 5–7 minutes until the sugar completely dissolves and the mixture is warm but not boiling. Once ready, remove from heat and stir in vanilla extract. Allow the mixture to cool completely, ensuring a creamy base for your Homemade Rainbow Sherbet.
Step 2: Make Raspberry Puree
While your base cools, blend fresh or frozen raspberries with a bit of sugar in a blender or food processor until smooth. For a silky texture, strain the mixture through a fine-mesh sieve to remove the seeds. Set the raspberry puree aside, ready to add a vibrant layer to your Homemade Rainbow Sherbet.
Step 3: Chill the Base
Once your sherbet base has cooled, transfer it to the refrigerator and chill for at least 1 hour. This step is crucial for achieving a creamy texture. When chilled, the mixture will be ready to churn, giving you that delightful consistency all love in a rich and flavorful Homemade Rainbow Sherbet.
Step 4: Churn the Base
Pour the chilled base into your ice cream maker and churn according to the manufacturer’s instructions, typically for about 20–25 minutes. The mixture will thicken and reach a soft-serve consistency. Keep an eye on it, as you want it creamy without becoming too hard; this is key for the perfect Homemade Rainbow Sherbet.
Step 5: Create Flavors
Once churned, divide the sherbet mixture evenly into three bowls. Mix fresh orange juice into one bowl, freshly squeezed lime juice into another, and the prepared raspberry puree into the last. Gently stir each bowl until well blended, creating vibrant flavors that will come together beautifully in your Homemade Rainbow Sherbet.
Step 6: Layer and Freeze
In a freezer-safe container, alternate spoonfuls of each flavored mixture. Use a knife or spatula to gently swirl them together, creating a marbled effect. Once layered, cover the container tightly and freeze for about 4–6 hours. Confirm that the sherbet is firm and ready to scoop before serving your colorful Homemade Rainbow Sherbet.
Step 7: Serve and Enjoy
After freezing, scoop the sherbet into bowls and serve garnished with fresh fruit or mint for added flair. The visual appeal of your Homemade Rainbow Sherbet will bring smiles and joy, making it a delightful centerpiece for summer gatherings. Indulge in the vibrant flavors and creamy texture that everyone will love!
Tips for the Best Homemade Rainbow Sherbet
- Chill Everything: Ensure all ingredients, especially the heavy cream and milk, are chilled thoroughly for a creamier texture in your Homemade Rainbow Sherbet.
- Don’t Over-Churn: Keep an eye on the ice cream maker; stop churning when it reaches soft-serve consistency to prevent an icy texture.
- Customize Sweetness: Taste your mixtures as you go! Adjust the sweetness of each layer based on the natural sweetness of your fruits.
- Seal It Right: Store your sherbet in an airtight container to prevent ice crystals from forming; this keeps your Homemade Rainbow Sherbet smooth and delightful.
- Let It Set: After layering, allow the sherbet to freeze for a full 4–6 hours to ensure it’s firm and ready to scoop.
How to Store and Freeze Homemade Rainbow Sherbet
Fridge: Store homemade sherbet in the refrigerator for up to 3 days if you plan to enjoy it quickly. Keep it covered to maintain freshness.
Freezer: For long-term storage, place sherbet in an airtight container and freeze for up to 2 months. This will help maintain the creamy texture and prevent ice crystals.
Reheating: When ready to serve after freezer storage, remove sherbet and let it sit at room temperature for about 5–10 minutes before scooping. This will make it easier to serve.
Serving Suggestions: To enhance your experience, consider garnishing with fresh fruit or mint right before serving your delightful homemade rainbow sherbet!
Make Ahead Options
Preparing Homemade Rainbow Sherbet in advance can truly save you time, making it an ideal choice for busy summer days! You can create the base mixture and refrigerate it for up to 24 hours before churning, allowing the flavors to meld beautifully. Additionally, the raspberry puree can also be made ahead of time and stored in the fridge for up to 3 days, ensuring a smooth, vibrant flavor. Just remember to give everything a good mix before you churn! When you’re ready to serve, simply follow the final steps of churning the mixture and layering the flavors, resulting in a refreshing, delightful dessert that will impress your guests with minimal last-minute effort.
Homemade Rainbow Sherbet Variations
Don’t hesitate to unleash your creativity with this recipe—it’s all about flavor and fun!
- Berry Blend: Mix a variety of berries like strawberries, blueberries, and blackberries for a colorful medley. Each scoop will surprise with different fruity notes!
- Tropical Twist: Swap in pineapple and mango juice for a refreshing, summery kick. It transforms your sherbet into a tropical paradise with every bite.
- Minty Fresh: Toss in freshly chopped mint leaves for an invigorating, cool flavor. This delicious addition elevates your sherbet and is sure to impress guests!
- Coconut Creamy: Replace half the heavy cream with coconut cream for a richer, dairy-free treat. It’s like a little vacation in your bowl with that tropical coconut flair.
- Zesty Lemon: Use fresh lemon juice and zest instead of lime for a tangy, bright flavor that will uplift your sherbet beautifully. This twist is perfect for those who crave something zesty!
- Chocolate Drizzle: Drizzle melted dark chocolate over your scoops for an indulgent, chocolatey surprise. This combo of fruity and chocolate flavors will create an explosion of taste in each bite.
- Non-Dairy Delight: Use almond or coconut milk in place of dairy for a lighter, vegan-friendly treat. This way, everyone can enjoy the refreshing delight without compromising on flavor!
Explore these variations to maximize your Homemade Rainbow Sherbet experience—there’s joy in finding the perfect flavor combination just for you! If you’re interested in making it dairy-free, don’t forget to explore our tips on dairy-free options for more delicious ideas.
What to Serve with Homemade Rainbow Sherbet
Start creating an unforgettable summer experience with delightful pairings that elevate your homemade dessert to new heights.
-
Fresh Fruit Salad: A colorful medley of seasonal fruits provides a light and refreshing contrast to the creamy sherbet, enhancing every bite. The vibrant colors and natural sweetness of the fruit harmonize beautifully with the joyful flavors of the sherbet.
-
Crispy Waffles: Whether light and airy or golden-brown, waffles add a delightful crunch and basis for a fun dessert. Top them with a scoop of sherbet for a deliciously unique treat, perfect for those who love mixing textures.
-
Shortbread Cookies: Rich and buttery, shortbread cookies offer a satisfying complement to the creaminess of the sherbet. Their crumbly texture invites you to take a bite between scoops, creating a balanced dessert experience.
-
Chocolate Sauce: Drizzling warm chocolate sauce over the sherbet adds a decadent twist that amplifies indulgence. The contrast of rich chocolate and fruity flavors creates an irresistible taste sensation that no one can resist.
-
Mint Tea: A refreshing mint-infused tea cleanses the palate and complements the fruity flavors. Serve it chilled for a cooling drink that’s perfect to sip while enjoying the colorful sherbet in the summer.
-
Lemon Pound Cake: A slice of zesty lemon pound cake brings a tangy flavor that cuts through the sweetness of the sherbet, creating a delightful balance. Each slice and scoop feels like a slice of sunny nostalgia that brightens any occasion.
With these pairings, your homemade rainbow sherbet will shine even brighter, making each scoop a moment of joy!

Homemade Rainbow Sherbet Recipe FAQs
What type of fruits should I use for the best flavor?
Absolutely! For the best flavor, always opt for ripe fruits, especially if you’re using berries. For the raspberry layer, fresh raspberries are preferred; look for plump, vibrant berries without any dark spots. The sweetness of your fruit will directly influence the overall taste of your sherbet, so choose what you love and what’s in season!
How should I store the Homemade Rainbow Sherbet?
To keep your delicious sherbet fresh, store it in an airtight container in the freezer. This way, it can last for up to 2 months without developing ice crystals, which can ruin the creamy texture you’ve worked so hard to create. It’s essential to seal it tight to keep the air out!
Can I freeze the sherbet for longer than 2 months?
While Homemade Rainbow Sherbet is best consumed within 2 months for optimal flavor and texture, you can technically freeze it for a bit longer. However, for the best quality, try to use it within that timeframe. When you’re ready to enjoy it after freezing, let it sit out for about 5-10 minutes to soften before scooping.
What if my sherbet turns out icy or grainy?
If you find your sherbet is icy or grainy, this often occurs from over-churning or inadequate chilling of your base. To avoid this, make sure to churn just to soft-serve consistency and chill your ingredients thoroughly before preparation. If this does happen, you can try blending the sherbet again to restore some creaminess before refreezing!
Are there any dietary considerations I should keep in mind?
Certainly! If you’re making this for guests with dietary restrictions, you can easily convert this recipe to be dairy-free by substituting heavy cream and milk with almond or coconut milk. This is perfect for anyone who is lactose intolerant or simply prefers non-dairy options. Always check for allergies to your chosen fruits as well; safety first!
Can I prepare the base in advance?
Yes! You can prepare the sherbet base mixture up to 24 hours in advance. Simply chill it in the refrigerator overnight before churning. This allows the flavors to meld beautifully and ensures you get a rich, creamy texture once you churn it in your ice cream maker.

Homemade Rainbow Sherbet: Delightful Flavors for Summer Fun
Ingredients
Equipment
Method
- In a medium saucepan over medium heat, combine heavy cream, milk, and granulated sugar. Stir continuously for about 5–7 minutes until the sugar completely dissolves and the mixture is warm but not boiling. Remove from heat and stir in vanilla extract. Allow to cool completely.
- In a blender or food processor, blend fresh or frozen raspberries with a bit of sugar until smooth. Strain through a fine-mesh sieve to remove seeds. Set aside.
- Transfer the cooled mixture to the refrigerator and chill for at least 1 hour.
- Pour the chilled base into your ice cream maker and churn according to the manufacturer's instructions, typically for about 20–25 minutes until it thickens.
- Divide the sherbet mixture into three bowls. Mix orange juice into one bowl, lime juice into another, and raspberry puree into the last. Stir each until well blended.
- In a freezer-safe container, alternate spoonfuls of each flavored mixture and gently swirl together. Cover tightly and freeze for about 4–6 hours.
- Scoop the sherbet into bowls and serve garnished with fresh fruit or mint.