

As I stood in my kitchen, the sun streaming through the window, I couldn’t help but admire the vibrant colors of summer abundance. There’s something magical about fresh berries that instantly lifts your spirits, and that’s precisely what inspired my No Bake Summertime Berry Tart. With its creamy, cheesecake-like filling and a crisp graham cracker crust, this dessert offers the ideal blend of indulgence and refreshment. Not only is it a breeze to prepare, requiring zero oven time, but it also serves as a stunning centerpiece for your July celebrations and gatherings. Ready to create a dessert that’s as delicious as it is effortless? Let’s dive into this delightful tart that promises to bring a taste of summer to your table!
Why is This Tart a Summer Must-Make?
Vibrant Colors: The combination of fresh berries creates a color explosion, making this tart as appealing to the eyes as it is to the palate.
Refreshing Flavor: With the creamy cheesecake-like filling and a hint of lemon, each bite is a burst of refreshing tanginess, perfect for warm summer days.
No Baking Required: This recipe is a time-saver, allowing you to whip up a stunning dessert with minimal effort—no oven needed!
Versatile Toppings: Feel free to experiment with seasonal fruits; swap berries with peaches or kiwis to change things up for each gathering.
Crowd-Pleaser: Whether it’s a picnic, BBQ, or summer party, this tart appeals to both families and friends, much like our Lemon Raspberry Crumble or refreshing Berry Chia Pudding.
Easy Cleanup: Quick assembly and no oven means less mess, leaving you more time to enjoy your company!
Summertime Berry Tart Ingredients
• Whip up this refreshing tart effortlessly!
-
For the Crust
-
Graham Cracker Crumbs – Form the crunchy base; consider using honey graham crackers for an extra touch of sweetness.
-
Butter – Binds crust ingredients together; choose salted for a hint of flavor or unsalted for a cleaner taste.
-
Sugar – Sweetens the crust perfectly; standard granulated sugar works well here.
-
For the Filling
-
Heavy Whipping Cream – Creates a light and fluffy texture; make sure it’s cold for the best results.
-
Vanilla Extract – Elevates the flavors; opt for pure vanilla extract for an authentic taste.
-
Cream Cheese – The creamy base of our filling; remember to let it soften to room temperature for easy blending.
-
Powdered Sugar – Adds just the right amount of sweetness; sift if necessary for a smooth consistency.
-
Lemon (Zest & Juice) – Brightens up the filling with its fresh acidity; don’t skip this key flavor enhancer.
-
For the Topping
-
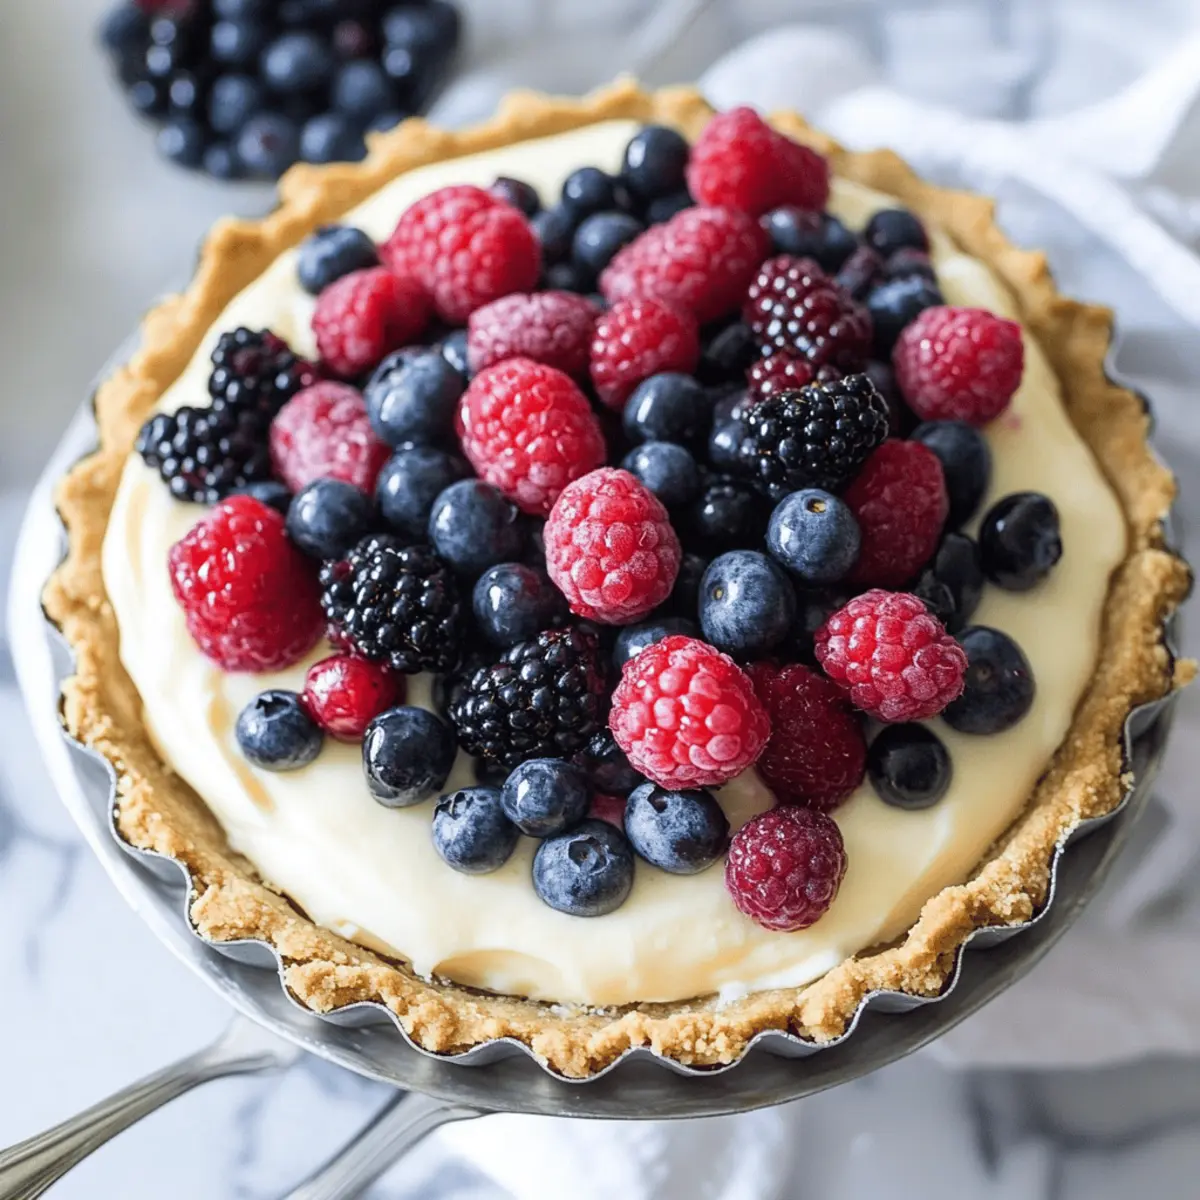
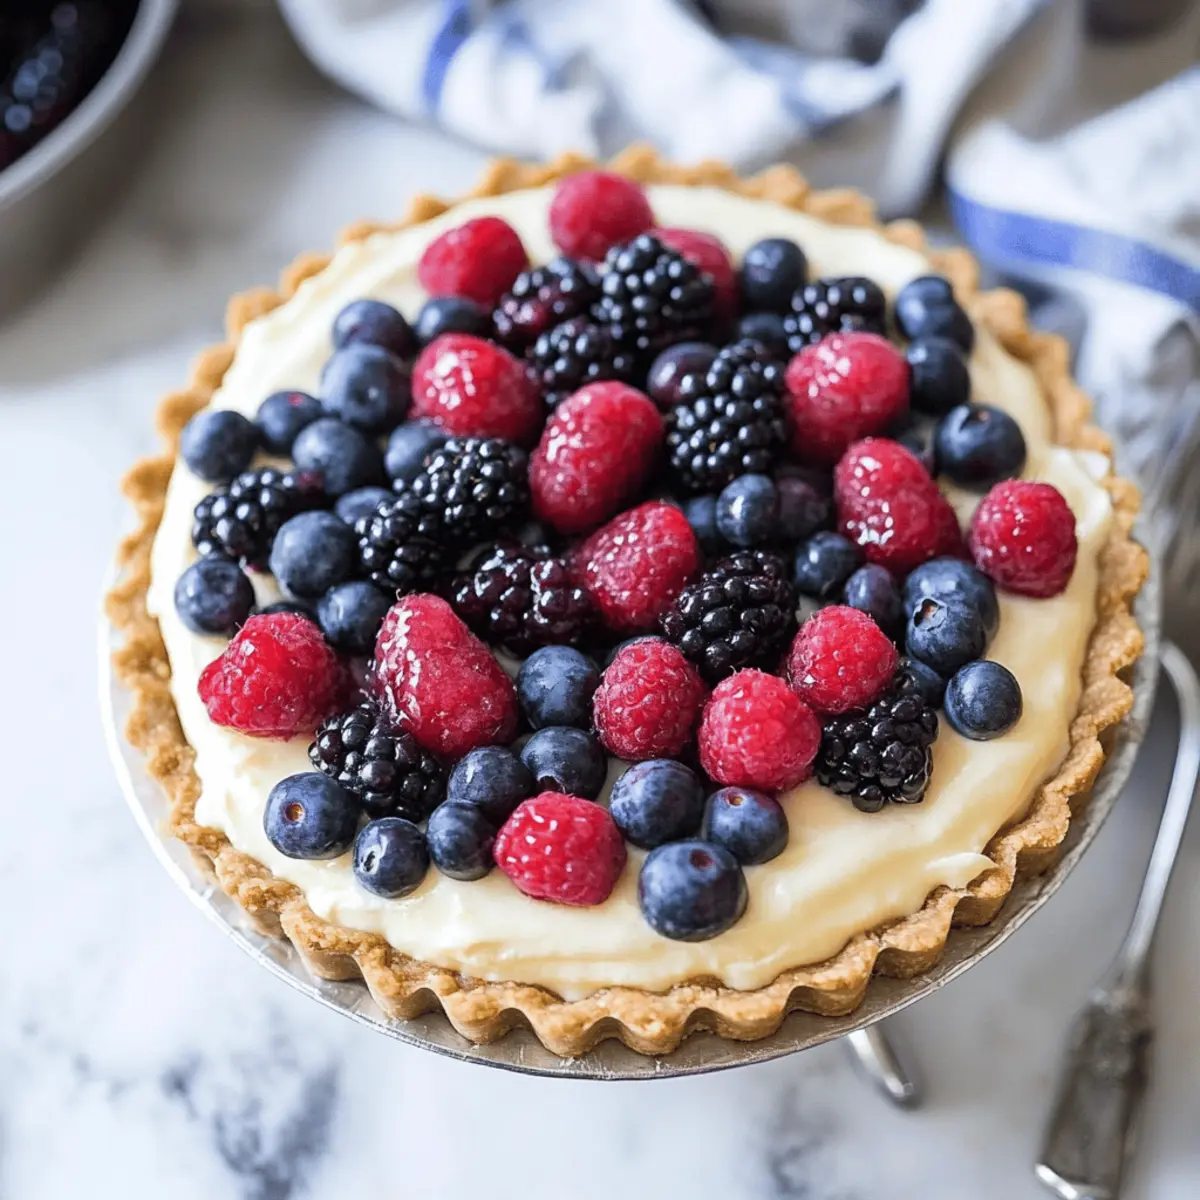
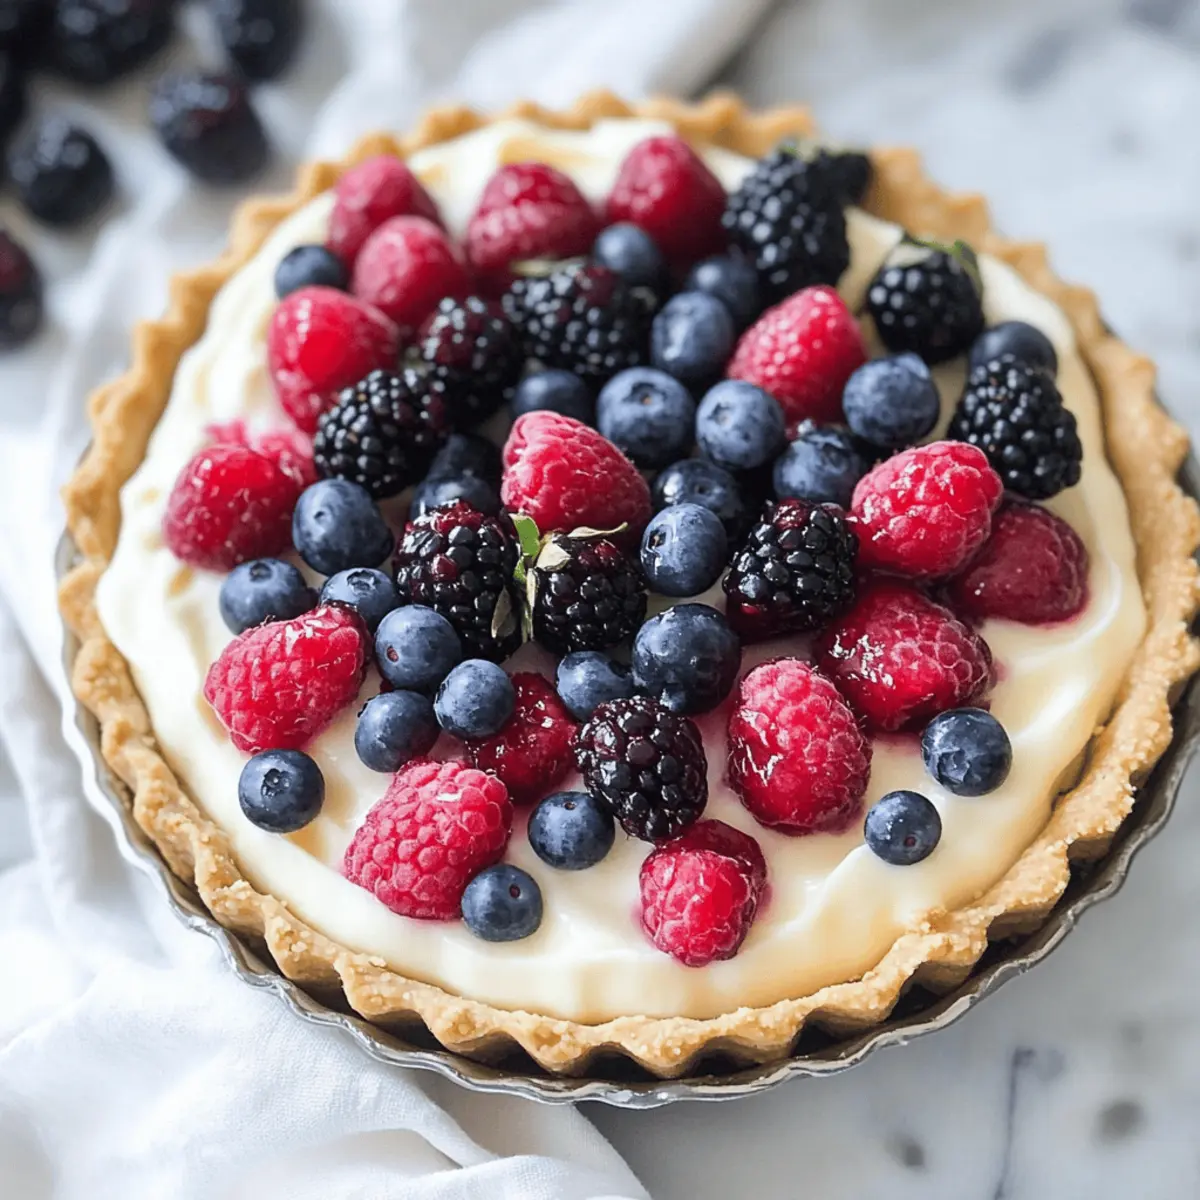
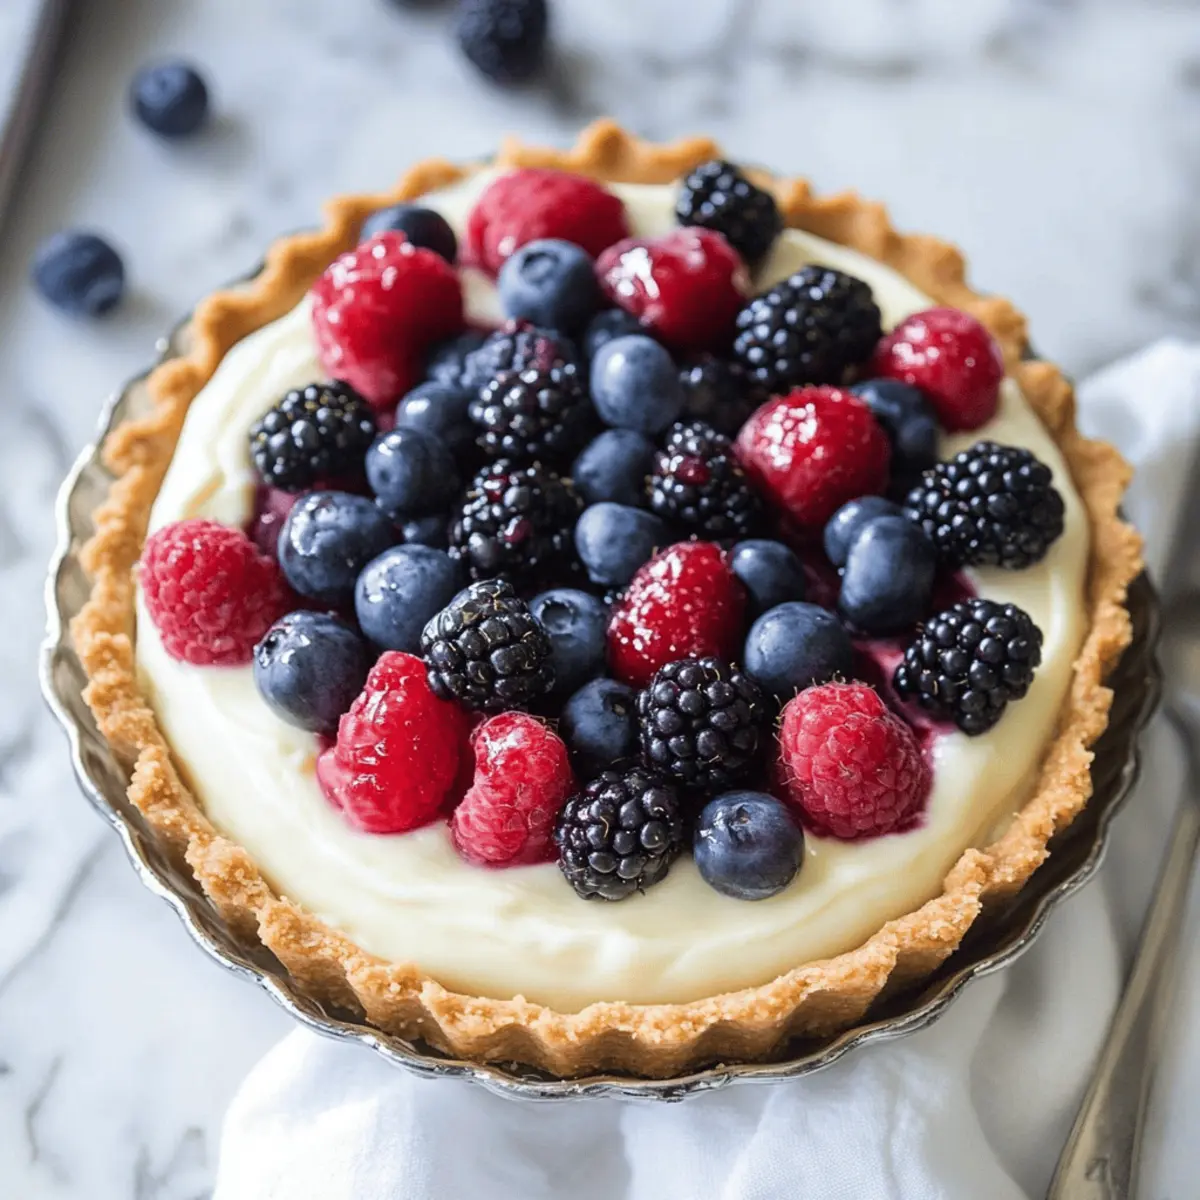
Fresh Berries (Strawberries, Raspberries, Blueberries) – The tart’s colorful crown; feel free to switch in seasonal favorites like peaches for a fun variation!
This Summertime Berry Tart is just a mix away from becoming your new go-to dessert for those warm summer days!
Step‑by‑Step Instructions for Summertime Berry Tart
Step 1: Prepare the Crust
In a medium bowl, combine graham cracker crumbs, melted butter, and sugar, mixing until well combined and sandy in texture. Press this mixture firmly into the bottom and up the sides of a tart pan, ensuring it’s evenly distributed. Chill the crust in the refrigerator for at least 1 hour, allowing it to firm up before adding the filling.
Step 2: Make the Filling
Using a stand mixer, beat the cold heavy whipping cream and vanilla extract on medium-high speed until stiff peaks begin to form, about 4-5 minutes. Meanwhile, in a separate bowl, cream the softened cream cheese and powdered sugar until smooth and creamy. Add lemon zest and juice, mixing until fully incorporated to create a refreshing zest in your cheesecake-like filling.
Step 3: Combine Mixtures
Gently fold the whipped cream into the cream cheese mixture using a spatula, being careful not to deflate the whipped cream too much. The goal is to achieve a light and fluffy texture, suitable for our Summertime Berry Tart. Continue folding until the mixtures are just combined, with no visible streaks remaining; a smooth consistency is key.
Step 4: Assemble the Tart
Spread the cream cheese filling evenly over the chilled crust, using a spatula to coax it into the edges. Once the filling is in place, artfully arrange your fresh berries on top, creating a vibrant display. Refrigerate the tart for at least 1 hour before serving, allowing the flavors to meld and the filling to set properly.
Step 5: Serve and Enjoy
When ready to serve, slice the tart into wedges and present it on a beautiful platter. The tart should have a firm filling and a crisp crust. For an extra touch, garnish with a sprinkle of powdered sugar or a drizzle of honey just before serving. Keep any leftovers refrigerated, enjoying your refreshing Summertime Berry Tart for days to come!
Make Ahead Options
These Summertime Berry Tarts are an absolute dream for meal prep enthusiasts! You can prepare the graham cracker crust up to 24 hours ahead by mixing and pressing it into the tart pan, then simply refrigerate it until you’re ready to fill. Additionally, the creamy cheesecake-like filling can be made up to 3 days in advance—just store it in an airtight container in the fridge to keep it fresh and fluffy. When you’re ready to serve, spread the filling over the crust, top with fresh berries, and chill for at least 1 hour before slicing. This way, you’ll have a stunning dessert ready with minimal last-minute effort, all while ensuring that it’s just as delicious and vibrant!
Expert Tips for Summertime Berry Tart
- Room Temperature Cream Cheese: Ensure your cream cheese is softened to room temperature; this will help achieve a smooth, creamy filling without lumps.
- Cold Cream for Whipping: Use heavy whipping cream right out of the fridge for the best volume and texture in your filling; warm cream won’t whip properly.
- Gentle Folding: Be careful when folding the whipped cream into the cream cheese mixture; over-mixing can deflate the airiness you need for that light filling.
- Chill Time Matters: Give the tart enough time to chill; this helps prevent a soggy crust and ensures the filling sets properly, making your Summertime Berry Tart easier to slice.
- Play with Fruit: Don’t hesitate to mix and match seasonal fruits on top; strawberries, raspberries, and blueberries are classics, but peaches or mango can add a delightful twist!
What to Serve with No Bake Patriotic Fruit Tart
As the sun shines and summer gatherings unfold, you’ll want to complete your meal with delightful accompaniments that enhance this fruity masterpiece.
-
Refreshing Fruit Salad: Brighten the table with a mix of seasonal fruits, allowing the sweet flavors to complement the tart’s creamy filling. A simple fruit salad can be a refreshing palate cleanser.
-
Grilled Chicken Skewers: Savory grilled chicken adds a lovely contrast, providing a hearty option for guests. The smoky flavors from grilling balance the sweetness of the tart beautifully.
-
Minted Lemonade: Keep the drinks fresh and cool with a mint-infused lemonade! This refreshing beverage will harmonize perfectly with the tangy notes of the tart, enhancing the summer vibe.
-
Vanilla Ice Cream: Serve a scoop of creamy vanilla ice cream to melt alongside every slice. The richness of the ice cream beautifully offsets the lightness of the No Bake Patriotic Fruit Tart, creating a delicious pairing.
-
Chocolate-Dipped Strawberries: Elevate your dessert presentation with these elegant treats. The rich chocolate will pair heavenly with the vibrant berries, offering a sweet contrast to the tart’s refreshing acidity.
-
Cheese Board: Craft a small cheese board featuring soft cheeses like brie or goat cheese and crackers. This adds an inviting savory touch, complementing the sweetness of the tart in a delightful way.
Embrace the season and elevate your dessert experience with these perfect pairings!
Variations & Substitutions for Summertime Berry Tart
Feel free to get creative and personalize your tart with these exciting variations!
-
Tropical Twist: Swap out berries for mango, pineapple, or coconut for a refreshing island vibe. This isn’t just a dessert; it’s a mini vacation on your plate!
-
Chocolate Indulgence: Add cocoa powder to the cream cheese filling or drizzle melted chocolate over the top for a decadent chocolate twist that will leave your taste buds dancing.
-
Dairy-Free Delight: Use coconut cream and dairy-free cream cheese for a totally vegan approach. It still retains that creamy goodness without any dairy!
-
Nutty Crust: Replace graham crackers with ground almonds or crushed oats for a gluten-free crust option. It adds a delightful texture and extra nutrition too.
-
Zesty Citrus kick: Infuse your filling with orange or lime zest in addition to the lemon for an extra zing that brightens each bite! It’s a delightful surprise that brings a refreshing flair.
-
Savory Spin: Mix in a hint of fresh herbs like mint or basil in the filling for an unexpected savory twist that pairs beautifully with the sweetness of the fruit.
-
Layering Goodness: Consider adding a layer of homemade fruit compote beneath the filling for a fruity surprise in every slice! Check out my Cranberry Pecan Chicken if you’re looking for more fruity inspiration.
-
Yogurt Swirl: Instead of heavy cream, use Greek yogurt for a tangy twist. It keeps the filling creamy while cutting back on calories and adding some protein.
These variations make your Summertime Berry Tart a canvas for flavors waiting to be discovered! Enjoy experimenting and making this delightful recipe your own.
Storage Tips for Summertime Berry Tart
Fridge: Store the tart wrapped in plastic wrap or in an airtight container in the refrigerator for up to 2-4 days, ensuring the crust remains crisp.
Freezer: If you need to freeze, wrap slices tightly in plastic wrap and aluminum foil; it can stay in the freezer for up to 1 month.
Thawing: To enjoy frozen slices, simply transfer them to the fridge and allow them to thaw overnight.
Serving Note: For the best texture and flavor, consume the tart soon after preparation, but it still delights even after a few days in the fridge!
Summertime Berry Tart Recipe FAQs
How do I choose the best fresh berries for my tart?
Absolutely! Look for fresh berries that are vibrant in color and firm to the touch. Avoid any with dark spots, mold, or a mushy texture, as these indicate overripeness. If using strawberries, opt for those that have a bright red hue and a sweet aroma.
How long can I store my Summertime Berry Tart?
Very good question! You can store the tart wrapped in plastic wrap or in an airtight container in the refrigerator for up to 2-4 days. Just make sure to keep it chilled to maintain the freshness of the filling and crunchiness of the crust!
Can I freeze my Summertime Berry Tart?
Of course! If you need to freeze it, I recommend wrapping individual slices tightly in plastic wrap, followed by aluminum foil. It can stay in the freezer for up to 1 month. For the best results, thaw your slices in the fridge overnight before serving.
What if my crust becomes soggy?
No worries here! To prevent a soggy crust, ensure that you chill the tart adequately before serving, ideally for at least 1 hour. If you’ve made the crust ahead of time, try pre-baking it for 5-10 minutes at 350°F (175°C) before adding the filling. This will create a stronger barrier against moisture.
Is this tart suitable for people with allergies?
Certainly! This recipe contains common allergens such as dairy and gluten. If you’re preparing the tart for someone with dietary restrictions, consider using gluten-free graham cracker crumbs and a dairy-free cream cheese substitute. It’s always a good idea to check labels for hidden allergens, too.
How do I prevent my whipped cream from deflating when mixing it with cream cheese?
Great question! When folding the whipped cream into the cream cheese mixture, use a gentle hand with a spatula. Start by adding a dollop of the whipped cream to lighten the cream cheese mixture. Then, slowly fold it in using a sweeping motion. This technique helps retain the airiness for a luscious filling!
Refreshing Summertime Berry Tart: No Bake and Oh So Easy
Ingredients
Equipment
Method
- In a medium bowl, combine graham cracker crumbs, melted butter, and sugar, mixing until well combined and sandy in texture. Press firmly into the bottom and up the sides of a tart pan. Chill in the refrigerator for at least 1 hour.
- Using a stand mixer, beat the cold heavy whipping cream and vanilla extract on medium-high speed until stiff peaks begin to form, about 4-5 minutes. In a separate bowl, cream the softened cream cheese and powdered sugar until smooth and creamy, then add lemon zest and juice and mix until fully incorporated.
- Gently fold the whipped cream into the cream cheese mixture using a spatula, being careful not to deflate the whipped cream. Continue folding until there are no visible streaks remaining.
- Spread the cream cheese filling evenly over the chilled crust, then artfully arrange fresh berries on top. Refrigerate the tart for at least 1 hour before serving.
- Slice the tart into wedges and present on a beautiful platter. Garnish with powdered sugar or honey if desired.