

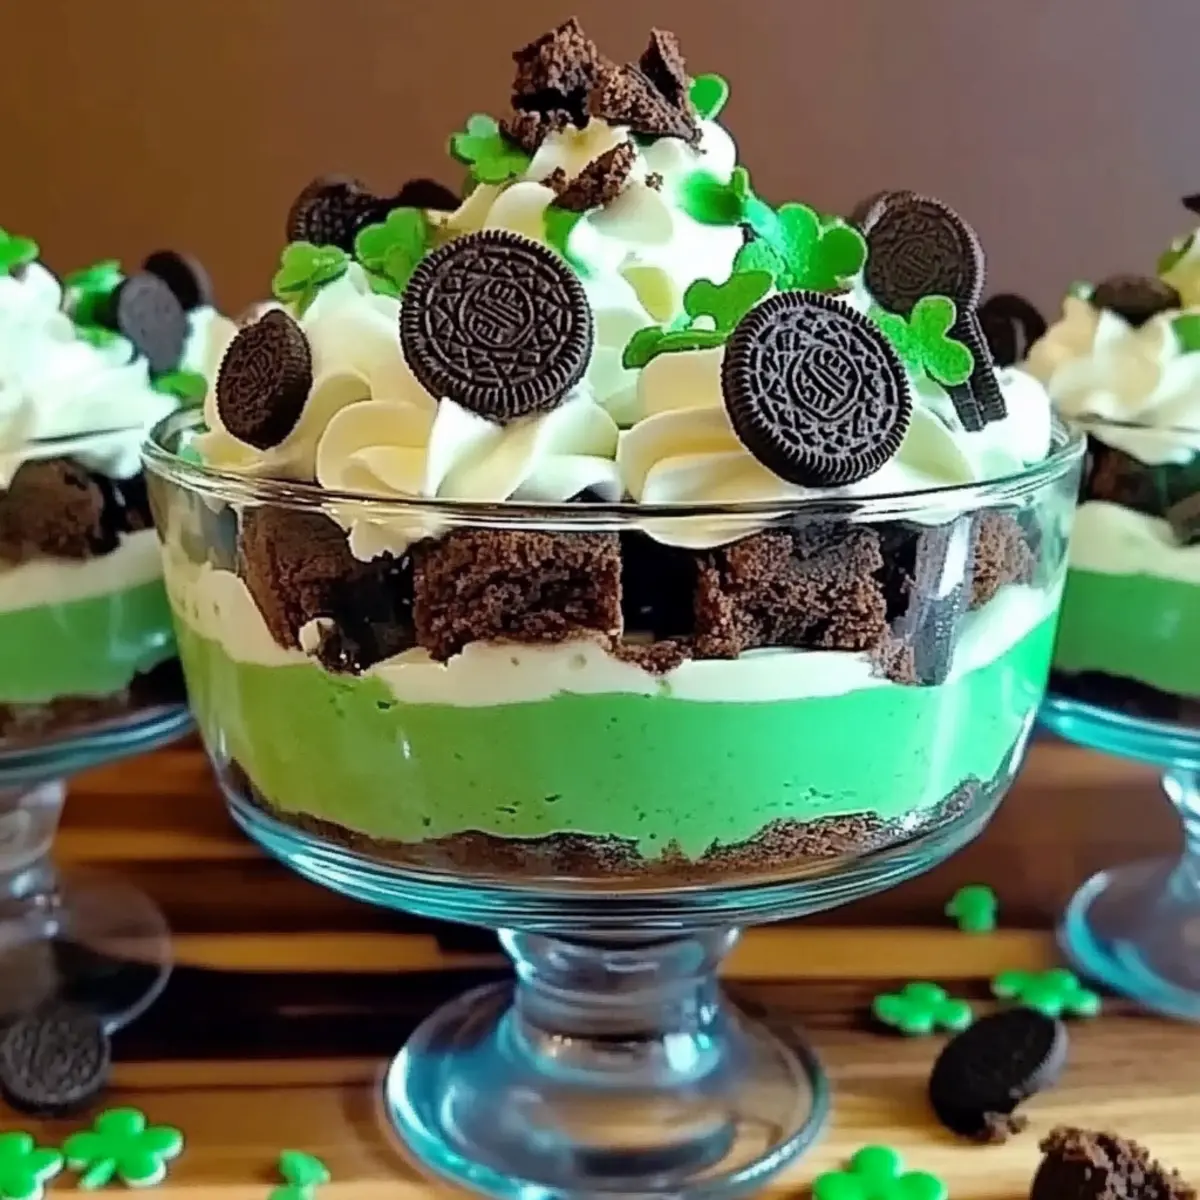
As I was sifting through my favorite recipes for St. Patrick’s Day, I stumbled upon a delightful treasure that instantly drew me in: the No-Bake St. Patrick’s Day Brownie Trifle. With its layers of rich, fudgy brownie pieces and refreshing minty green pudding, this dessert is not only a feast for the eyes but also an effortless crowd-pleaser. One of the best perks? It requires minimal effort, allowing you to focus on enjoying the festive spirit rather than fretting over measurements and baking times. Plus, it can be made ahead of time, letting those delicious flavors meld overnight. Just imagine setting it on your dessert table, ready to wow your friends and family. Are you ready to dive into this scrumptious indulgence?
Why is this Brownie Trifle a Must-Try?
No-Bake Convenience: This St. Patrick’s Day Brownie Trifle makes dessert preparation a breeze, allowing you to skip the oven while still impressing your guests.
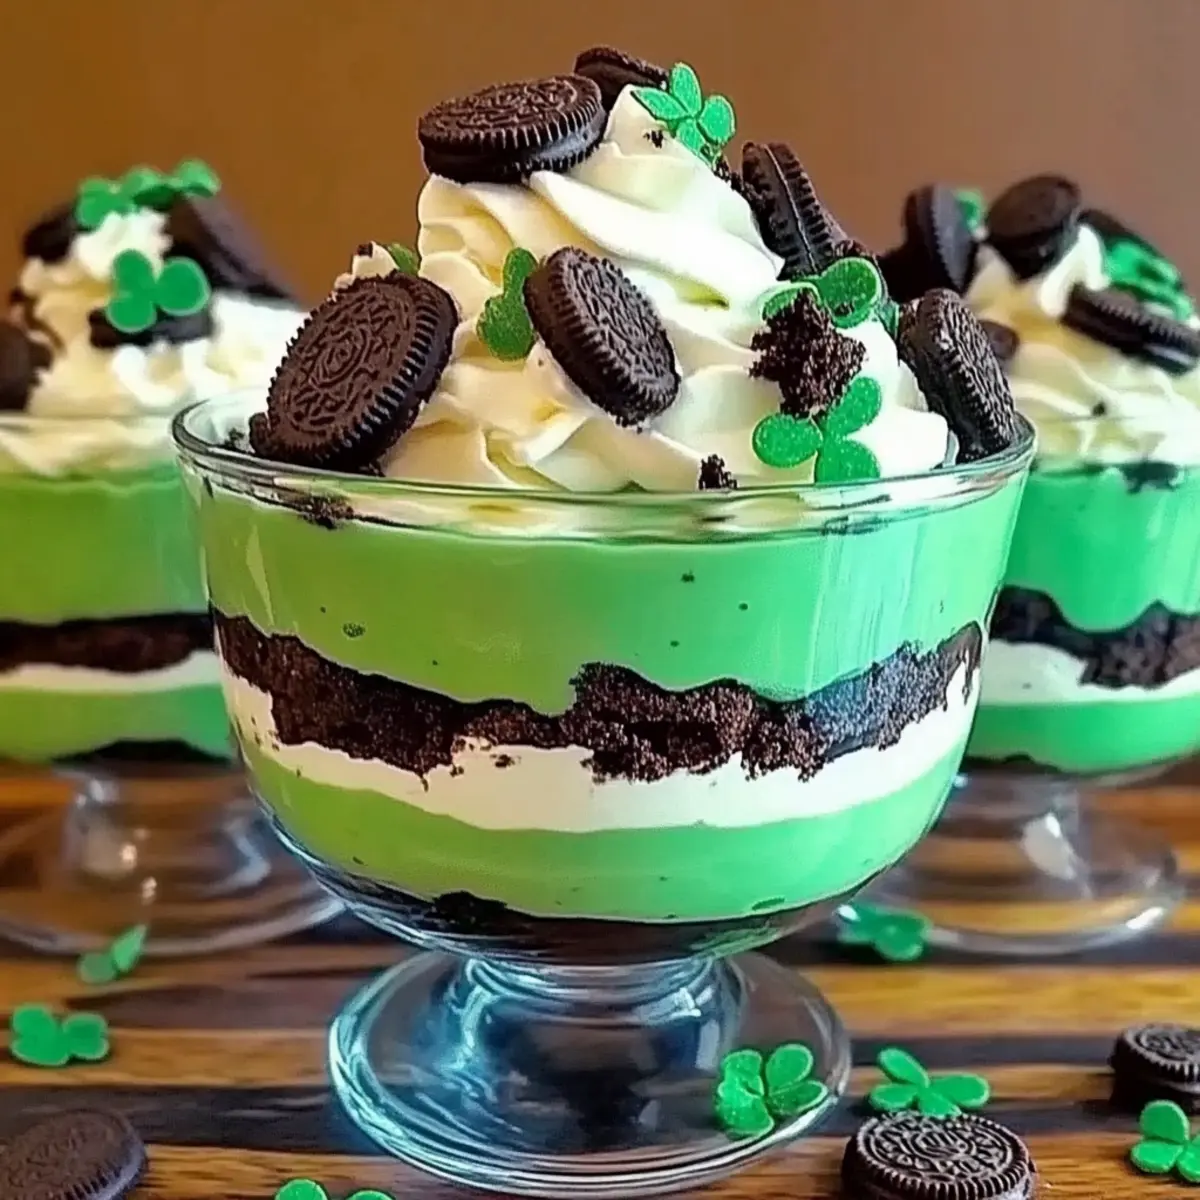
Vibrant Presentation: The striking green pudding layers and rich brownie pieces create a show-stopping centerpiece for any festive table.
Effortlessly Delicious: With just a few simple ingredients, you’ll whip up a treat that’s both indulgent and satisfying without getting bogged down by complicated steps.
Crowd-Pleasing Flavor: Each bite bursts with fudgy chocolate goodness and refreshing mint, making it the perfect hit for gatherings, just like this Creamy Green Bean Casserole Holiday.
Make-Ahead Magic: As if it couldn’t get any better, this dessert is designed for make-ahead convenience, allowing the flavors to meld beautifully overnight—ideal for busy holiday prep!
Get ready to fall in love with this festive treat that not only tastes great but also saves you time in the kitchen!
St. Patrick’s Day Brownie Trifle Ingredients
Craft this delightful dessert with these simple ingredients!
For the Brownie Layer
• Brownie mix – Use a family-size box for optimal layering and rich flavor.
• Cold milk – Essential for preparing the brownie mix; opt for whole or 2% for the best texture.
For the Mint Pudding Layer
• Instant vanilla pudding mix – Provides creaminess; can be swapped for pistachio pudding for a festive green hue.
• Green gel food coloring – Achieve the perfect vibrant green without affecting pudding consistency; avoid liquid options to maintain thickness.
• Cold milk – Necessary for activating the pudding; the same milk as used for brownies works well here.
For the Topping
• Frozen whipped topping – Adds a fluffy texture; ensure it’s completely thawed before mixing into the trifle.
• Mint Oreo cookies – Crushed for crunch and minty flavor, these add a fun textural contrast; crush them coarsely for the best effect.
Elevate your celebrations with this festive St. Patrick’s Day Brownie Trifle, perfect for impressing your loved ones!
Step‑by‑Step Instructions for St. Patrick’s Day Brownie Trifle
Step 1: Bake the Brownies
Preheat your oven according to the instructions on the brownie mix box. Prepare a 9×13-inch baking pan by greasing it lightly. Pour the brownie batter into the pan, spreading it evenly. Bake until a toothpick inserted in the center comes out with moist crumbs, typically around 30 to 35 minutes. Allow the brownies to cool completely in the pan to achieve perfect texture.
Step 2: Cut the Brownies
Once the brownies are completely cooled, use a sharp knife to cut them into 1-inch cubes. This will create bite-sized pieces that will serve as the foundation of your St. Patrick’s Day Brownie Trifle. Be careful not to squish the brownies as you cut; you want to maintain their fudgy texture for a delightful layer.
Step 3: Prepare the Pudding
In a large mixing bowl, whisk together the instant vanilla pudding mix and cold milk for about 2 minutes, ensuring the mixture thickens nicely. For a festive touch, add green gel food coloring until you achieve your desired shade of vibrant green. This colorful pudding will create a beautiful contrast with the brownie layers and elevate your trifle’s visual appeal.
Step 4: Crush the Mint Oreos
Place the Mint Oreo cookies into a zip-top bag and use a rolling pin or your hands to crush them into a combination of fine crumbs and larger chunks. This will provide an exciting crunch within your St. Patrick’s Day Brownie Trifle. Aim for a coarse texture to maintain a delightful contrast to the creamy pudding and soft brownie layers.
Step 5: Layer the Trifle
Grab a clear trifle bowl to showcase the beautiful layers. Begin with half of the brownie cubes as your first layer, followed by half of the green pudding. Next, add half of the whipped topping, spreading it evenly, and sprinkle a handful of crushed Mint Oreos on top. This colorful and festive layering will start to create the delicious and visual experience of your St. Patrick’s Day Brownie Trifle.
Step 6: Repeat the Layers
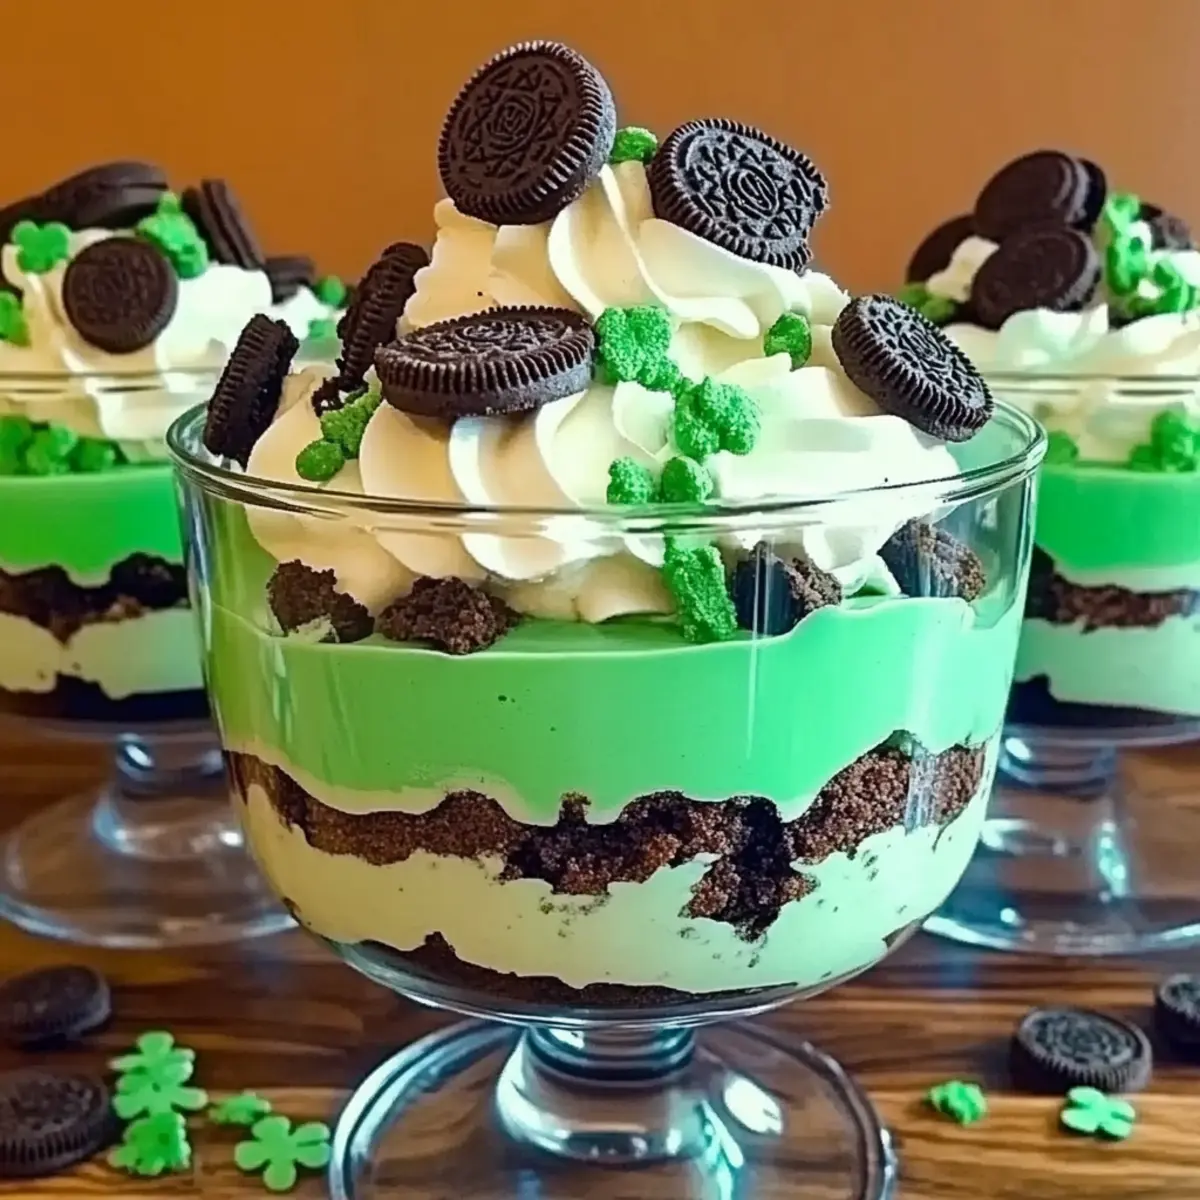
Continue the layering process with the remaining brownie cubes, green pudding, whipped topping, and crushed Mint Oreos. Aim to maintain the stunning visibility of each layer by gently adding each component. The vibrant green and rich brownie layers will create a stunning visual treat that will capture the hearts of your guests.
Step 7: Chill the Trifle
Once assembled, cover the trifle bowl with plastic wrap or a lid and place it in the refrigerator. Allow the trifle to chill for at least 4 hours, but preferably overnight. This resting time will allow the flavors to meld perfectly, ensuring that each bite of your St. Patrick’s Day Brownie Trifle is a harmonious blend of fudgy chocolate and refreshing mint.
Step 8: Garnish Before Serving
Before you’re ready to serve the trifle, uncover it and add a final touch of flair. Garnish with any remaining crushed Mint Oreos, a dollop of extra whipped topping, and if desired, sprinkle some festive green sprinkles on top. This adds an extra layer of visual appeal, making your St. Patrick’s Day Brownie Trifle even more inviting for your guests to dive into!

Make Ahead Options
These delightful St. Patrick’s Day Brownie Trifle layers are perfect for meal prep enthusiasts! You can prepare the brownie cubes and green pudding up to 24 hours in advance, allowing them to chill and meld flavors beautifully. Simply bake the brownies, let them cool completely before cutting, and mix the pudding with milk and food coloring. Store each component in airtight containers in the refrigerator to maintain their freshness. When you’re ready to serve, just layer the prepped brownies, pudding, and whipped topping in a trifle bowl, then add the crushed Mint Oreos for a crispy finish. This time-saving method ensures your trifle remains just as delicious—a true crowd-pleaser with minimal last-minute effort!
Expert Tips for St. Patrick’s Day Brownie Trifle
-
Layering Tips: Start with a sturdy base of brownie cubes to prevent layers from sinking. Proper layering is key to achieving a beautiful trifle.
-
Pudding Consistency: Use cold milk to ensure the pudding thickens nicely. Avoid using too much liquid food coloring, which may alter the texture.
-
Crushing Oreos: Crush the Mint Oreos in a zip-top bag, aiming for a mix of crumbs and larger chunks for added texture in each delicious bite.
-
Chilling Time: Assemble your trifle at least 4 hours before serving. This allows the flavors to meld and keeps the brownies wonderfully moist.
-
Visual Appeal: For a festive finish, reserve some crushed Oreos and whipped topping for garnishing right before serving, enhancing that stunning presentation.
St. Patrick’s Day Brownie Trifle Variations
Feel free to get creative with this festive treat and make it your own!
-
Homemade Brownies: Swap the store-bought brownie mix for your favorite homemade brownie recipe for a personal touch. Your family will love the extra love and flavor!
-
Regular Oreos: Substitute Mint Oreos with classic Oreos, adding a hint of peppermint extract to the pudding for flavor. It’s a delicious twist that retains that festive theme.
-
Flavorful Pudding: Experiment with different pudding flavors like chocolate or pistachio. Different flavors can take your trifle on a delightful flavor adventure while maintaining that vibrant green hue!
-
Creamy Yogurt: For a lighter option, replace the whipped topping layer with Greek yogurt. This substitution adds protein while keeping it creamy and delicious.
-
Add Fruits: Layer in some fresh mint leaves or crushed candy canes for extra texture and a festive touch. Each bite will have a refreshing surprise!
-
Nutty Crunch: Include chopped nuts between the layers for an added crunch and flavor dimension. Walnuts or pecans work wonderfully to complement the chocolate and mint.
-
Extra Chocolate: Drizzle melted chocolate over the layers before assembling for a truly decadent twist. Who could resist that extra chocolatey goodness?
-
Spice It Up: A pinch of cayenne pepper in the brownie mix will add a delightful kick. It’s not just about the mint; why not add a little heat to the sweet?
This St. Patrick’s Day Brownie Trifle can be tailored to fit your preferences perfectly; just let your imagination run wild! While you’re here, don’t forget to check out these delightful options: indulge in Creamy Chicken and Wild Rice for dinner, and save room for a taste of Red Velvet Brownies for dessert after your festivities!
How to Store and Freeze St. Patrick’s Day Brownie Trifle
Refrigerator: Store your Brownie Trifle in the fridge, covered, for up to 3 days. This keeps the layers fresh and the brownies moist, allowing the flavors to blend.
Freezer: While it’s not ideal, you can freeze the trifle without the whipped topping for about 2 months. To do this, cut into portions and wrap tightly in plastic wrap. Thaw in the fridge before adding the topping.
Airtight Container: If you’ve made extra layers or components, store them separately in airtight containers. This prevents the brownies from becoming soggy and maintains the trifle’s delightful textures.
Reheating & Serving: Serve chilled straight from the fridge. There’s no need to reheat; just garnish with fresh whipped cream and crushed Oreos before serving to enhance that festive touch!
What to Serve with St. Patrick’s Day Brownie Trifle
When hosting a festive gathering, you’ll want to create a complete meal that enchants all your guests.
-
Corned Beef and Cabbage: This classic dish brings a savory, hearty flavor that perfectly contrasts the sweet, rich trifle. Each forkful of corned beef pairs beautifully with the decadent dessert that follows.
-
Irish Soda Bread: The slight sweetness and dense texture of this bread balance the trifle’s creaminess, making each bite a delightful journey through Irish tradition. A slice can also be enjoyed with a smear of butter alongside the dessert for a cozy feel.
-
Mint Chocolate Cookies: Continue the minty theme with some easy-to-make cookies. Their chewy texture and rich chocolate flavor make them a fantastic accompaniment, perfect for dunking or enjoying while savoring the trifle.
-
Guinness Float: For a fun twist, serve this creamy drink alongside the trifle. The richness of the stout complemented by vanilla ice cream creates a dreamy experience that ties all the flavors of your meal together in harmony.
-
Roasted Vegetable Medley: A dish of colorful roasted vegetables adds freshness and a pop of flavor to your table. The natural sweetness of carrots and the earthiness of potatoes provide a wonderful contrast to your trifle.
-
Lemonade or Iced Tea: Refreshing and bright, these drinks can cleanse the palate between bites of your rich trifle. Their acidity cuts through the dessert’s sweetness and leaves your guests feeling satisfied.
-
Chocolate Mousse: Consider offering chocolate mousse as another dessert option. Its airiness and rich cocoa profile will enchant chocolate lovers and complement the brownie layers in your trifle.
-
Fruit Salad: A mixed fruit salad can provide a refreshing and light finish to your meal. The natural sugars from fruits offer a counterbalance to the indulgence of the St. Patrick’s Day Brownie Trifle, ensuring a well-rounded dining experience.
St. Patrick’s Day Brownie Trifle Recipe FAQs
What type of brownie mix should I use?
You can use any family-sized brownie mix for this trifle, but I recommend a fudgy mix for optimum richness. The more decadent the brownie, the more flavorful your trifle will be!
How long can I store the St. Patrick’s Day Brownie Trifle in the fridge?
You can keep your Brownie Trifle in the refrigerator, covered, for up to 3 days. This will help maintain the freshness of the layers and keep the brownies deliciously moist.
Can I freeze the trifle, and if so, how?
Absolutely! To freeze your trifle, I suggest wrapping it tightly in plastic wrap and storing it in an airtight container for up to 2 months. Just remember to freeze it without the whipped topping. When you’re ready to enjoy, thaw it in the fridge overnight before adding the topping.
What can I do if the brownies become too soggy in the trifle?
To prevent sogginess, make sure your brownies are completely cooled before cutting them into cubes. An extra tip is to assemble the trifle no more than a day in advance, allowing just enough chilling time for the flavors to meld without the brownies losing their texture.
Can my dog eat this trifle?
No, it’s best to keep this trifle away from pets. The brownies contain ingredients that are not safe for dogs, like chocolate, and the pudding and whipped topping may have additives that could upset their tummy.
What can I substitute if I have allergies?
If you’re looking for alternatives, you can use gluten-free brownie mix to suit dietary needs. For the pudding layer, consider vanilla or a dairy-free pudding option, and ensure that any whipped topping is also dairy-free or allergen-friendly.
Festive St. Patrick’s Day Brownie Trifle That's No-Bake Delicious
Ingredients
Equipment
Method
- Preheat your oven according to the instructions on the brownie mix box. Grease a 9x13-inch baking pan and pour the brownie batter into the pan, spreading it evenly. Bake for 30 to 35 minutes until a toothpick inserted in the center comes out with moist crumbs. Allow the brownies to cool completely.
- Once cooled, cut the brownies into 1-inch cubes. This will create bite-sized pieces for your trifle.
- In a large mixing bowl, whisk together the instant vanilla pudding mix and cold milk for about 2 minutes. Add green gel food coloring until you achieve the desired shade of green.
- Place the Mint Oreo cookies in a zip-top bag and crush them until you have a mix of fine crumbs and larger chunks.
- In a clear trifle bowl, layer half of the brownie cubes, followed by half of the green pudding. Add half of the whipped topping and sprinkle some crushed Mint Oreos on top.
- Repeat the layering process with the remaining brownie cubes, green pudding, whipped topping, and crushed Mint Oreos.
- Cover the trifle bowl with plastic wrap or a lid and refrigerate for at least 4 hours, preferably overnight, to allow the flavors to meld.
- Before serving, garnish with remaining crushed Mint Oreos, a dollop of extra whipped topping, and sprinkle some festive green sprinkles on top.