

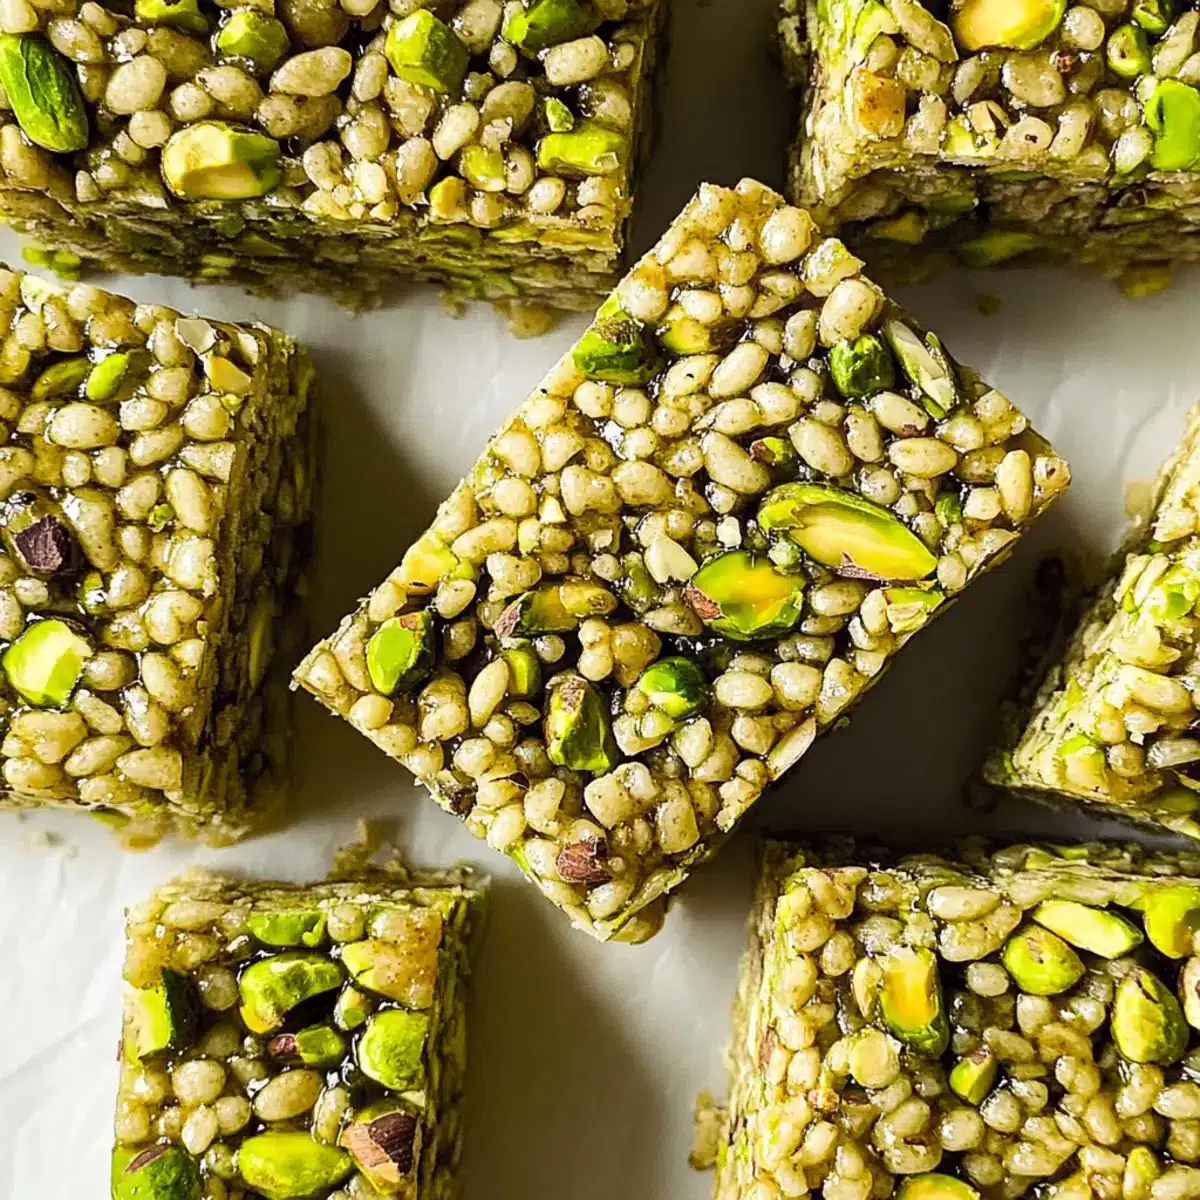
Stepping into my kitchen to whip up a nostalgic favorite, I unlock memories of school lunches filled with Rice Krispie treats. But today, I’m taking a healthier spin with these delightful Pistachio Rice Krispie Treats! Infused with rich pistachio butter and creamy tahini, this gluten-free recipe offers a comforting treat that’s both nutritious and satisfying. You’ll love how simple it is to prepare—no marshmallows here! Instead, we’re embracing natural ingredients that are bursting with taste and beneficial fats. Perfect as an afternoon snack or a sweet finish to dinner, these treats make a wonderful addition to any gathering. Curious about how to make these vibrant, wholesome bars? Let’s dive into the delicious details together!
Why are Pistachio Rice Krispie Treats special?
Rich, Nutty Flavor: The combination of pistachio butter and chopped pistachios creates a deeply satisfying taste that elevates the traditional treat.
Gluten-Free Goodness: Perfect for those avoiding gluten, use rice cereal that’s gluten-free for a delicious, worry-free dessert.
Creative Ingredient Swap: Unlike typical recipes, this treat skips marshmallows, opting for tahini, providing additional creaminess and nutritional value.
Easy to Make: With straightforward instructions, anyone can whip these up in no time, making them a great project for both novice and seasoned cooks.
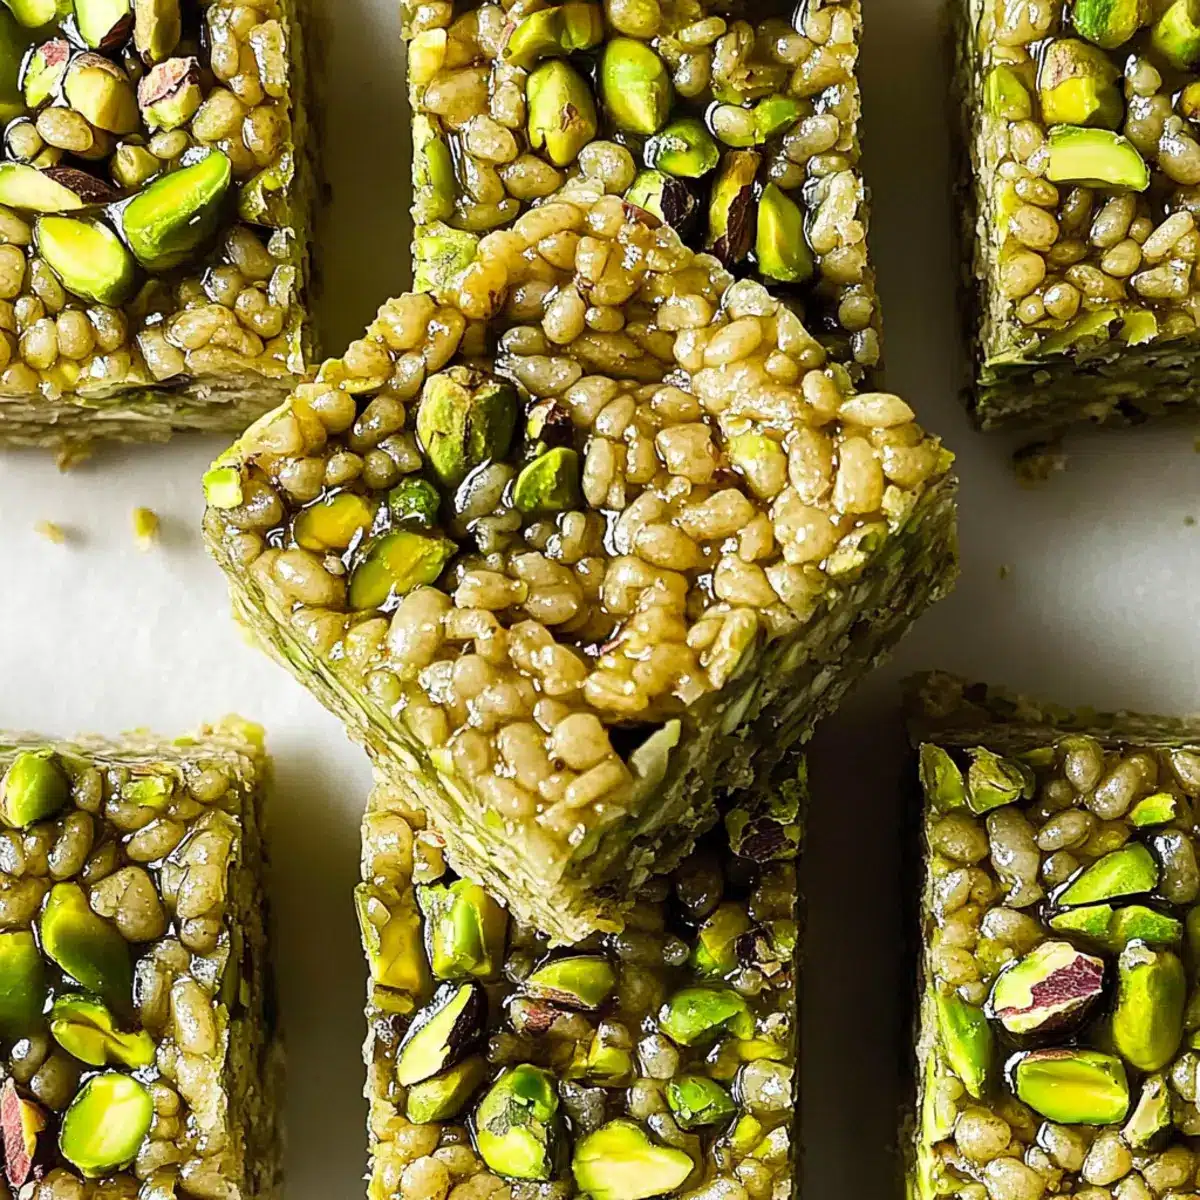
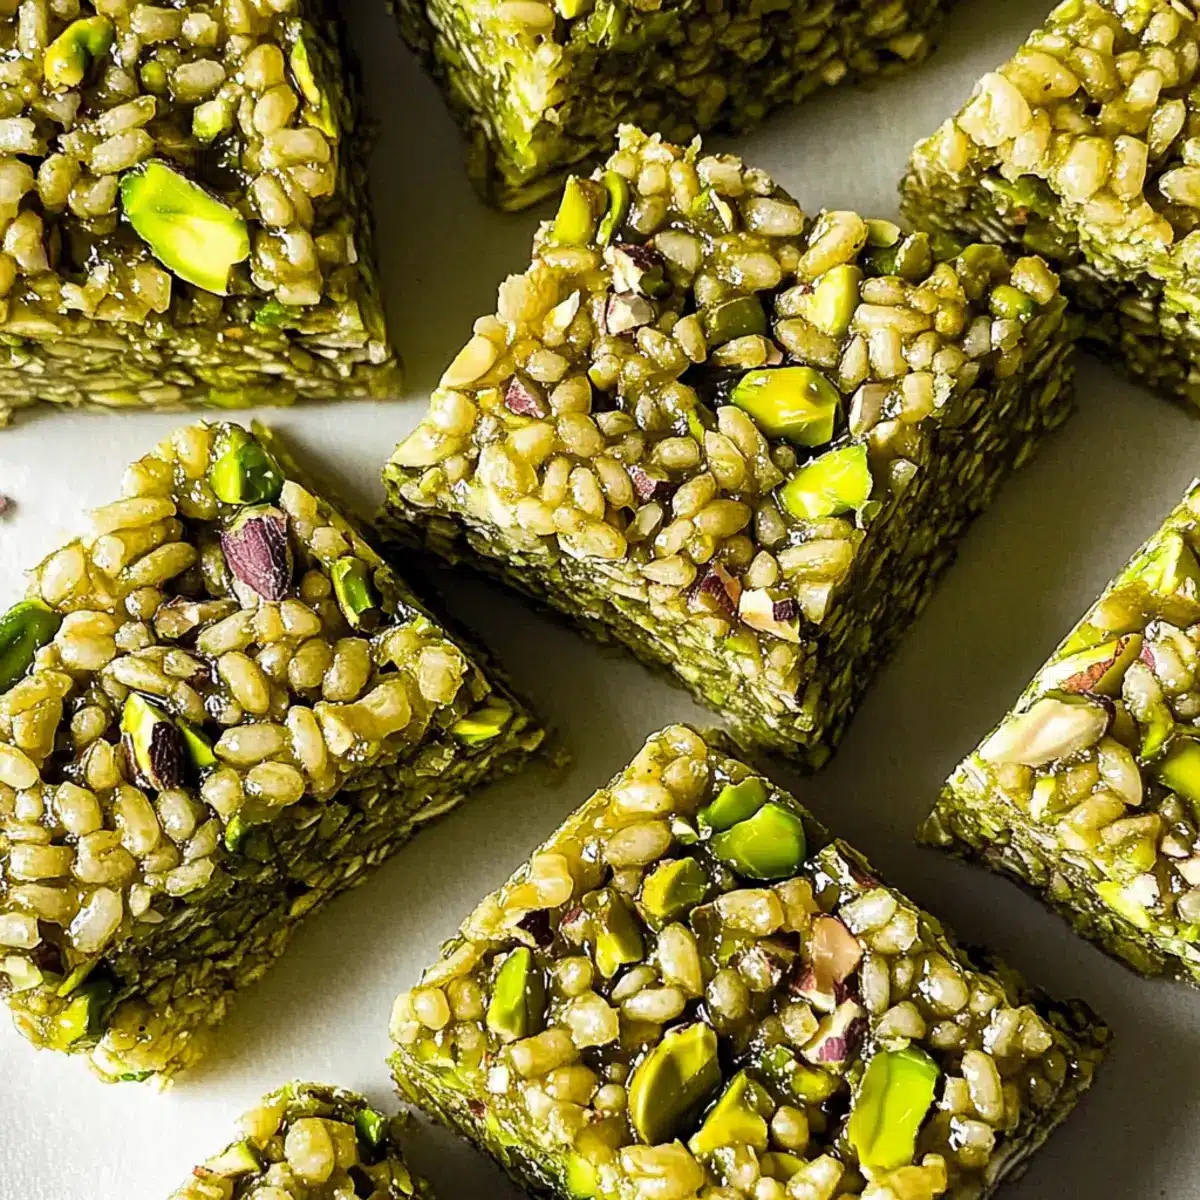
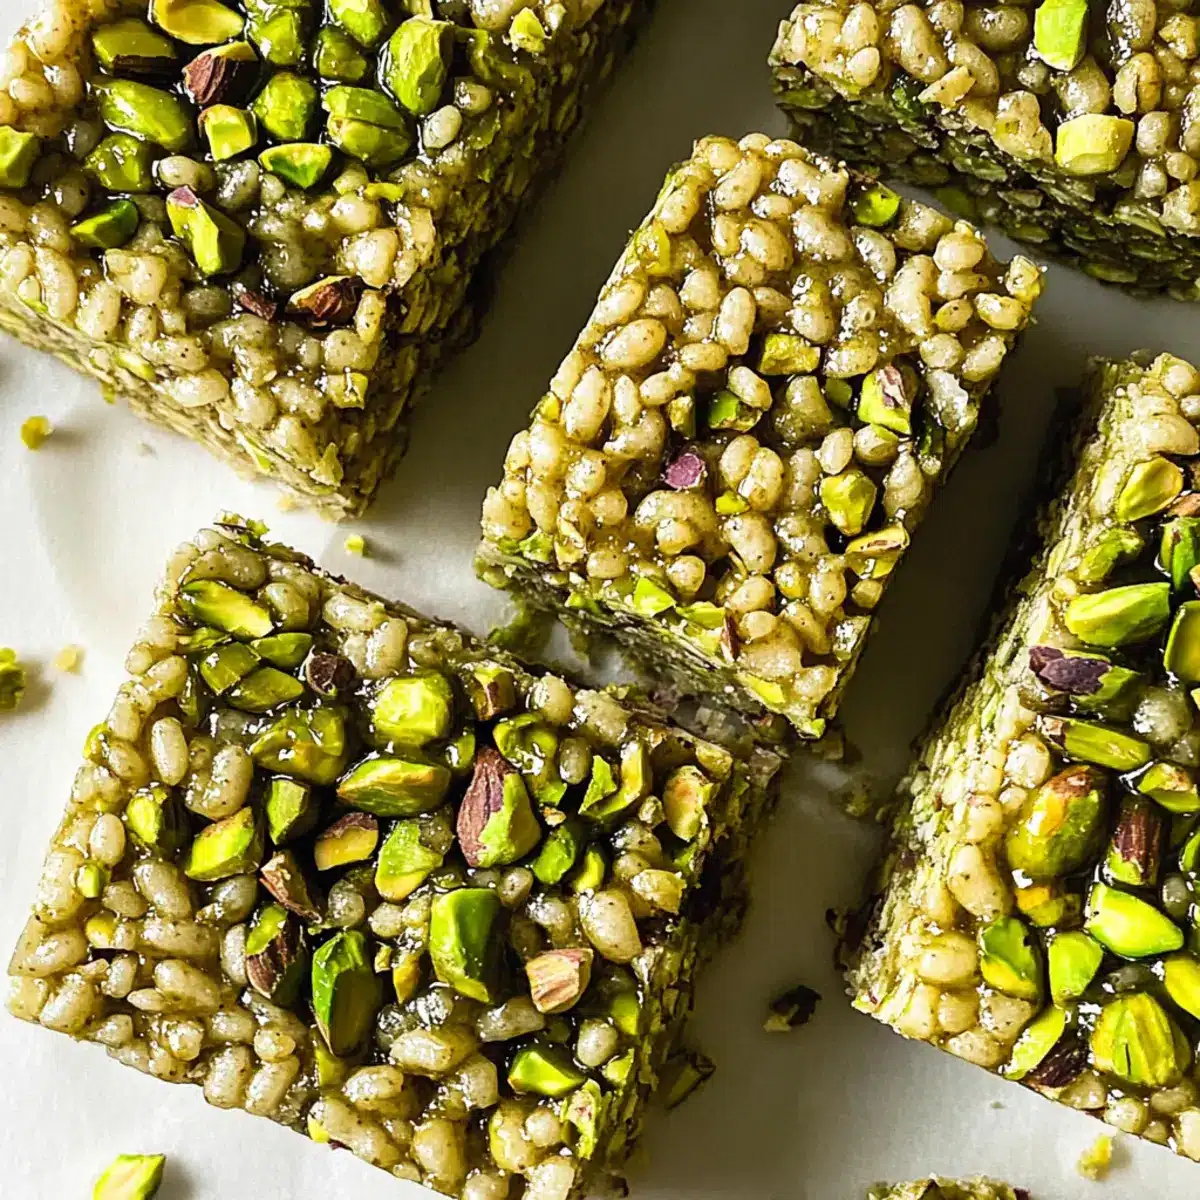
Visually Stunning: The vibrant green hues from the pistachios make these bars a standout dessert, sure to impress at any gathering!
Versatile Enjoyment: Pair them with a cup of coffee or tea for a delightful afternoon snack, or serve them as a nutritious dessert option after dinner.
Pistachio Rice Krispie Treats Ingredients
For the Base
• Rice Cereal – Provides structure and crunch; opt for gluten-free rice cereal to keep these Pistachio Rice Krispie Treats gluten-free.
• Chopped Pistachios – Adds flavor and texture; consider lightly toasting them for an extra depth of richness.
• Pistachio Butter – Acts as a primary binding agent and flavor source; homemade is recommended for the best taste and quality.
• Tahini – Contributes creaminess and helps bind the treats; almond or sunflower butter can be used as a substitute.
For Sweetness
• Honey – Sweetens the treats while acting as a binding agent; maple syrup works as a vegan alternative.
• Vanilla Extract – Enhances the overall flavor profile, creating a delightful taste experience.
• Salt – Balances the sweetness, bringing out the flavors in your treats.
With these ingredients, you can make scrumptious Pistachio Rice Krispie Treats that are not just delicious but also a nourishing alternative to the traditional recipe!
Step‑by‑Step Instructions for Pistachio Rice Krispie Treats
Step 1: Prepare Pan
Begin by lining a 9×9 inch baking dish with parchment paper, allowing some overhang for easy removal later. This creates a non-stick surface for your Pistachio Rice Krispie Treats. Ensure the parchment is secure by pressing it down to the corners, making your treats easy to slice once they’re set.
Step 2: Mix Dry Ingredients
In a large mixing bowl, combine 6 cups of gluten-free rice cereal and 1 cup of chopped pistachios. Stir the ingredients together until the rice cereal is evenly dispersed with the chopped nuts, which not only adds texture but also infuses a nutty flavor throughout your Pistachio Rice Krispie Treats.
Step 3: Heat Syrup Mixture
In a medium saucepan, combine 1 cup of honey, 1/2 cup of pistachio butter, 1/4 cup of tahini, 1 teaspoon of vanilla extract, and a pinch of salt. Heat the mixture over low heat while continuously stirring for about 5–7 minutes until it’s gently bubbling and completely smooth. Be careful not to boil, as this can affect the texture of your treats.
Step 4: Combine
Once the syrup is warm and glossy, pour it over the dry ingredients in your mixing bowl. Using a rubber spatula, gently fold the mixture together until all the rice cereal and pistachios are evenly coated with the syrup. You should see the cereal beginning to glisten, ensuring every bit is covered for perfectly delicious Pistachio Rice Krispie Treats.
Step 5: Press into Pan
Transfer the sticky mixture into your prepared baking dish, spreading it out evenly to create a smooth surface. Use the back of a measuring cup or a piece of parchment paper to firmly press the mixture down into the pan. This compression is crucial for a cohesive final texture, allowing the treats to hold together well when sliced.
Step 6: Chill
Cover the baking dish with plastic wrap and place it in the freezer for about 1 hour. This step helps your Pistachio Rice Krispie Treats set properly, allowing the flavors to meld and the texture to firm up. They should be solid to the touch when ready to slice and serve.
Step 7: Slice and Serve
Once chilled, remove the dish from the freezer and lift out the parchment paper to transfer the block of treats to a cutting board. Use a sharp knife to cut the solidified mixture into 12 even bars. Enjoy these vibrant Pistachio Rice Krispie Treats as a nutritious snack or a delightful dessert that everyone will love!
Pistachio Rice Krispie Treats Variations
Feel free to unleash your creativity and customize these treats with the following fun twists!
- Nut-Free: Swap pistachios for sunflower seeds for a nut-free version that remains equally delightful.
- Chocolate Lover: Add dark chocolate chips to the mixture for a rich, indulgent flavor that pairs beautifully with pistachio.
- Fruit Add-In: Stir in dried cranberries or apricots for a fruity burst of sweetness and a touch of chewy texture.
- Coconut Twist: Incorporate unsweetened shredded coconut for a tropical flair and added chewiness that complements the nutty base.
- Spicy Kick: A sprinkle of cayenne pepper can introduce a subtle heat, balancing the sweetness with an unexpected zest.
- Texture Boost: Consider adding crispy rice cereal for an extra crunch that heightens the overall texture experience.
- Sauce Drizzle: Finish with a drizzle of dark chocolate or white chocolate on top for an eye-catching finish that impresses at any gathering.
- Fusion Flair: Experiment with using matcha powder for a vibrant green touch, providing a unique flavor twist that marries beautifully with pistachio.
Whichever variation you choose, you’ll create something uniquely yours to share and enjoy. For more inspiration, try my delicious Pistachio Cream Chocolate or check out the fragrant Brown Butter Treats for another delightful dessert experience!
Make Ahead Options
These Pistachio Rice Krispie Treats are perfect for busy home cooks looking to save time! You can prepare the mixture and press it into the pan up to 24 hours in advance. Just cover the prepared pan with plastic wrap and refrigerate to keep them fresh and prevent any drying out. Alternatively, you can freeze the uncut treats for up to 3 days. When you’re ready to serve, simply remove them from the refrigerator or freezer, slice into bars, and enjoy their delicious, chewy texture just as if they were freshly made! This makes them a fantastic option for quick snacks or dessert after a hectic day.
Storage Tips for Pistachio Rice Krispie Treats
Room Temperature: Store the treats in an airtight container at room temperature for up to 3 days. This keeps them fresh and chewy for snacking.
Fridge: For extended freshness, you can refrigerate the pistachio rice krispie treats. Just make sure they are well-wrapped to prevent them from drying out.
Freezer: Freeze the treats for up to 2 months for longer storage. Wrap them individually or layer with parchment paper in an airtight container to keep them from sticking together.
Reheating: If you prefer them soft, let them sit at room temperature for a bit or microwave for a few seconds before enjoying.
Expert Tips for Pistachio Rice Krispie Treats
-
Choose Quality Ingredients: Using high-quality pistachio butter and fresh nuts enhances the flavor of your Pistachio Rice Krispie Treats significantly. Homemade pistachio butter is best!
-
Proper Mixing: Ensure that the syrup mixture is evenly coated over the rice cereal and nuts. Uneven mixing can lead to some bites being dry, so fold gently yet thoroughly.
-
Firm Pressing: Press the mixture firmly into the baking dish to prevent your treats from crumbling. The more compacted they are, the easier they slice!
-
Chill Thoroughly: Don’t rush the chilling process. Allow the treats to chill for the full hour to ensure they set properly, making slicing smoother.
-
Storage Tips: Keep leftovers in an airtight container at room temperature for up to 3 days or refrigerate to maintain freshness.
What to Serve with Pistachio Rice Krispie Treats
These delightful treats shine even brighter when paired with the right accompaniments, creating a memorable meal experience.
-
Creamy Vanilla Ice Cream: The smooth, rich texture of ice cream complements the chewy treats, adding a comforting coolness to the dessert.
-
Fresh Berries: A medley of strawberries, blueberries, and raspberries introduces a burst of freshness and a touch of acidity, balancing the sweetness perfectly. They add a splash of color too!
-
Hot Coffee or Tea: Enjoying these treats with a warm cup brings out their nutty flavors while adding a comforting warmth. The caffeine provides a lovely contrast to the sweetness.
-
Chocolate Dipping Sauce: For chocolate lovers, a warm chocolate sauce serves as a delightful dip, making each bite even more indulgent and rich.
-
Coconut Yogurt: A dollop of coconut yogurt adds creaminess and a tropical vibe, enhancing the nutty flavor while making each bite feel luxurious.
-
Sparkling Lemonade: The bright, zesty notes of sparkling lemonade create a refreshing palate cleanser, making it a wonderful drink to accompany your sweet treat!
Pistachio Rice Krispie Treats Recipe FAQs
What type of rice cereal should I use for Pistachio Rice Krispie Treats?
For the best results, use gluten-free rice cereal if you’re aiming for a gluten-free dessert. Brands like Rice Chex or any other certified gluten-free cereals work great and ensure everyone can enjoy these treats without worry!
How should I store my Pistachio Rice Krispie Treats?
You can store them in an airtight container at room temperature for up to 3 days, keeping them fresh and chewy. If you’d like them to last longer, refrigerate them, ensuring they are well-wrapped to avoid drying out.
Can I freeze Pistachio Rice Krispie Treats?
Absolutely! For longer storage, freeze the treats for up to 2 months. Wrap them individually in plastic wrap and then place them in an airtight container. This way, they won’t stick together! When you’re ready to enjoy, just let them sit at room temperature for a few minutes, or pop them in the microwave for 5-10 seconds for a soft treat.
What can I do if my mixture is too crumbly?
If your Pistachio Rice Krispie Treats are coming out crumbly, it might be due to insufficient mixing or not pressing the mixture firmly into the pan. Make sure to mix until everything is well-coated and then press down firmly into the baking dish. If they still crumble, check that your syrup mixture was sticky and fully combined before pouring over the dry ingredients.
Are there any dietary considerations for Pistachio Rice Krispie Treats?
While this recipe is naturally gluten-free, always double-check ingredient labels if anyone has allergies. Nuts, especially pistachios, can be a common allergen. This treat isn’t suitable for anyone with nut allergies, and if you’re looking for a nut-free version, you could consider using seeds or sunflower butter instead!
Pistachio Rice Krispie Treats with a Nutty Health Boost
Ingredients
Equipment
Method
- Prepare Pan: Line a 9x9 inch baking dish with parchment paper, pressing it down securely.
- Mix Dry Ingredients: In a large bowl, combine rice cereal and chopped pistachios.
- Heat Syrup Mixture: In a saucepan, heat honey, pistachio butter, tahini, vanilla, and salt over low heat for 5–7 minutes until smooth.
- Combine: Pour the syrup over the dry ingredients and fold gently until well-coated.
- Press into Pan: Transfer the mixture into the prepared dish and press down firmly.
- Chill: Cover and freeze for about 1 hour to set.
- Slice and Serve: Cut into 12 bars and enjoy!