

As I rummaged through my fridge on a long, lazy afternoon, I stumbled upon a half-eaten pint of ice cream just waiting for a culinary adventure. That’s when I thought, “Why not elevate our beloved frozen treat into something truly unique?” Enter Mochi Ice Cream, a delightful hybrid that offers a chewy bite and creamy surprise all in one. This customizable recipe not only allows you to fill mochi with your favorite ice cream flavors but is also surprisingly simple to make at home. And the best part? It’s gluten-free and adaptable, making it the perfect treat for any dessert lover looking for a fun, homemade indulgence. Whether it’s a warm summer evening or a cozy night in, these little bites will impress family and friends alike. Are you ready to roll up your sleeves and make a fun treat that’s sure to become a favorite?
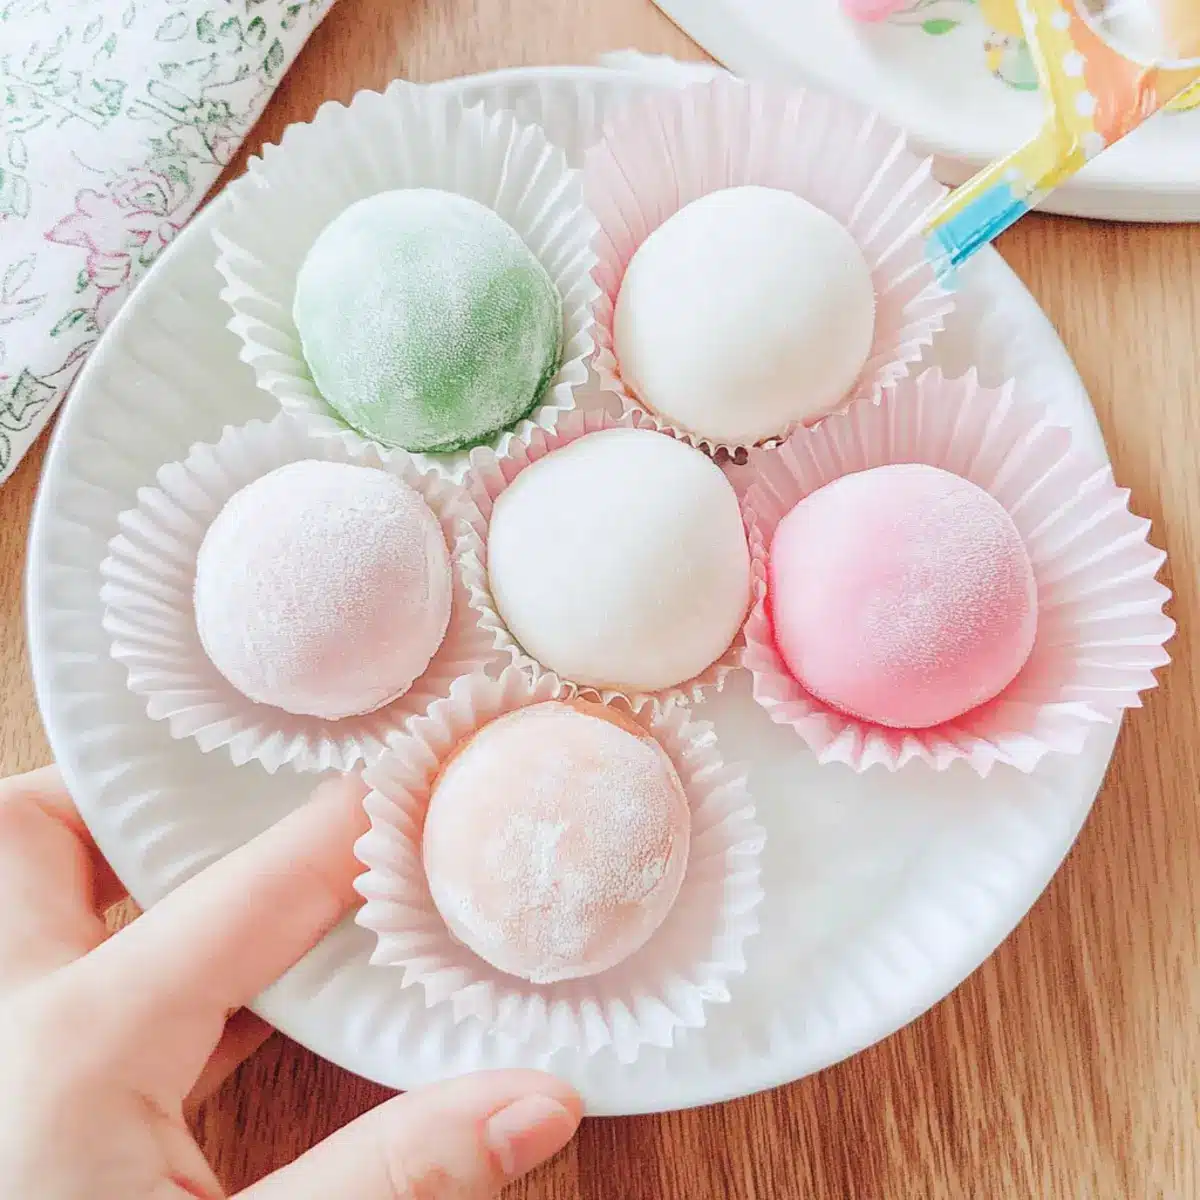
Why is Mochi Ice Cream So Special?
Unique Texture: The soft, chewy exterior of mochi combined with a creamy ice cream center creates a delightful sensory experience.
Customizable Flavors: You can fill your mochi with any ice cream flavor you love—think matcha, mango, or classic vanilla.
Fun to Make: Engaging your inner chef with this interactive recipe is a fantastic way to spend an afternoon, especially if you’re bored with fast food routines!
Perfect Gatherings: Impress guests at summer BBQs or cozy gatherings—everyone will appreciate this homemade treat!
Gluten-Free: Made with glutinous rice flour, this dessert is gluten-free, ensuring everyone can enjoy it without hesitation.
Get inspired and try other amazing recipes too, like Creamy Chicken and Rice Casserole for a comforting meal or Butternut Squash Apple Soup to warm your soul on cool evenings!
Mochi Ice Cream Ingredients
For the Mochi Dough
- Glutinous Rice Flour (Sweet Rice Flour) – This key ingredient gives mochi its signature chewy texture; regular rice flour won’t yield the same results.
- Milk – Acts as the liquid base for the dough; you can substitute this with water for a dairy-free option.
- Granulated Sugar – Sweetens the mochi, balancing the flavors perfectly.
- Food Coloring (optional) – Use to add a fun twist and customize the appearance of your mochi!
For the Filling
- Ice Cream – Choose your favorite flavor, from classic vanilla to exotic matcha; this is the star of your mochi ice cream!
For Dusting
- Cornstarch – Dust your work surface and the dough to prevent sticking during preparation.
Create your own delightful Mochi Ice Cream and elevate your dessert game!
Step‑by‑Step Instructions for Mochi Ice Cream
Step 1: Prepare Ice Cream Balls
Begin by scooping 2-3 tablespoons of your favorite ice cream into individual cupcake liners. Place them in the freezer and let the ice cream harden for at least 2 hours. This ensures that your filling is solid and prevents it from melting during the mochi assembly process, creating the perfect bite-sized treat.
Step 2: Make Mochi Dough
In a microwave-safe bowl, combine glutinous rice flour, milk, and granulated sugar, stirring until smooth. Cover the bowl with plastic wrap and microwave on high for 1 minute. After the time is up, carefully remove and check the texture; it should be stretchy and slightly sticky. If needed, microwave for an additional 30 seconds until you achieve the right consistency.
Step 3: Knead Dough
Dust a clean surface with cornstarch to prevent sticking, and transfer the warm mochi dough onto it. With dusted hands, knead the dough for about 5 minutes, until it becomes elastic and smooth. Allow the dough to cool for a few minutes before proceeding, ensuring it’s manageable for shaping your delicious mochi ice cream.
Step 4: Roll Out Dough
Once your dough is slightly cooler, use a rolling pin to spread it out evenly to about 1/4 inch thick. Dust the top with cornstarch to prevent it from sticking to the rolling pin. After rolling, let the dough cool completely, which will make it easier to handle when wrapping around the ice cream balls.
Step 5: Cut and Wrap
Using a round cutter or the rim of a glass, cut the dough into 3-4 inch circles. Place a frozen ice cream ball in the center of each circle and gently fold the dough over the ice cream, pinching the edges together to seal. This envelops the ice cream in a soft, chewy mochi shell, creating the bases of your delightful mochi ice cream.
Step 6: Freeze Again
Carefully place each sealed mochi in cupcake liners and return them to the freezer for at least 1 hour. This step is crucial to set the mochi ice cream firmly. When you’re ready to serve, allow them to thaw for 5-10 minutes at room temperature for the best eating experience—softening the dough slightly while keeping the ice cream cold and creamy inside.
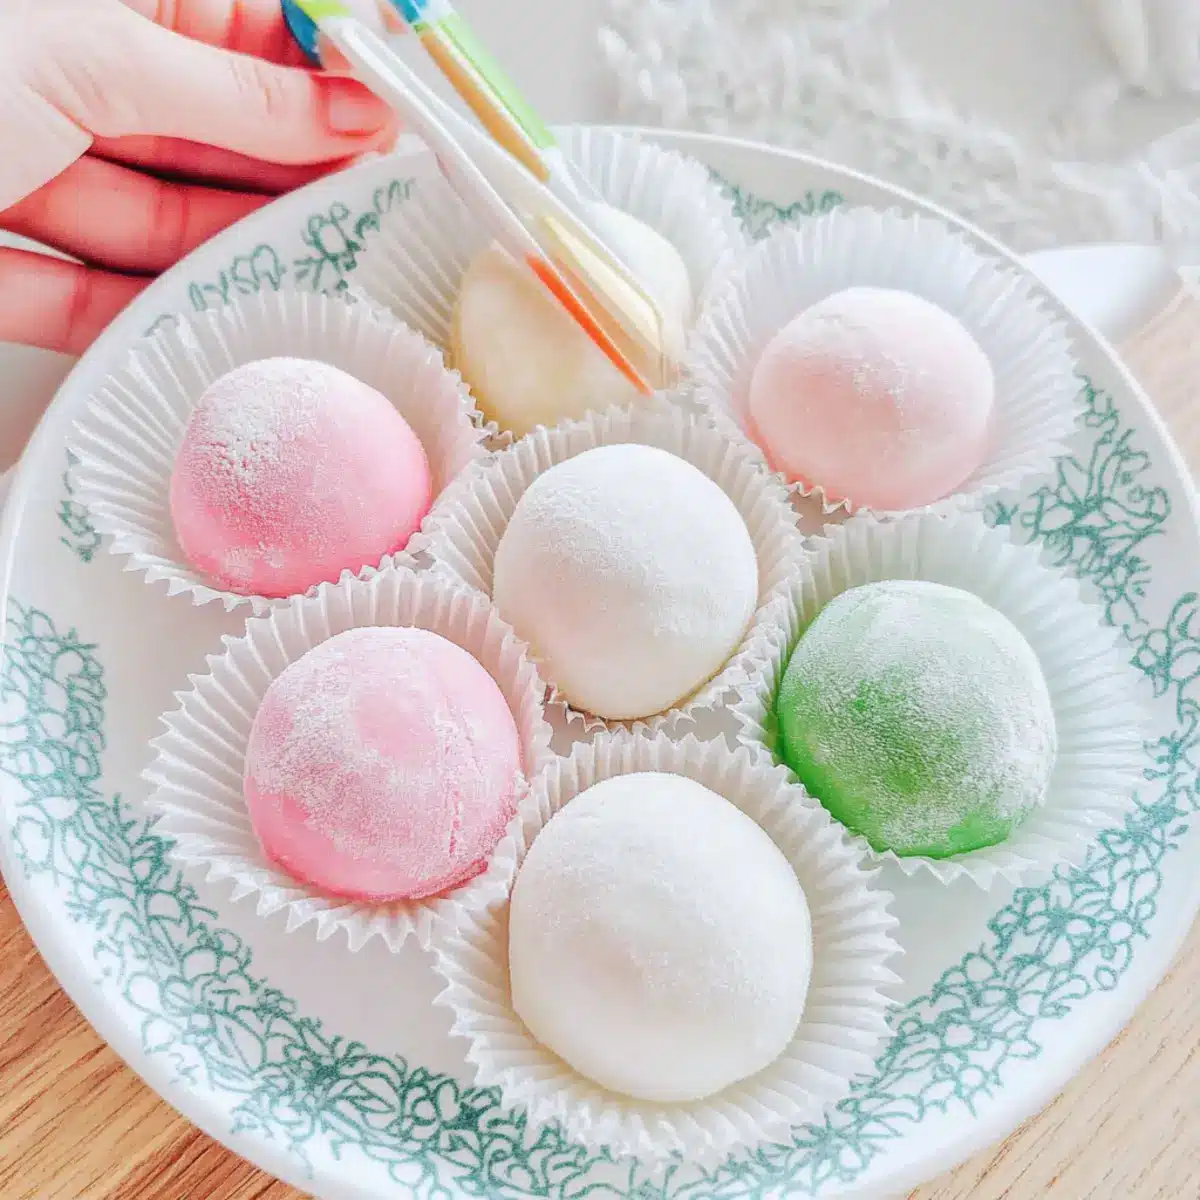
Mochi Ice Cream Variations: Customize Your Treat
Feel free to unleash your creativity and give this delightful treat your own personal touch!
- Dairy-Free: Substitute milk with almond or coconut milk for a delicious dairy-free version of mochi ice cream.
- Flavor Infusions: Add a splash of vanilla, almond, or mint extract to the mochi dough for an extra flavor twist that complements your ice cream.
- Nutty Crunch: Incorporate finely chopped nuts, like pistachios or almonds, into the mochi dough for added texture and flavor; it’s a delightful surprise with every bite!
- Fruity Filling: Swap traditional ice cream for bright, fresh fruit purees, or even use sweetened red bean paste for a traditional touch; these fruity twists are refreshing.
- Spicy Kick: Add a pinch of cayenne or chili powder to your chocolate ice cream for an adventurous spicy mochi treat that will tantalize your taste buds.
- Matcha Magic: Use matcha powder in the mochi dough for a vibrant, earthy flavor that pairs perfectly with vanilla or mango ice cream.
- Chocolate Swirl: Mix unsweetened cocoa powder into your dough for a rich chocolatey exterior while filling with any flavor of your choice.
- Cake Batter Delight: Add sprinkles to the mochi dough for a playful, cake batter vibe that will brighten up any gathering!
And if you’re looking for more delicious ideas, you might love these recipes too, like Creamy Chicken and Wild Rice Soup for a cozy night or the delightful Cookies Cream Cookies for a sweet treat!
Make Ahead Options
These Mochi Ice Cream treats are perfect for meal prep enthusiasts! You can prepare the ice cream balls up to 24 hours in advance by scooping your desired flavors into cupcake liners and allowing them to freeze until solid. You can also make the mochi dough and keep it refrigerated for up to 3 days. To maintain its quality, ensure the dough is covered tightly to prevent drying out. When you’re ready to enjoy your homemade delights, simply roll out the dough, wrap it around the frozen ice cream balls, and freeze again for about an hour before serving. This way, you can easily enjoy a refreshing dessert with minimal effort whenever the craving strikes!
What to Serve with Customizable Mochi Ice Cream?
Indulging in homemade mochi ice cream is a delightful experience, but why not enhance it with perfect pairings to create a full feast?
-
Fresh Berries: Plump, juicy berries provide a burst of freshness that contrasts beautifully with the creamy ice cream inside the mochi. They add a refreshing touch to each bite!
-
Chocolate Sauce: A drizzle of rich chocolate sauce adds a luxurious touch, making every mochi ice cream bite even more indulgent. This creates a sweet harmony that chocolate lovers won’t resist.
-
Coconut Sorbet: Serve alongside a scoop of velvety coconut sorbet for a tropical twist. The light, refreshing flavor complements the mochi’s chewy texture perfectly!
-
Green Tea: A warm cup of soothing green tea elevates the dessert experience, balancing the sweetness of the mochi ice cream with its earthy notes.
-
Sweetened Condensed Milk: Drizzle this creamy, rich sauce over the mochi ice cream for a decadent treat. The extra sweetness of condensed milk enhances the mochi’s delightful flavors!
-
Pistachio Crumble: Sprinkle some crushed pistachios over the mochi ice cream to introduce a crunchy texture and a nutty flavor that beautifully complements the sweetness.
-
Fruit Salad: A vibrant fruit salad brings a refreshing and colorful contrast to the mochi. The variety of flavors and textures will excite your taste buds!
-
Chai Latte: Pair with a warm chai latte to enjoy a cozy dessert moment, as the spices in chai amplify the mochi’s unique texture and flavor.
-
Matcha Cookies: Serve alongside matcha-flavored cookies to create a perfect duo of flavors. The cookies’ crispiness harmonizes with the mochi ice cream’s chewy texture.
-
Mango Sticky Rice: This classic Thai dessert provides a sweet and chewy option that pairs beautifully with the mochi, creating a delightful fusion of flavors and textures.
Storage Tips for Mochi Ice Cream
Fridge: Store assembled mochi ice cream in an airtight container for up to 3 days if you plan to enjoy them quickly. This keeps them fresh and chewy.
Freezer: Keep mochi ice cream in a well-sealed container in the freezer for up to 3 months. Wrap each piece individually to maintain optimal texture and prevent freezer burn.
Room Temperature: Before serving, let the mochi ice cream sit at room temperature for 5-10 minutes. This helps soften the dough, making it easier to bite into and enhancing the experience.
Reheating: There’s no need for reheating; simply enjoy the mochi ice cream cold. Allowing it to thaw slightly will improve the texture.
Expert Tips for Mochi Ice Cream
-
Use Glutinous Rice Flour: This is essential for achieving the authentic chewy texture of mochi. Regular rice flour will not produce the same results.
-
Cool Ice Cream Properly: Ensure your ice cream balls are thoroughly frozen before assembly to prevent melting and avoid a gooey mess when wrapping with mochi dough.
-
Handle with Care: Wearing gloves while shaping the mochi can help prevent the dough from sticking to your hands, making it easier to work with.
-
Dust Generously: Don’t skimp on cornstarch while rolling and cutting the dough. It helps prevent sticking and ensures a smooth assembly process.
-
Thaw Before Serving: Allowing the mochi ice cream to sit at room temperature for 5-10 minutes enhances the flavor and texture, making each bite delightful!
Mochi Ice Cream Recipe FAQs
What type of rice flour should I use for mochi ice cream?
Absolutely! You must use glutinous rice flour, often labeled as sweet rice flour. Regular rice flour will not give the characteristic chewy texture of mochi, and substituting it will result in a completely different product.
How should I store leftover mochi ice cream?
I recommend placing your mochi ice cream in an airtight container in the freezer, where it will last for up to 3 months. For added freshness, wrap each piece individually in plastic wrap before placing them in the container to prevent freezer burn.
Can I freeze mochi ice cream for later?
Very! After making your mochi ice cream, it’s best to freeze them for at least 1 hour before serving. You can keep them in the freezer for up to 3 months. Just remember to thaw them for about 5-10 minutes at room temperature before enjoying—they’ll be so much easier to bite into!
What should I do if my mochi dough is too sticky?
No worries! If your mochi dough ends up too sticky, try dusting your hands and work surface with more cornstarch while kneading. Also, adding more glutinous rice flour can help; sprinkle a little in and knead until you reach the desired consistency. If it’s too grainy, simply microwave it for an additional 30 seconds to soften it up.
Are there any allergens I should be aware of when making mochi ice cream?
Absolutely! While mochi itself is gluten-free, be cautious with the ice cream flavor you choose. Some ice creams may contain allergens like eggs or nuts, so it’s always wise to check ingredient labels. If you’re making it for someone with allergies, I suggest using dairy-free ice cream options, especially if you want to cater to dietary restrictions.
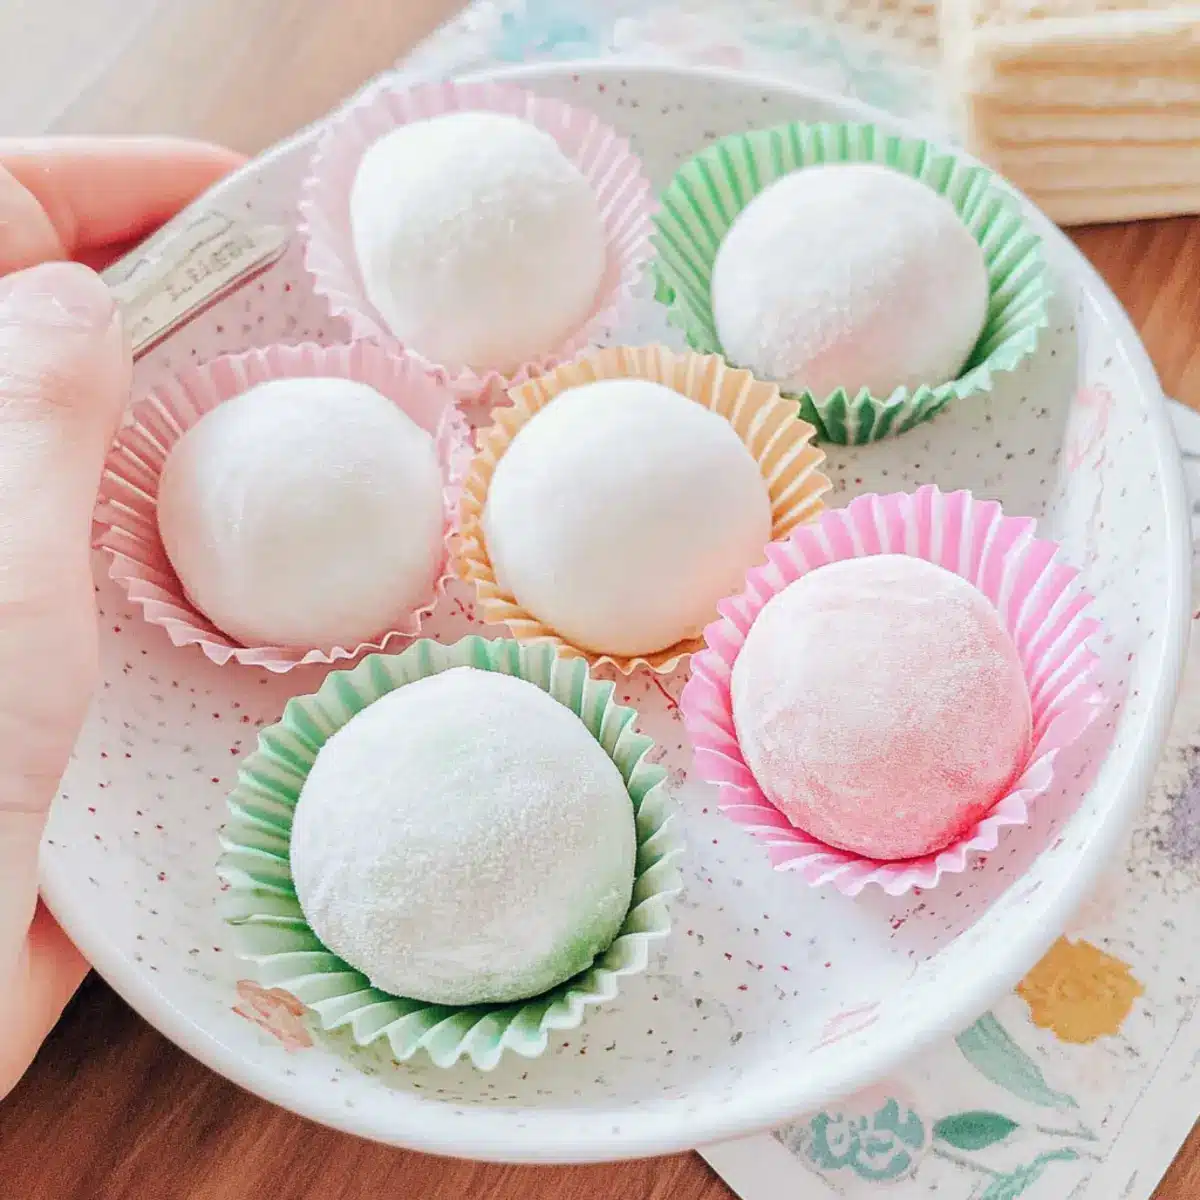
Delicious Mochi Ice Cream: Craft Your Favorite Flavor at Home
Ingredients
Equipment
Method
- Prepare Ice Cream Balls: Scoop 2-3 tablespoons of your favorite ice cream into individual cupcake liners and freeze for at least 2 hours.
- Make Mochi Dough: Combine glutinous rice flour, milk, and granulated sugar in a microwave-safe bowl. Microwave on high for 1 minute, stir, and check texture. If needed, microwave for another 30 seconds.
- Knead Dough: Dust a clean surface with cornstarch, transfer the mochi dough, and knead for about 5 minutes until elastic. Let it cool.
- Roll Out Dough: Roll dough to about 1/4 inch thick and dust with cornstarch. Let cool completely.
- Cut and Wrap: Cut dough into 3-4 inch circles, place an ice cream ball in the center, fold over, and pinch edges to seal.
- Freeze Again: Place sealed mochi in cupcake liners and freeze for at least 1 hour before serving.