

As I whipped up a batch of these Fruity Frozen Yogurt Pops, I realized they’re much more than just a refreshing treat for those sizzling summer days; they’re a nostalgic nod to childhood memories of ice cream trucks and sunny afternoons. With just a handful of ingredients and no baking required, these luscious yogurt pops combine the vibrant flavors of fresh, ripe fruits with creamy yogurt, making them a guilt-free snack that both kids and adults can enjoy. Not only are they a healthier alternative to store-bought ice pops, but they’re also a delightful activity to bring the family together in the kitchen. Curious about how to transform simple ingredients into a cool, delicious bite? Let’s dive into making these irresistible Fruity Yogurt Pops!
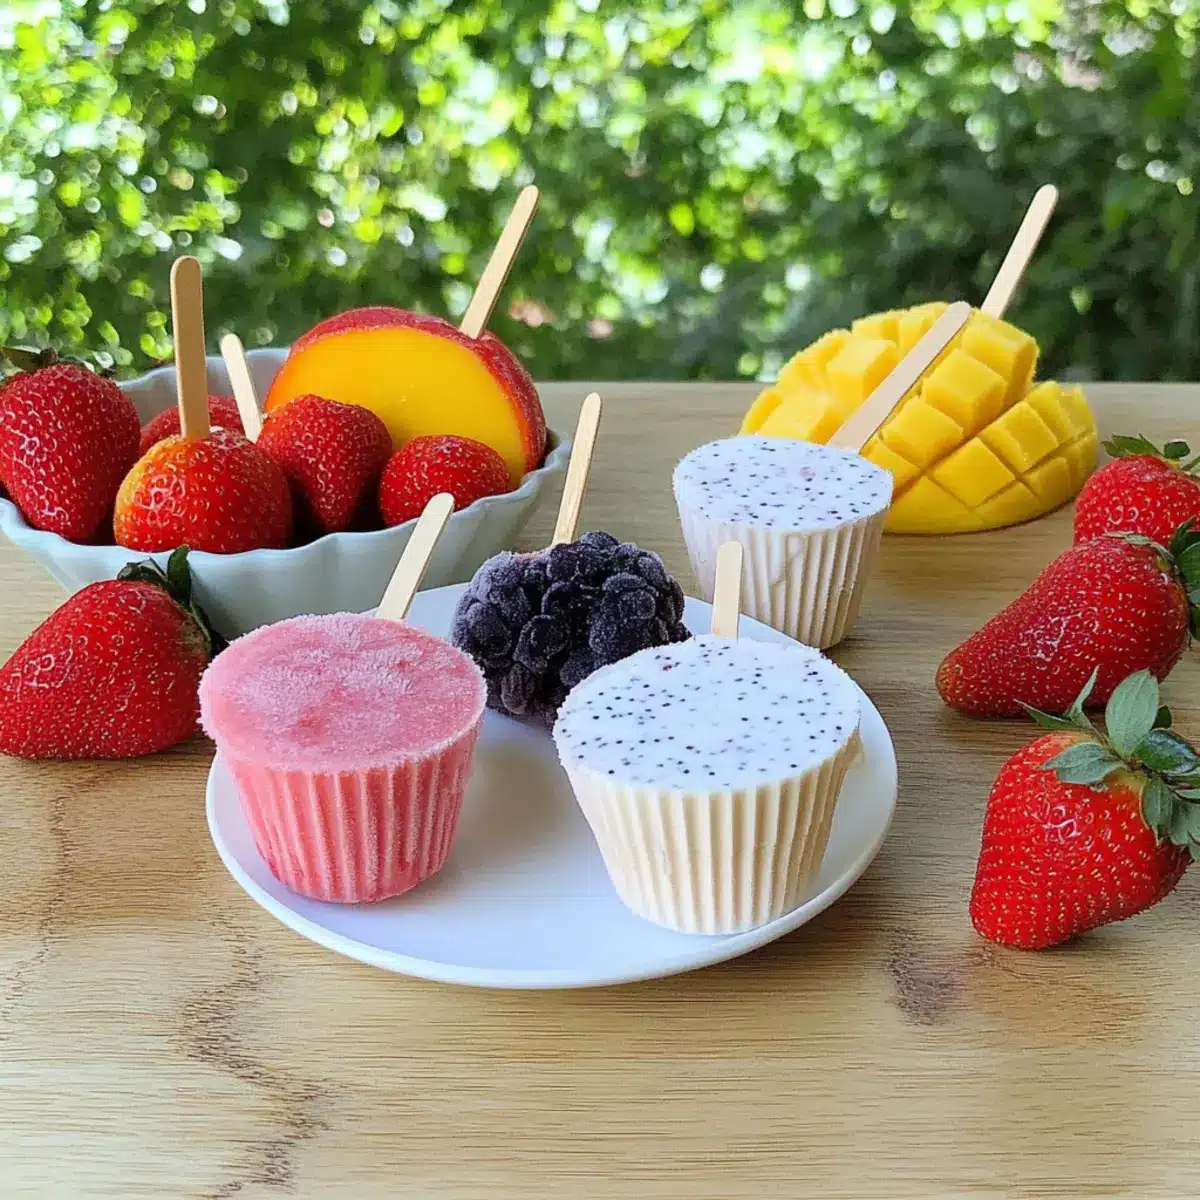
Why are Fruity Yogurt Pops a Must-Try?
Refreshing, these pops are the ultimate way to beat the heat while indulging in something deliciously healthy.
Quick to make, with no baking involved, they are perfect for busy parents and anyone looking for a simple treat.
Healthy ingredients like fresh fruit and yogurt make these pops a guilt-free option that you can feel good about serving.
Customizable flavor combinations allow you to experiment with your favorite fruits or even add a tropical twist with coconut.
Family-friendly fun, making these pops together is a great way to bond and create memories, just like those sunny afternoons from your childhood!
Fruity Yogurt Pops Ingredients
• Get ready to make these deliciously healthy treats!
For the Base
- Fresh Fruit – Choose ripe, seasonal fruits like strawberries, mango, or blueberries to enhance natural sweetness.
- Yogurt (Dairy or Plant-Based) – Acts as the creamy base; feel free to use homemade coconut yogurt for a vegan option.
- Agave Syrup or Other Liquid Sweetener – Sweetens the mixture; you can substitute with honey or maple syrup based on your preference.
For the Popsicle Mold
- Silicone Baking Cups or Popsicle Molds – Ensure easy removal of your fruity yogurt pops after freezing.
- Popsicle Sticks or Small Spoons – Perfect for keeping your popsicles organized and ready for enjoyment!
With these simple ingredients, you’re on your way to crafting delightful Fruity Yogurt Pops that everyone will love!
Step‑by‑Step Instructions for Fruity Yogurt Pops
Step 1: Gather Your Ingredients
Start by collecting your fresh fruits, yogurt, and sweetener. Choose ripe strawberries, mangoes, or blueberries for a delicious flavor. Get your silicone baking cups or popsicle molds ready, along with popsicle sticks or small spoons. This step is crucial for ensuring a smooth workflow as you make your delightful Fruity Yogurt Pops.
Step 2: Prepare the Fruit
Wash and chop larger fruits into smaller pieces to make blending easier. If using strawberries, remove the stems. Measure your fruits, aiming for about 2 to 3 cups total for a balanced sweetness. The better the fruit selection, the more vibrant your Fruity Yogurt Pops will taste, setting the stage for a refreshing summer treat.
Step 3: Blend the Mixture
In a blender, combine the prepared fruit, yogurt, and a splash of agave syrup or your chosen sweetener. Blend until the mixture is completely smooth, usually about 30-40 seconds. Keep an eye out for any lumps that could affect the final texture of your Fruity Yogurt Pops. Adjust the sweetness if necessary to match your taste preferences.
Step 4: Fill Your Molds
Once your mixture is smooth, gently pour it into the silicone baking cups or popsicle molds. Fill them up about 3/4 full to allow for expansion as they freeze. Use a spatula to ensure all the mixture is evenly distributed. This step is where the fun begins, as you see your Fruity Yogurt Pops take shape!
Step 5: Freeze for Initial Stage
Place the filled molds in the freezer for about 1 hour. This allows the mixture to set slightly. After an hour, insert the popsicle sticks or small spoons into the center of each mold. This will help keep them upright while they freeze solid, ensuring perfect pops for your summer enjoyment.
Step 6: Final Freeze
Leave the molds in the freezer for an additional 4 to 5 hours until your Fruity Yogurt Pops are completely solid. They should feel firm to the touch. At this stage, your popsicles are transforming into a creamy, fruity delight, ready to be devoured once fully frozen!
Step 7: Unmold and Serve
To remove the pops, run warm water over the outside of the molds for a few seconds. This will help loosen them effortlessly. Gently pull them out while being cautious not to break. Your refreshing Fruity Yogurt Pops are now ready to serve! Enjoy them right away or store them in an airtight container in the freezer for later.
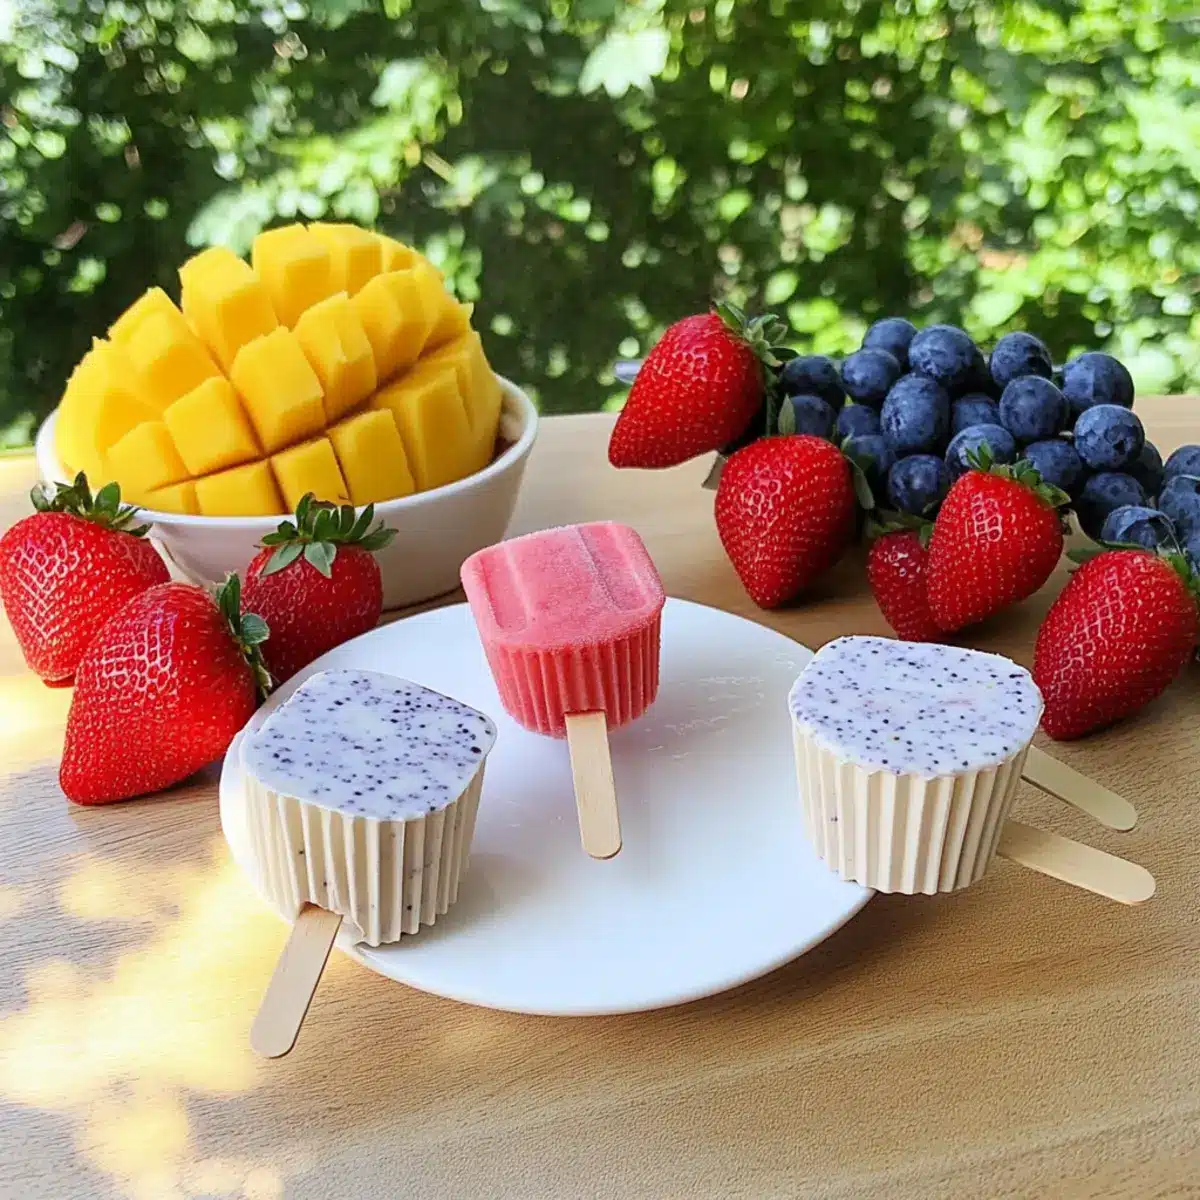
How to Store and Freeze Fruity Yogurt Pops
Fridge: Store leftover pops in the fridge for up to 2 hours if enjoying them soon; however, they are best kept frozen for optimal texture.
Freezer: Keep your Fruity Yogurt Pops in an airtight container in the freezer for up to two weeks. This prevents freezer burn and maintains their delightful flavor.
Reheating (if necessary): If they stick to the mold, run warm water over it briefly to release the pops. Avoid defrosting in the microwave, as it can affect texture.
Serving from Freezer: When ready to enjoy, pull them straight from the freezer! Perfect for a quick, healthy snack or a refreshing treat on a hot day.
Make Ahead Options
These Fruity Frozen Yogurt Pops are perfect for busy weeknights and make-ahead meal prep! You can blend your fruit, yogurt, and sweetener up to 24 hours in advance; simply store the mixture in an airtight container in the refrigerator. When you’re ready to make the pops, pour the prepped mixture into your molds and freeze them for the initial hour before inserting the sticks. For best quality, ensure your fruits are ripe and adjust the sweetness to preference before blending. Once frozen, they’ll be just as delicious as when freshly made, ready to cool you down with minimal effort!
What to Serve with Fruity Frozen Yogurt Pops
Looking to complement these delightful pops with more deliciousness? Let’s explore some perfect pairings!
-
Crunchy Granola: A sprinkle of granola adds a delightful crunch, creating a textural contrast that enhances each creamy bite. Use your favorite mix for a personalized touch!
-
Fresh Fruit Salad: Toss together seasonal fruits for a colorful and refreshing side. The juiciness of fruit salad beautifully balances the creamy yogurt pops.
-
Chilled Herbal Iced Tea: This refreshing drink adds a light herbal note that pairs wonderfully with the fruity flavors in the pops. Serve it over ice for a creative, cool drink option!
-
Coconut Whipped Cream: A dollop of this light and fluffy coconut cream on the side adds a luxurious, tropical sweetness that will have everyone wanting more.
-
Chocolate Dipping Sauce: A warm chocolate dip can make for an indulgent experience! The richness of the chocolate provides a delightful contrast to the fruity yogurt.
-
Mixed Nuts: Offering a handful of roasted mixed nuts brings both protein and crunch to your snack spread, making it a satisfying addition to a summer gathering.
-
Homemade Lemonade: Serve these pops with a glass of refreshing homemade lemonade. The zesty sweetness is a perfect contrast and keeps everyone cool and happy on a hot day.
These pairings elevate your summer snack experience, ensuring that every bite and sip adds to the joy of enjoying your Fruity Frozen Yogurt Pops!
Fruity Yogurt Pops Variations & Substitutions
Feel free to let your creativity shine by customizing these delightful pops to suit your taste and dietary needs!
-
Vegan Option: Use coconut yogurt instead of dairy yogurt for a fresh take that fits perfectly with a plant-based diet.
-
Berry Blast: Blend half strawberries and half raspberries for a sweet and tangy flavor explosion that will wake up your taste buds! The mixed berries create a beautiful color and an invigorating taste you won’t forget.
-
Tropical Twist: Add a splash of coconut milk and chunks of pineapple for a refreshing tropical feel, transforming your pops into a sunny vacation treat. Imagine those beach vibes with every bite!
-
Citrus Zing: Introduce a tablespoon of lemon juice or zest for that zingy freshness. This brightens up the overall flavor and adds a delightful complexity to your fruity pops. It’s a fun surprise on a hot day!
-
Nutty Infusion: Swirl in some almond or peanut butter for a unique blend of creaminess and nutty flavor that packs an extra nutritional punch. It adds a wonderful richness that pairs beautifully with the fruit.
-
Sweetness Level: Adjust sweetness by substituting agave syrup with honey or maple syrup according to your taste, or even omit it if your fruits are particularly sweet. Make it as sweet or subtle as you like!
-
Choco-Dip Delight: After freezing, dip your pops in melted dark chocolate and refreeze for a decadent treat that marries fruity freshness with rich chocolate flavor. It’s the ultimate indulgence for dessert lovers!
-
Heat It Up: Add a pinch of cayenne or chili powder to the mixture for a surprising kick. This twist introduces a spicy edge that contrasts deliciously with the sweet and creamy base—perfect for adventurous taste buds!
These variations let you enjoy endless combinations of flavors, so don’t hesitate to experiment! If you’re looking for more ideas to customize your pops, consider checking out recipes for delicious smoothies or discovering how to make healthy homemade frozen desserts. Your taste journey has just begun!
Expert Tips for Fruity Yogurt Pops
-
Use Ripe Fruit: Make sure your fruits are ripe for maximum sweetness and flavor. Overripe fruit can also add an unexpected tang.
-
Check Consistency: Before pouring into molds, ensure the mixture is thoroughly blended for a smooth texture. Lumps can affect the final pops’ taste and mouthfeel.
-
Avoid Overfilling: When filling molds, leave some room at the top as the mixture expands while freezing. This prevents overflow and messy pops.
-
Warm Molds for Easy Release: If using silicone molds, run them under warm water for a few seconds before removing pops. This ensures they slide out smoothly without breaking.
-
Customize Sweetness: Taste your mixture before freezing, and adjust sweetness with agave syrup, honey, or maple syrup according to your preference for these fruity yogurt pops.
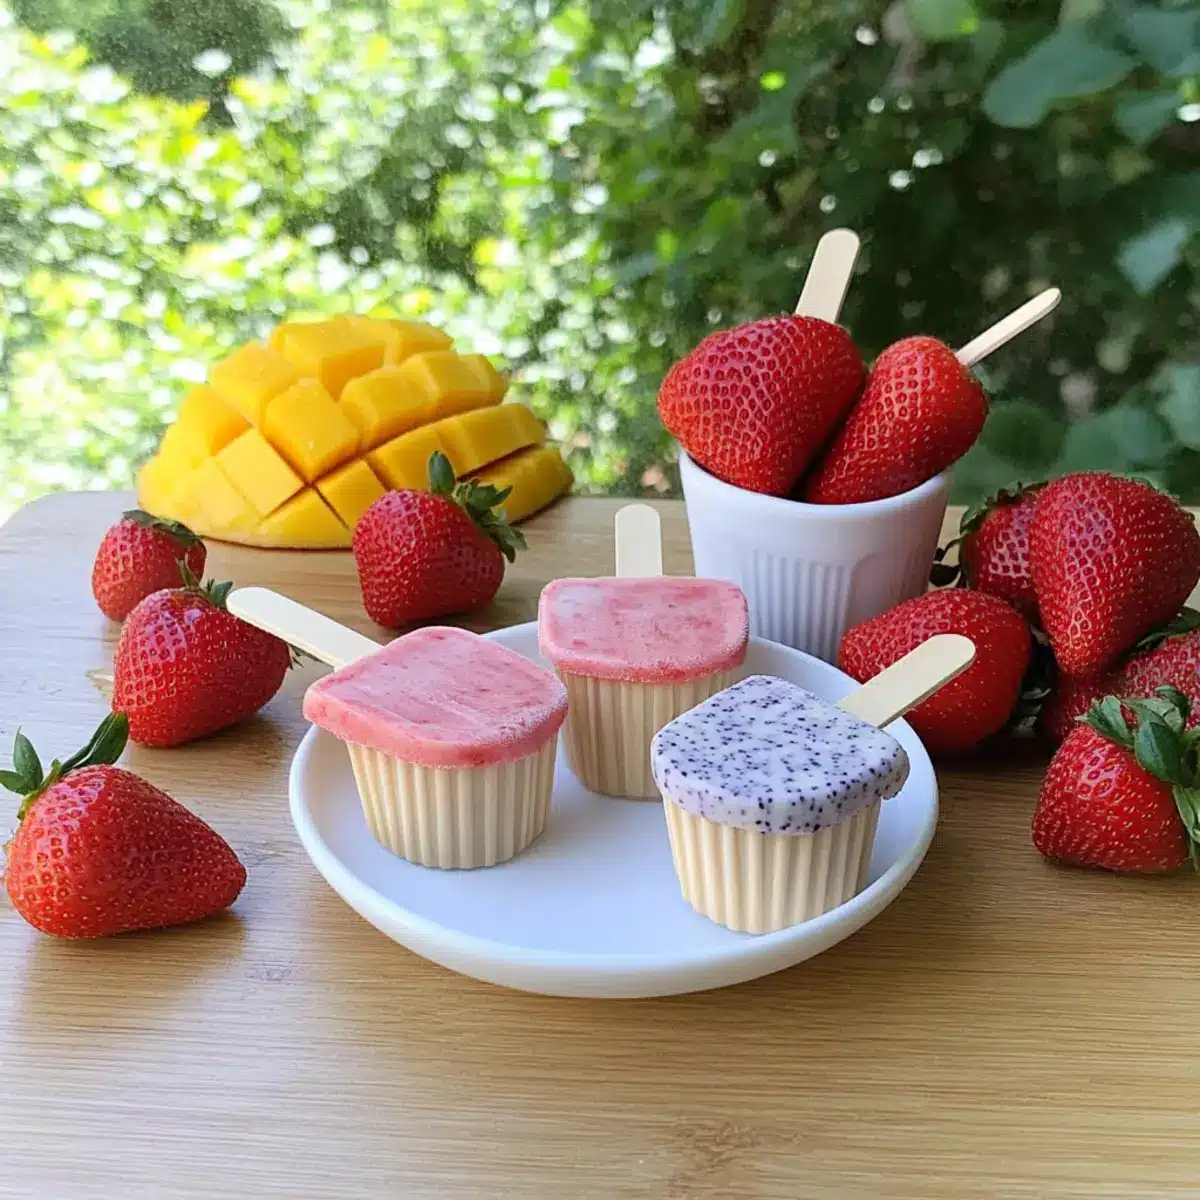
Fruity Yogurt Pops Recipe FAQs
What type of fruit should I use for Fruity Yogurt Pops?
Absolutely go for ripe, seasonal fruits like strawberries, mangoes, or blueberries! They offer the best natural sweetness and flavor. Avoid fruits that have dark spots or feel mushy, as they may not blend well or taste as fresh. When in doubt, just trust your taste buds – the fresher, the better!
How should I store my Fruity Yogurt Pops?
To keep your pops fresh and delicious, store them in an airtight container in the freezer for up to two weeks. This helps prevent freezer burn and preserves their vibrant flavors. If you plan to consume them soon, they can last in the fridge for about 2 hours, but freezing is always best for that creamy texture!
Can I freeze double batches of Fruity Yogurt Pops?
The more the merrier! You can absolutely double the recipe and freeze extra pops. Just remember to allow ample space in your container to avoid freezer burn. If you want to prevent them from sticking, you can separate the layers of pops with parchment paper in your container before freezing.
How can I easily remove Fruity Yogurt Pops from the molds?
If you encounter resistant pops, no worries! Simply run warm water over the outside of the molds for a few seconds. This trick warms the molds slightly and makes it easier to slide the pops out without breaking them. It’s a foolproof method I often use myself!
What sweeteners can I use if I’m avoiding agave syrup?
You can use honey or maple syrup as a natural alternative if agave syrup isn’t your thing! Just keep in mind that the sweetness level may vary with different fruits, so taste and adjust accordingly. Remember: each sweetener brings its unique flavor—be adventurous!
Can I make these Fruity Yogurt Pops without yogurt for a dairy-free option?
Absolutely! Simply substitute with homemade coconut yogurt or any plant-based yogurt you prefer. This adjustment ensures that your pops remain creamy while catering to a vegan lifestyle. Besides, experimenting with different yogurt choices can add a delightful unique twist to each batch!
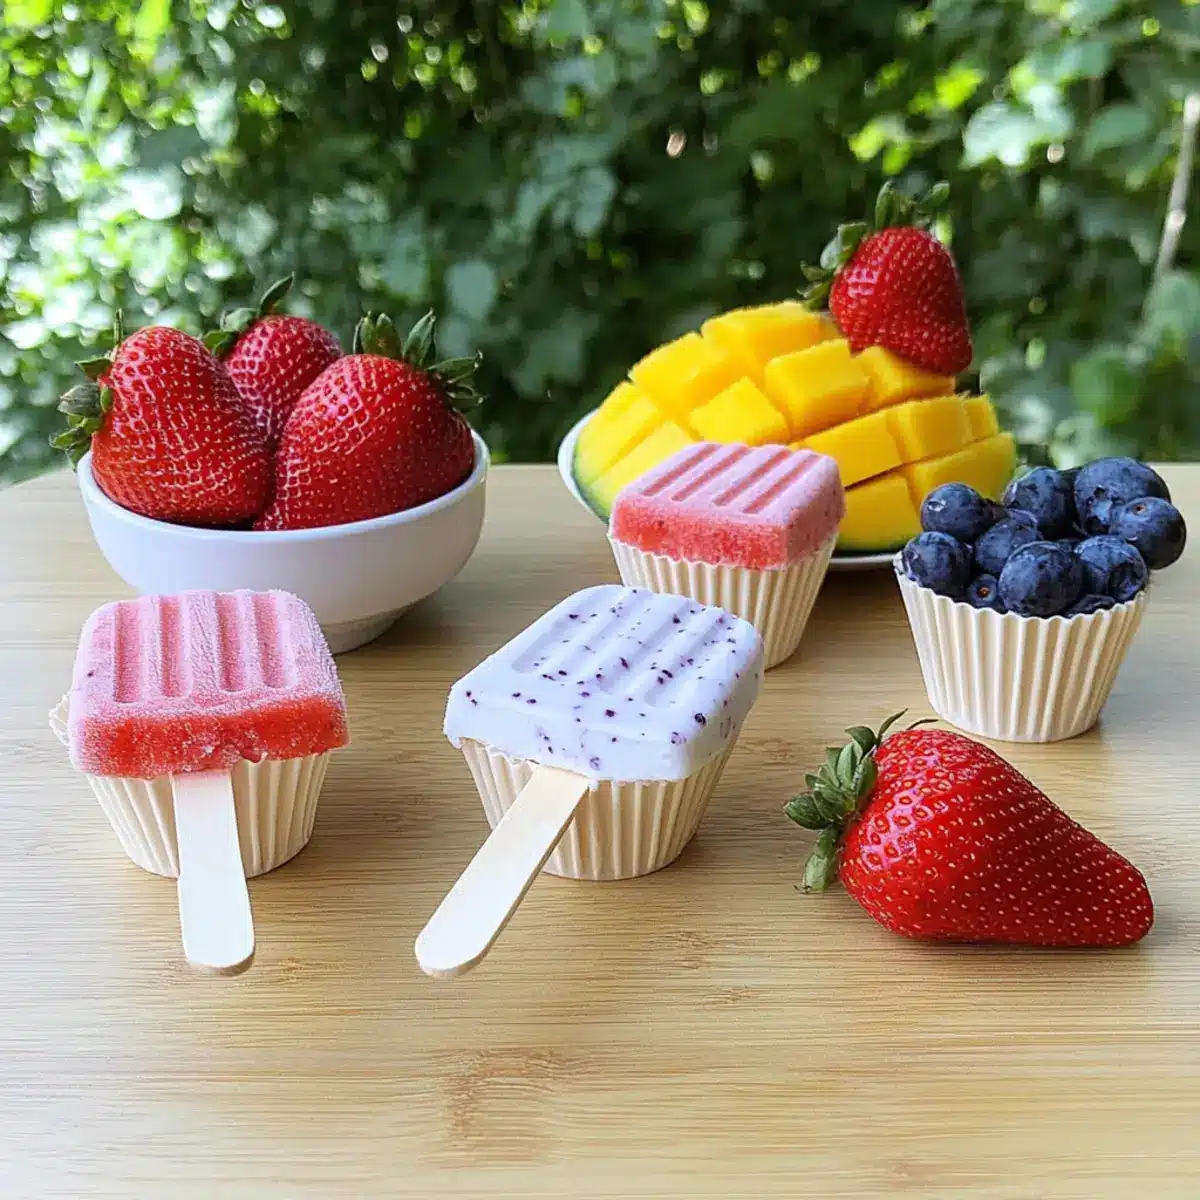
Fruity Yogurt Pops: Your Guilt-Free Summer Treat Delight
Ingredients
Equipment
Method
- Gather your ingredients: fresh fruits, yogurt, and sweetener. Prepare the molds and sticks.
- Wash and chop larger fruits into smaller pieces for easier blending. Aim for about 2 to 3 cups total.
- Blend the fruit, yogurt, and sweetener until smooth (about 30-40 seconds). Adjust sweetness if needed.
- Pour the mixture into the molds, filling them about 3/4 full. Ensure even distribution.
- Freeze for about 1 hour, then insert sticks into the molds to keep them upright.
- Leave the molds in the freezer for an additional 4 to 5 hours until solid.
- Run warm water over the molds to loosen the pops, then gently pull them out to serve.