

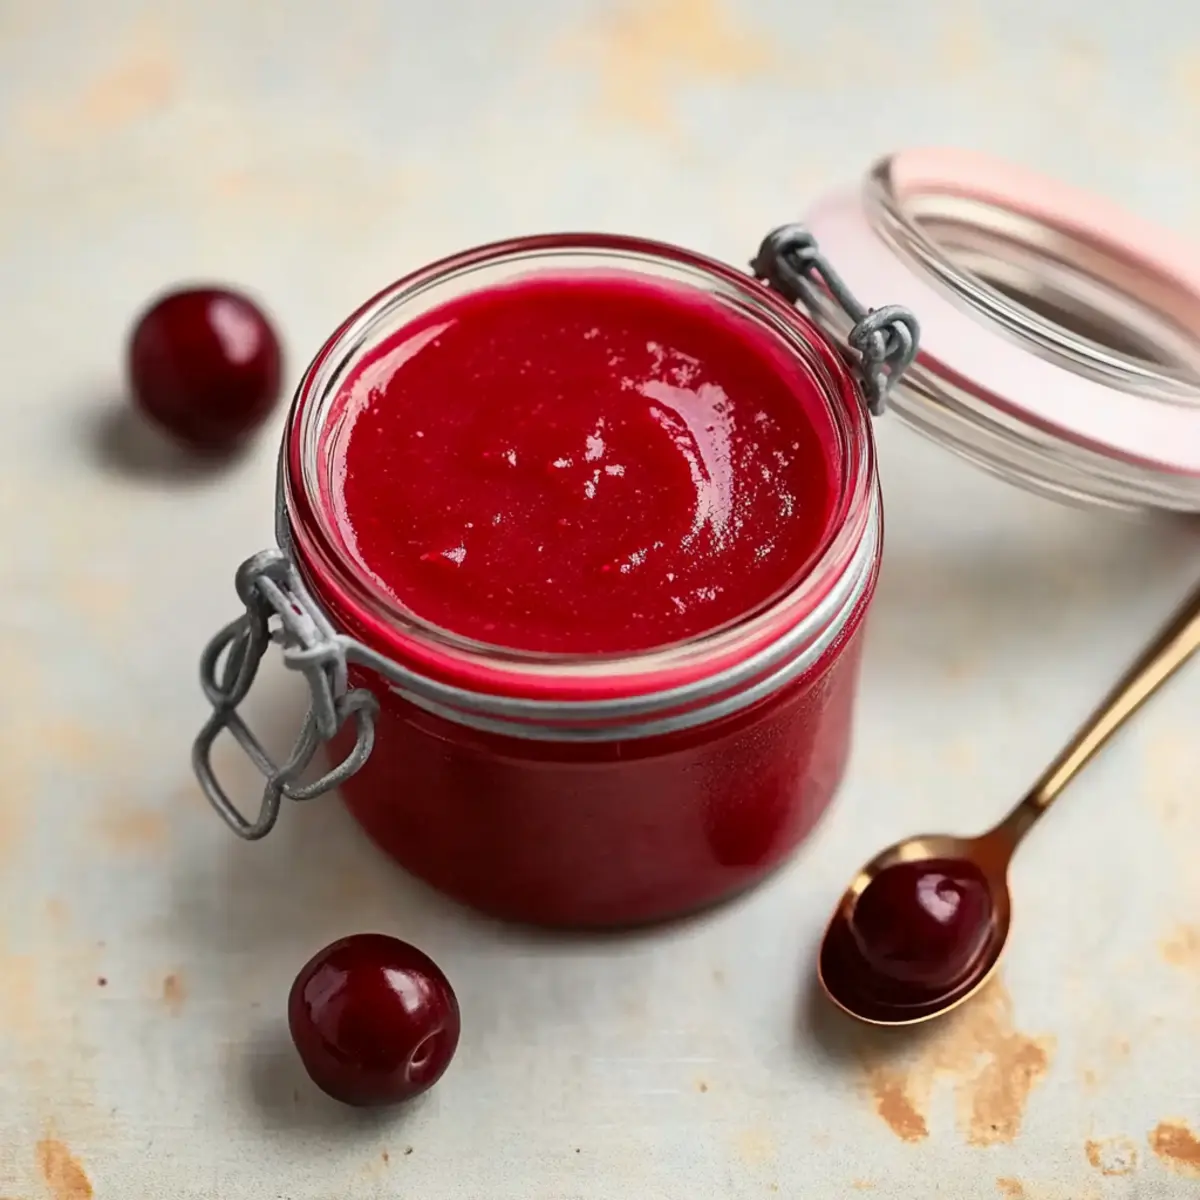
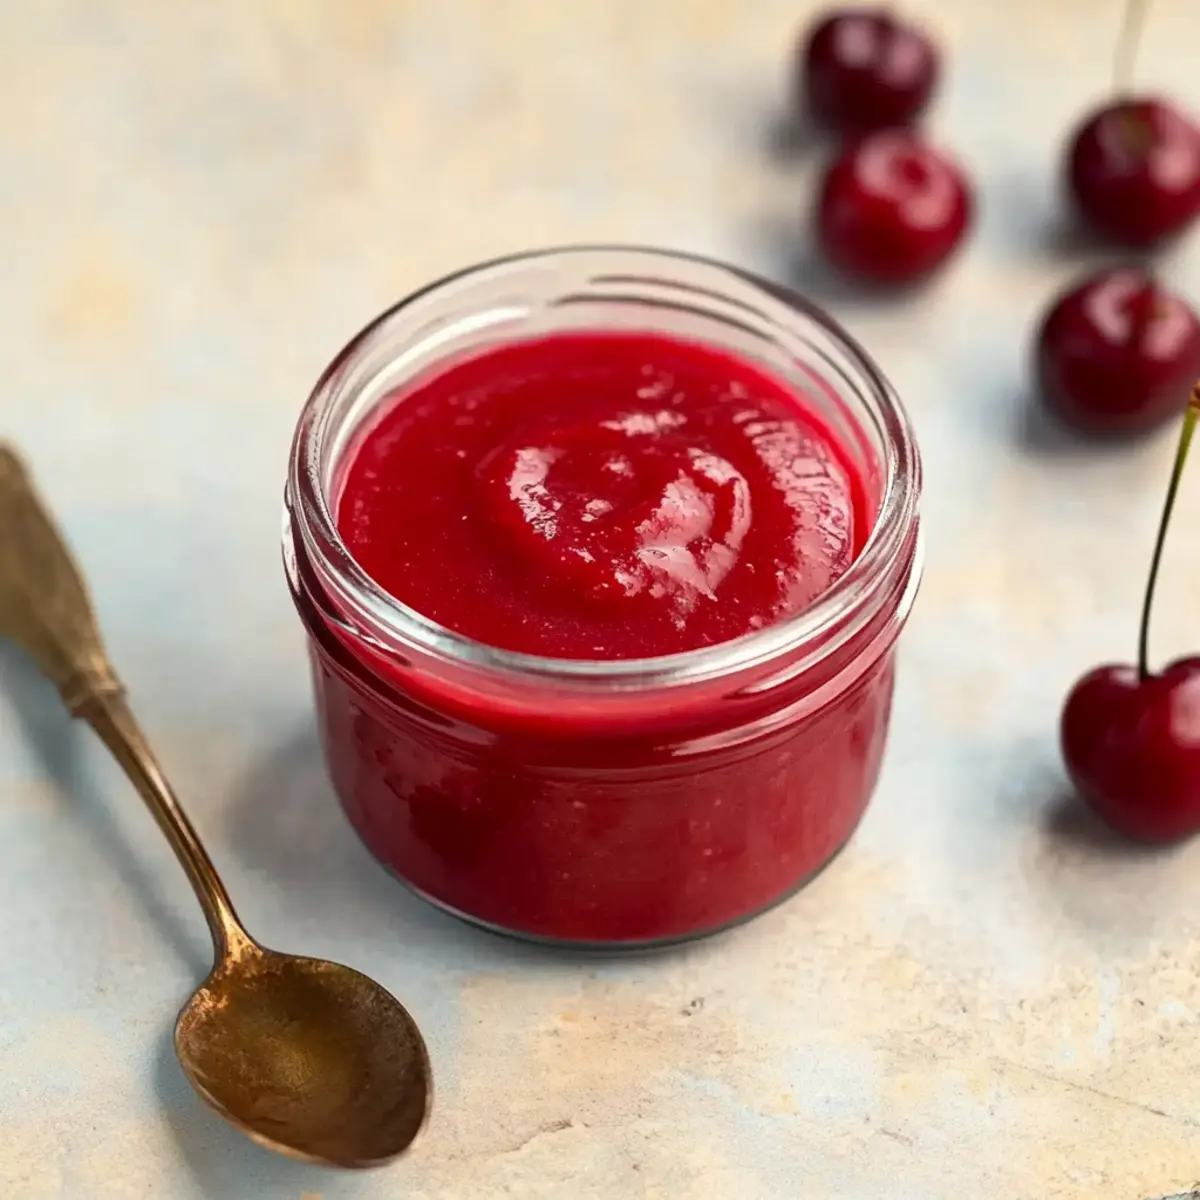
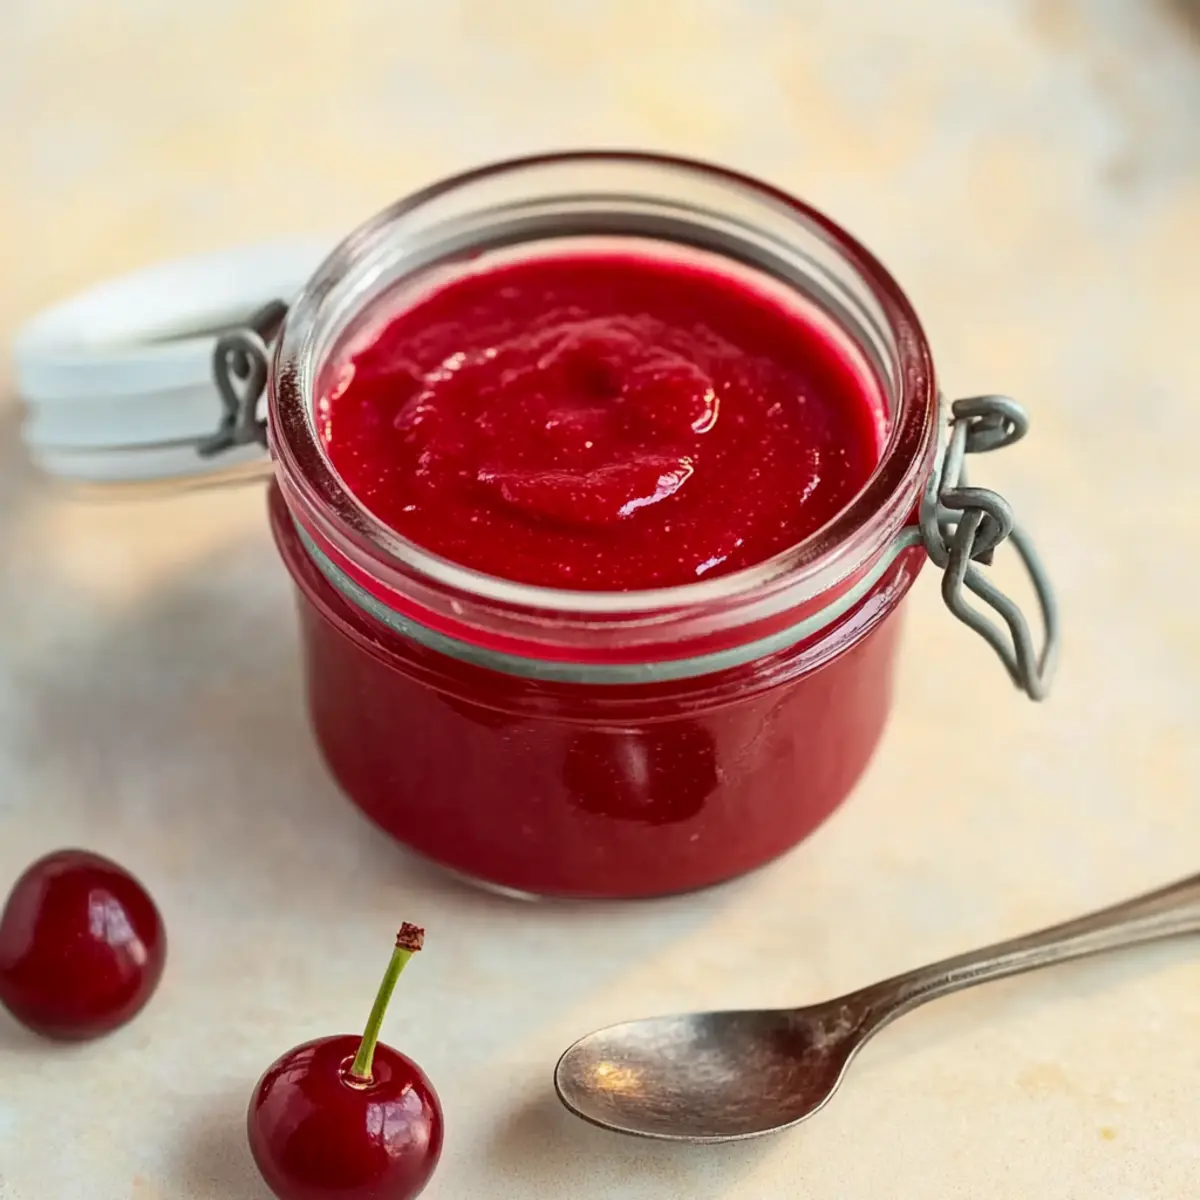
As I stood in my kitchen, the tantalizing scent of simmering cherries filled the air, setting the perfect backdrop for a delightful creation: Cherry Curd. This luscious, tart fruit spread is not only stunning in color but also incredibly versatile, effortlessly transforming ordinary breakfasts into extraordinary experiences or adding a pop of flavor to your favorite desserts. Imagine slathering this silky smooth curd over warm pancakes or layering it within a light, airy macaron—it’s a versatile indulgence that will impress your family and friends alike. Best of all, making Cherry Curd is surprisingly simple and quick, making it ideal for both beginner cooks and seasoned chefs who want a delightful treat without the fuss. Are you ready to brighten up your kitchen and elevate your dishes with this vibrant spread?
Why Is Cherry Curd So Irresistible?
Versatile Delight: This cherry curd is perfect for breakfast or dessert, elevating pancakes, waffles, and pastries with its vibrant flavor.
Bursting with Flavor: The tartness of cherries paired with a hint of lemon brings bright notes to every bite.
Quick and Easy: You’ll love how simple this recipe is, taking just 30 minutes from start to finish!
Rich Texture: The creamy, smooth consistency resembles custard, making it an excellent spread or filling for countless treats.
Crowd-Pleaser: Whether for a brunch or a family get-together, this cherry curd is a guaranteed showstopper that everyone will rave about.
Make-Ahead Magic: Prepare it ahead of time, letting flavors meld for an even more delicious experience—perfect for busy bakers. Pair this with tips from my guide on fruit curds for a complete culinary treat!
Cherry Curd Ingredients
• Discover the key components to make the best cherry curd!
For the Curd
- Cherries – Fresh, frozen, or canned cherries provide the vibrant cherry flavor; opt for ripe, sweet cherries for the best results.
- Lemon – This adds necessary acidity, enhancing the overall taste of the cherry curd and balancing sweetness.
- Sugar – Sweetens the mixture; adjust to your preference based on the tartness of the cherries, and feel free to use a sugar alternative if desired.
- Eggs – Whole eggs and yolks contribute richness and structure; be sure to use fresh eggs for optimal texture.
- Butter – Cold butter adds a creamy, smooth mouthfeel and helps achieve that luscious consistency.
Embrace the joy of crafting your own cherry curd, and experience how this sweet, tart fruit spread can transform your meals!
Step‑by‑Step Instructions for Cherry Curd
Step 1: Puree Cherries
In a medium saucepan, combine 2 cups of pitted cherries with a splash of water. Cook over low heat for about 10 minutes, stirring occasionally, until the cherries are softened and release their juices. Once they’re bubbling and fragrant, transfer the mixture to a blender, puree it until smooth, and then strain through a fine mesh sieve to remove skins, leaving behind approximately ¾ cup of vibrant cherry puree.
Step 2: Squeeze Lemon
While the cherry puree is cooling, take half a lemon and juice it into a small bowl. You will need around 2 tablespoons of fresh lemon juice to balance the sweetness of the cherries. The acidity from the lemon enhances the flavor of the cherry curd, giving it that delightful tartness. Set the lemon juice aside for later use.
Step 3: Prep Egg Mixture
In a heatproof mixing bowl, whisk together 2 whole eggs and 2 egg yolks with ¾ cup of granulated sugar until the mixture is light and fluffy, which should take about 2-3 minutes. This whisking creates a creamy base for your cherry curd that will give it a silky texture. Make sure your bowl is large enough to accommodate the hot cherry mixture that will be added later.
Step 4: Combine Mixtures
In a medium saucepan, combine the cherry puree and the lemon juice over medium heat. Stir continuously until the mixture starts to bubble gently and heat through, about 3-5 minutes. Then, carefully add a spoonful of the hot cherry mixture to the egg mixture to raise the temperature of the eggs gradually, which prevents scrambling. Whisk constantly as you slowly incorporate about half of the hot puree.
Step 5: Cook Curd
Once the egg mixture and cherry puree are well combined, pour everything back into the saucepan. Cook over low heat while stirring continuously for about 8-10 minutes until the curd thickens enough to coat the back of a spoon. Keep the heat low to avoid curdling the eggs, and watch for it to become a thickened, glossy mixture that holds its shape slightly on the spoon.
Step 6: Incorporate Butter
Remove the saucepan from the heat and immediately stir in 4 tablespoons of cold, cubed butter. Mix gently until the butter is completely melted and incorporated into the curd, resulting in a smooth and creamy consistency. The cold butter will help to enhance the richness of the cherry curd, giving it that luxurious mouthfeel.
Step 7: Cool and Store
To prevent a skin from forming, place a piece of plastic wrap directly on the surface of the warm cherry curd. Allow it to cool to room temperature before transferring to an airtight container. Refrigerate for at least an hour to chill and fully set, ensuring the vibrant flavors meld beautifully. You can store the cherry curd in the refrigerator for up to 4 days, ready to elevate your favorite breakfasts and desserts!
Storage Tips for Cherry Curd
Refrigerator: Store cherry curd in an airtight container in the fridge for up to 4 days to maintain its vibrant flavor and prevent odor absorption.
Freezer: If you need to keep it longer, freeze the cherry curd in a freezer-safe container for up to 3 months. Just be sure to leave some space for expansion.
Thawing: When ready to enjoy, thaw the frozen cherry curd overnight in the refrigerator. Gently stir before serving to restore its creamy consistency.
Reheating: For a warm treat, gently heat the refrigerated cherry curd in a saucepan over low heat, stirring frequently to avoid curdling.
Expert Tips for Cherry Curd
-
Low Heat Cooking: Use low heat while cooking to reduce the risk of curdling the eggs, ensuring a silky, smooth texture in your cherry curd.
-
Continual Stirring: Stir continuously after tempering the egg mixture to maintain that creamy consistency, preventing any separation or lumps from forming.
-
Strain for Smoothness: For a luxuriously smooth curd, strain the mixture through a fine-mesh sieve after cooking to catch any bits of cooked egg or cherry skins.
-
Fresh Ingredients Matter: Always use fresh eggs and ripe cherries for the best flavors and textures in your cherry curd.
-
Adjust Sweetness: Remember to taste and adjust the sugar based on the tartness of your cherries; this personalizes the cherry curd to your palate!
Cherry Curd Variations & Substitutions
Feel free to explore these delightful ways to customize your cherry curd and create your own signature version!
-
Citrus Swap: Substitute lemon juice with lime juice for a zesty twist. The bright flavor will elevate the tartness of your curd beautifully.
-
Berry Bliss: Replace cherries with raspberries or blueberries for a delectable twist. Each fruit brings its own vibrant color and flavor, perfect for creating a rainbow of curds!
-
Sweet Boost: Add a touch of maple syrup instead of granulated sugar for a unique flavor profile. This addition will bring a warm depth to your cherry curd, making it even more delightful.
-
Nutty Flavor: Incorporate a teaspoon of almond extract to infuse a subtle nutty aroma that complements the fruit. This twist will add an unexpected layer of complexity to your curd.
-
Spicy Kick: For those who enjoy a little heat, mix in a pinch of cayenne pepper. It brings a surprising warmth that contrasts beautifully with the sweet-tart cherries.
-
Dairy-Free Delight: Replace butter with coconut oil for a non-dairy version. This substitution maintains the creamy texture while adding a tropical flair to your curd.
-
Creamy Variation: Stir in a few tablespoons of mascarpone cheese once the curd has cooled for a richer, creamier texture. This addition will create a luscious spread that feels indulgent.
-
Chocolate Fusion: Drizzle in melted dark chocolate after cooking for a decadently rich twist. Picture a dessert spread that takes you on a chocolatey cherry adventure—absolutely divine!
Explore these variations and discover your favorite way to enjoy this cherry curd, whether you’re slathering it on pancakes or dolloping it on desserts. For more delicious ideas about fruit spreads, check out my post on delicious dessert spreads to inspire your culinary journey!
Make Ahead Options
Preparing Cherry Curd ahead of time is a fantastic way to save precious minutes during your busy week! You can make the curd up to 3 days in advance; simply follow the recipe to completion and allow it to cool to room temperature. After that, cover the surface with plastic wrap to prevent a skin from forming, and store it in an airtight container in the refrigerator. This not only keeps the curd fresh but also allows the flavors to meld and deepen, making it just as delicious on the day you made it. When you’re ready to serve, just give it a gentle stir, and enjoy this vibrant cherry curd on your breakfasts and desserts without the fuss!
What to Serve with Cherry Curd
Cherry curd is not just a delightful spread; it’s a canvas for creating memorable meals and snacks.
- Fluffy Pancakes: The light, airy texture of pancakes pairs beautifully with the tart cherry curd, creating a breakfast that dances on your taste buds. Each bite combines warmth and tartness, elevating your morning routine.
- Creamy Yogurt: Swirling cherry curd into a bowl of creamy yogurt adds a burst of flavor and a pop of color. It’s a nutritious snack or breakfast option that is both visually appealing and deliciously satisfying.
- Buttery Scones: Generously spread cherry curd over freshly baked scones for an elegant afternoon tea treat. The buttery, flaky scones complement the fruitiness of the curd, creating a delightful balance of flavors.
- Chilled Ice Cream: Drizzling cherry curd over vanilla or chocolate ice cream creates an indulgent dessert. The curd’s tartness cuts through the richness of the ice cream, making every spoonful an exciting contrast.
- Soft Cheese and Crackers: Serve cherry curd alongside creamy brie or tangy goat cheese on a charcuterie board. The sweetness of the curd enhances the flavors of the cheese, turning simple bites into gourmet appetizers.
- Chocolate Cake Filling: Enhance your decadent chocolate cake by layering cherry curd between the cake layers. The combination of rich chocolate and tart cherry will dazzle guests and leave them wanting more.
- Sparkling Wine: Enjoy cherry curd with a glass of sparkling wine for a sophisticated pairing. The sweetness and tartness of the curd harmonize beautifully with the bubbles, perfect for celebrations.
- Light Muffins: Spread cherry curd on warm, freshly baked muffins for a delightful breakfast treat. The sweetness of the muffins paired with the tart curd creates a cozy and comforting meal.
- Fruit Parfait: Layer cherry curd with granola and fresh fruits for an upscale parfait. This beautiful presentation makes for a vibrant brunch option, delighting both the eyes and the palate.
Cherry Curd Recipe FAQs
How do I select the best cherries for this recipe?
Absolutely! When choosing cherries for your cherry curd, opt for fresh, ripe cherries that are firm and fragrant. Look for vibrant color without dark spots or blemishes. If using frozen, ensure they’re unsweetened, while canned cherries should ideally be packed in juice or light syrup without added sugars for the best flavor.
What’s the best way to store cherry curd?
Very! Once your cherry curd has cooled, transfer it to an airtight container. It will keep in the refrigerator for up to 4 days. Just make sure to seal it tightly to prevent any odors from other foods permeating the curd.
Can I freeze cherry curd?
Absolutely! You can freeze cherry curd for up to 3 months. Pour the curd into a freezer-safe container, leaving about an inch of space at the top, as it will expand. When you’re ready to use it, thaw it in the refrigerator overnight and stir gently before serving to restore its smoothness.
What should I do if my curd doesn’t thicken properly?
Oh no! If your cherry curd isn’t thickening after about 10 minutes of cooking, you can continue to cook it over low heat while stirring constantly. For best results, ensure that you’re cooking it slowly and allowing it sufficient time to thicken. If that doesn’t work, you can mix a tablespoon of cornstarch with a little lemon juice and add it to the curd while stirring; cook for an additional minute or two until it thickens.
Are there any dietary considerations I should be aware of?
Very! If you’re catering to dietary restrictions, make sure to use pasteurized eggs if someone is egg-sensitive, and you can substitute the butter with a dairy-free alternative if needed. Also, remember to check that your cherries or any sugar substitute align with the dietary needs of anyone you’re serving.

Delightfully Tart Cherry Curd for Blissful Breakfasts
Ingredients
Equipment
Method
- In a medium saucepan, combine 2 cups of pitted cherries with a splash of water. Cook over low heat for about 10 minutes, stirring occasionally, until the cherries are softened and release their juices. Then puree it until smooth and strain through a fine mesh sieve to remove skins.
- While the cherry puree is cooling, juice half a lemon into a small bowl, about 2 tablespoons of fresh lemon juice.
- In a heatproof mixing bowl, whisk together 2 whole eggs and 2 egg yolks with 3/4 cup of granulated sugar until light and fluffy.
- In a medium saucepan, combine the cherry puree and lemon juice over medium heat, stirring continuously until it starts to bubble gently. Gradually add a spoonful to the egg mixture and whisk until combined.
- Pour everything back into the saucepan and cook over low heat, stirring constantly for about 8-10 minutes until thickened enough to coat the back of a spoon.
- Remove from heat and stir in 4 tablespoons of cold butter until melted and incorporated.
- Cool to room temperature, then refrigerate for at least an hour before storing.