

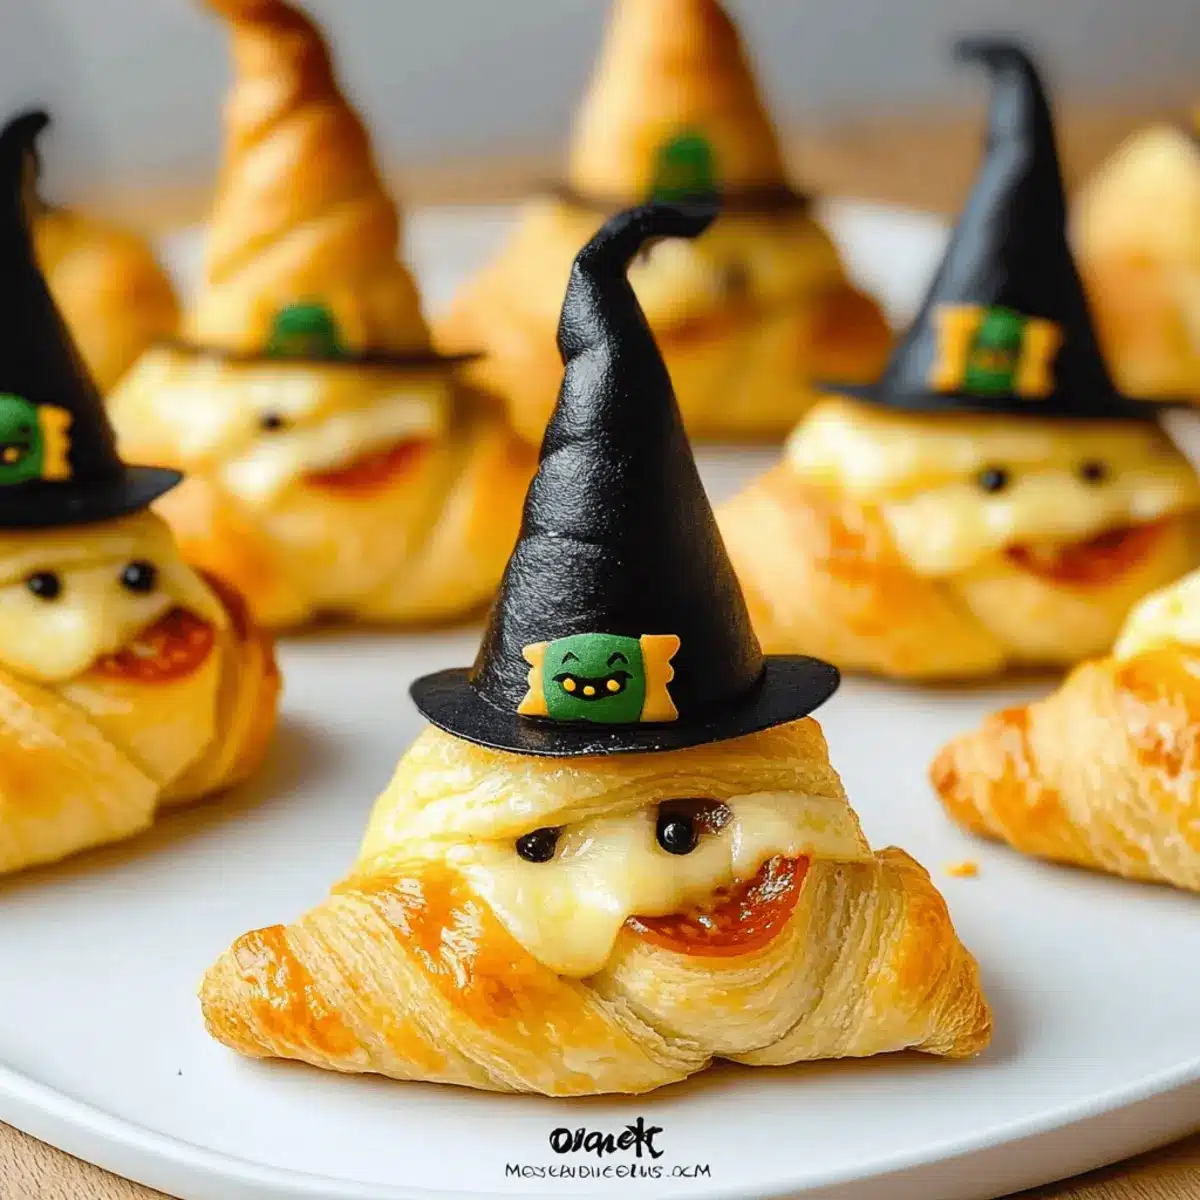
As Halloween approaches, the kitchen turns into a bustling cauldron of creativity, and I can’t help but whip up something delightfully spooky. Enter my Easy Witch Hat Crescent Rolls—an irresistibly fun treat that combines the allure of Halloween with the simplicity of homemade cooking. In just 10 minutes of prep time and 15 minutes in the oven, these cheesy witch hats come alive, filled with gooey mozzarella, zesty pizza sauce, and savory pepperoni. Not only do they make for a crowd-pleasing appetizer at parties, but they also invite the kids to join in on the assembling fun, crafting their own edible spells. Ready to conjure some culinary magic in your kitchen? Let’s dive in and see how these deliciously whimsical bites come together!

Why Are These Witch Hat Rolls Unforgettable?
Irresistible Fun: These Easy Witch Hat Crescent Rolls turn a simple snack into a playful Halloween experience that everyone will enjoy.
Quick to Prepare: With just 10 minutes of prep and 15 minutes of baking, you can whip up this delicious treat even on a busy night!
Customizable Fillings: Mix it up with various cheeses or fillings like ham, bell peppers, or olives. This means everyone can enjoy their favorite flavors!
Kid-Friendly Enjoyment: Kids love getting involved in the kitchen, and shaping these witch hats is a fantastic way to engage them in the fun!
Perfect for Parties: Serve these alongside your favorite dips, like marinara or ranch dressing, to create a spooky spread that guests won’t be able to resist!
Looking for more tasty ideas? Check out our Cheesy Beef Burritos or try the Cheesy Bacon Breakfast for another crowd-pleaser.
Cheesy Witch Hat Crescents Ingredients
• For the Dough
- Crescent Rolls – Your flaky base; use puff pastry for a unique twist!
• For the Filling
- Pizza Sauce – Adds a burst of flavor; marinara works well as a substitute.
- Mozzarella Cheese – Provides that creamy, gooey goodness; cheddar can be added for a sharper taste.
- Pepperoni Pieces – Savory and filling; consider adding green chilies or olives for variation.
• For Baking
- Egg Wash – A delightful finish that gives a golden color; don’t skip brushing it on before baking!
Whip up these Cheesy Witch Hat Crescents for a treat that’s sure to enchant everyone at your Halloween gathering!
Step‑by‑Step Instructions for Cheesy Witch Hat Crescents
Step 1: Prepare Dough
Preheat your oven to 375°F (190°C) and line a baking sheet with parchment paper. Carefully unroll the crescent rolls and separate them into individual triangles. Using a rolling pin, flatten each triangle slightly to create a more spacious base for your filling. This step will ensure your Cheesy Witch Hat Crescents have enough room for all those delicious ingredients!
Step 2: Fill
Spread a thin layer of pizza sauce over each triangle, forming a triangle shape that mimics a witch hat’s silhouette. Next, sprinkle a generous amount of gooey mozzarella cheese on top, followed by several savory pepperoni pieces for that delightful flavor. Be sure to leave a small border around the edges to prevent spills during baking.
Step 3: Shape
Now it’s time to create the witch hat shape! Fold the top corner of the triangle down over the filling, forming the “hat” of the crescent. Then, take the bottom point of the dough and flip it up to form the brim, tucking a slice of pepperoni into the edge for an authentic touch. This will create the enchanting look of your Cheesy Witch Hat Crescents!
Step 4: Bake
Transfer the assembled witch hats to your prepared baking sheet, spacing them apart to allow for puffing. Bake them in the preheated oven for 15 minutes or until they are a beautiful golden brown. The crescent rolls should have a flaky exterior and a deliciously gooey center, filling your kitchen with an inviting aroma!
Step 5: Serve
Once the Cheesy Witch Hat Crescents are out of the oven, let them cool for a few minutes before serving. Consider pairing these delightful treats with extra pizza sauce for dipping, adding an extra splash of flavor to your Halloween gathering. Enjoy this spooky appetizer with family and friends as the fun begins!
Expert Tips for Cheesy Witch Hat Crescents
-
Seal the Edges: Make sure to pinch the seams of the crescent rolls tightly to prevent any filling from leaking out during baking.
-
Egg Wash: Brush an egg wash on top of the rolls before baking for a beautifully golden and shiny finish, adding to the visual appeal!
-
Crispy Reheating: For leftover Cheesy Witch Hat Crescents, reheat them in the oven instead of the microwave to maintain their crispiness—just 5–7 minutes at 300°F will do!
-
Make Ahead: Assemble your rolls and refrigerate them uncooked for up to 24 hours before baking. This way, you can whip them up fresh just in time for your Halloween festivities.
-
Creative Fillings: Don’t hesitate to get creative with your fillings! Consider substituting with veggies like bell peppers or olives to cater to different taste preferences or dietary needs.
How to Store and Freeze Cheesy Witch Hat Crescents
Airtight Container: Store any leftover Cheesy Witch Hat Crescents in an airtight container at room temperature for up to 2 days to keep them fresh.
Refrigeration: For longer freshness, place the crescent rolls in the fridge, where they can last for up to 3 days. Just make sure they are covered to prevent drying out.
Freezing: If you want to save these delightful treats for later, freeze them individually in a freezer-safe bag for up to 2 months. To reheat, bake them straight from the freezer at 375°F for about 15-20 minutes until hot and golden.
Reheating Tips: For the best texture, reheat in the oven instead of the microwave. Set it to 300°F and warm for about 5-7 minutes to restore their flaky goodness!
Cheesy Witch Hat Crescents Variations
Elevate your spooky snack experience with these delightful twists on the classic Witch Hat Crescents.
-
Vegetarian Delight: Swap pepperoni for sautéed mushrooms and spinach for a deliciously earthy flavor. This will still keep the witchy appeal while pleasing non-meat eaters!
-
Sharp Cheddar Surprise: Use sharp cheddar cheese in place of mozzarella for a robust flavor kick. Mixing cheeses can create a flavor profile that’s both savory and addictive!
-
Dairy-Free Option: For a dairy-free version, choose plant-based cheeses and pesto instead of pizza sauce. This change makes it creamy while keeping it festive and fun!
-
Spicy Kick: Add slices of jalapeños or a dash of chili flakes for those who crave heat. The zest will bring an unexpected thrill to your witchy treats!
-
Meat Lover’s Twist: Include bacon bits along with your pepperoni for a combo that’s rich and truly satisfying. This twist makes each bite an explosion of flavor!
-
Savory Ham & Cheese: Replace pepperoni with diced ham and use Swiss cheese for a more gourmet profile. This combination will enchant and surprise your guests!
-
Hallowed Veggie Medley: Toss in a mix of colorful veggies like bell peppers, olives, and zucchini for an unexpected crunchy texture. A great way to sneak in some nutritious elements while staying festive!
If you’re enjoying these variations, why not check out more delicious recipes like our Cheesy Hamburger Potato or whip up some Cheesy Beef Burritos? They’re just as comforting and fun!
What to Serve with Easy Witch Hat Crescent Rolls
These delightful crescent rolls are not just a treat on their own; they become part of a magical feast with the right companions!
-
Themed Dips: Pair with pizza sauce or ranch dressing for a fun and flavorful dip that complements the crispy outside and gooey inside.
-
Crispy Veggie Platter: Serve with a colorful assortment of fresh veggies like bell peppers, cucumbers, and carrots. Their crunchiness contrasts nicely with the soft, cheesy rolls.
-
Garlic Breadsticks: Add garlic breadsticks to your spread. Their buttery flavor will enhance the overall experience while adding heartiness.
-
Seasoned Potato Wedges: Serve with crispy potato wedges seasoned with paprika. This pairing provides a satisfying crunch and adds a delightful twist to your Halloween plate.
-
Fruit Skewers: These fun fruit skewers with melon, grapes, and strawberries bring a refreshing sweetness that balances the richness of the crescent rolls. Perfect for a light break from the savory!
-
Hot Apple Cider: Consider serving with a warm mug of spiced apple cider. Its fragrant blend of cinnamon and cloves evokes cozy fall feelings that perfectly match the Halloween theme.
Make Ahead Options
These Cheesy Witch Hat Crescents are perfect for busy home cooks looking to save time on Halloween festivities! You can assemble the rolls and refrigerate them uncooked for up to 24 hours before baking, which allows you to enjoy spontaneous gatherings without the stress. To prepare ahead, simply follow the filling and shaping instructions, then place the rolls on a lined baking sheet. Cover them tightly with plastic wrap to prevent drying out. When you’re ready to serve, remove the wrap and bake directly from the fridge for 15 minutes at 375°F (190°C) until golden brown and gooey inside. This way, you’ll have a delightful, spooky appetizer ready with minimal last-minute effort!

Cheesy Witch Hat Crescents Recipe FAQs
What type of crescent rolls should I use?
You can use standard crescent roll dough, which provides flakiness and structure for your Cheesy Witch Hat Crescents. If you want a different texture, puff pastry is a fantastic alternative that creates a more buttery flavor!
How should I store leftover Cheesy Witch Hat Crescents?
Absolutely! Store any leftover rolls in an airtight container at room temperature for up to 2 days. For prolonged freshness, transfer them to the refrigerator, where they can last for about 3 days. Ensure they’re covered to prevent drying out.
Can I freeze Cheesy Witch Hat Crescents?
Yes! For best results, freeze individual rolls in a freezer-safe bag for up to 2 months. When you’re ready to enjoy them, bake from frozen at 375°F for 15-20 minutes, or until they’re heated through and golden.
What’s the best way to reheat Cheesy Witch Hat Crescents?
For the best texture, reheat the rolls in the oven instead of the microwave. Just preheat your oven to 300°F and warm them for roughly 5-7 minutes. This will help maintain their delightful crispiness!
Are there any dietary considerations for this recipe?
If you’re concerned about allergies or dietary needs, I recommend being mindful of your fillings. The recipe can be easily adapted for vegetarians by substituting pepperoni with vegetables like bell peppers or olives. For gluten-free options, look for gluten-free crescent roll dough in stores!
What if my crescent rolls don’t puff up properly?
Very! If your Cheesy Witch Hat Crescents don’t puff up as expected, it could be that they weren’t sealed tightly. Make sure to pinch the edges well before baking, and check that your oven is preheated to the right temperature. If you notice dark spots on the rolls, that could mean your oven is too hot, so consider adjusting the temperature slightly.

Cheesy Witch Hat Crescents: A Spooktacular Halloween Snack
Ingredients
Equipment
Method
- Preheat your oven to 375°F (190°C) and line a baking sheet with parchment paper. Carefully unroll the crescent rolls and separate them into individual triangles. Using a rolling pin, flatten each triangle slightly for more space.
- Spread a thin layer of pizza sauce over each triangle, then sprinkle mozzarella cheese on top, followed by pepperoni pieces, leaving a small border around the edges.
- Fold the top corner of the triangle down over the filling to form the hat, and flip the bottom point up to create the brim, tucking pepperoni into the edge for decoration.
- Transfer the assembled rolls to the baking sheet, spacing them apart. Bake for 15 minutes or until golden brown and flaky.
- Let them cool for a few minutes before serving with extra pizza sauce for dipping. Enjoy!