

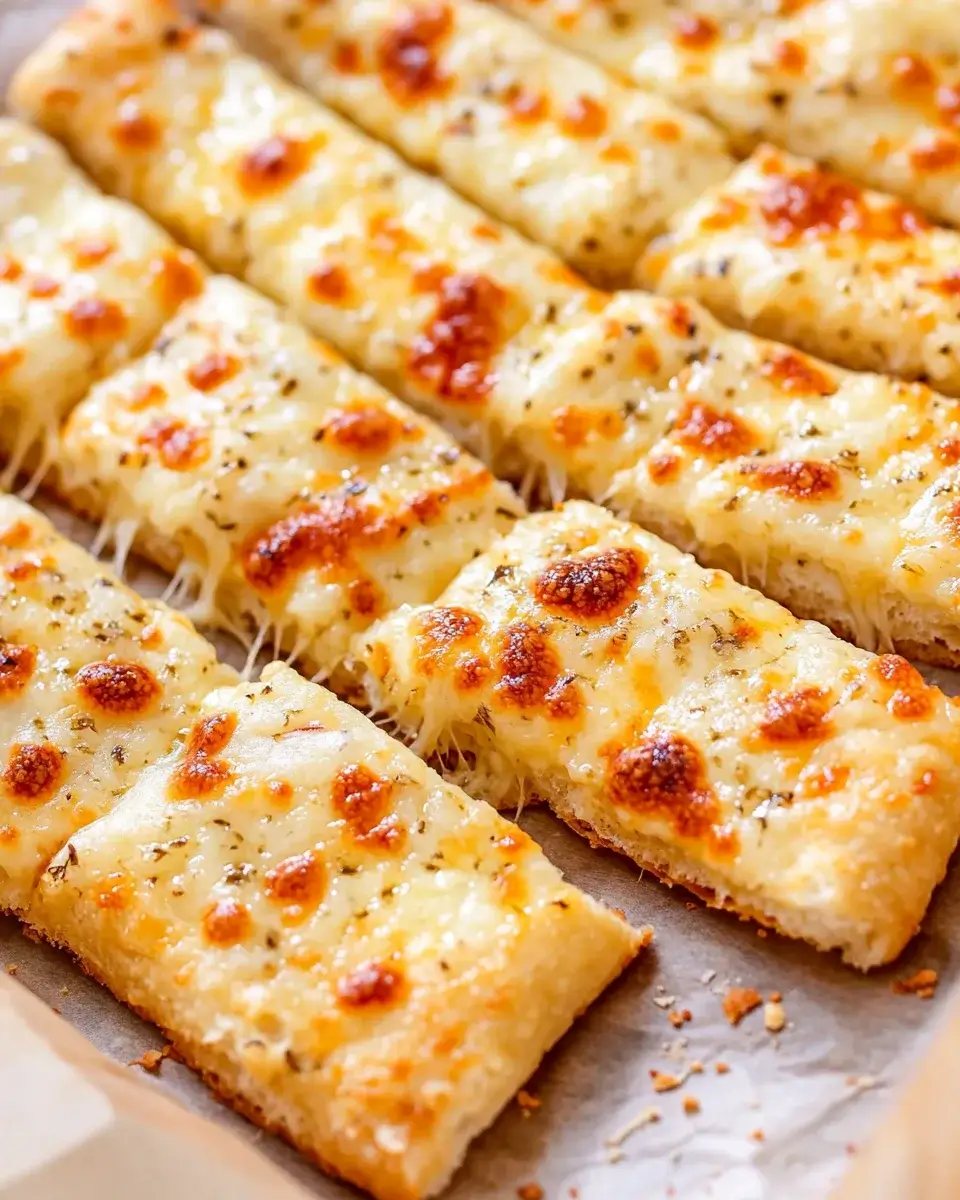
Cheesy Garlic Breadsticks
There’s something magical about the aroma of freshly baked bread wafting through the kitchen.
Cheesy Garlic Breadsticks are not just a treat; they’re a warm hug on a plate.
Whether you’re winding down after a long day or hosting friends for game night, these breadsticks are the perfect solution.
They’re quick to whip up, and the gooey cheese paired with garlic creates a flavor explosion that’s hard to resist.
Trust me, once you try these, they’ll become your go-to snack for any occasion.
Let’s dive into this delicious adventure together!
Why You’ll Love This Cheesy Garlic Breadsticks
These Cheesy Garlic Breadsticks are a game-changer in the kitchen.
They come together in just 30 minutes, making them perfect for busy weeknights or last-minute gatherings.
The combination of stretchy mozzarella and savory garlic creates a taste that’s simply irresistible.
Plus, they’re versatile enough to pair with your favorite pasta or stand alone as a snack.
Once you try them, you’ll wonder how you ever lived without them!
Ingredients for Cheesy Garlic Breadsticks
Creating the perfect Cheesy Garlic Breadsticks starts with gathering the right ingredients.
Here’s what you’ll need:
- All-purpose flour: The backbone of your breadsticks, providing structure and chewiness.
- Baking powder: This leavening agent helps the breadsticks rise, giving them a light texture.
- Garlic powder: A must-have for that rich garlic flavor that makes these breadsticks sing.
- Salt: Enhances all the flavors, making each bite more delicious.
- Sugar: Just a touch to balance the savory notes and promote browning.
- Shredded mozzarella cheese: The star of the show, offering that gooey, melty goodness we all crave.
- Milk: Adds moisture to the dough, ensuring a soft and tender texture.
- Unsalted butter: Brings richness and flavor, plus it helps achieve that golden crust.
- Grated Parmesan cheese: A sprinkle on top adds a salty, nutty finish that elevates the breadsticks.
- Chopped fresh parsley (optional): A pop of color and freshness, making your breadsticks look as good as they taste.
For exact measurements, check the bottom of the article where you can find everything you need for printing.
Feel free to get creative! You can swap in different cheeses or add herbs to customize these breadsticks to your liking.
How to Make Cheesy Garlic Breadsticks
Making Cheesy Garlic Breadsticks is a straightforward process that anyone can master.
With just a few simple steps, you’ll have a batch of warm, cheesy goodness ready to enjoy.
Let’s get started!
Step 1: Preheat the Oven
First things first, preheat your oven to 400°F (200°C).
While it heats up, prepare your baking sheet by greasing it or lining it with parchment paper.
This will ensure your breadsticks don’t stick and come out perfectly golden.
Step 2: Mix Dry Ingredients
In a large mixing bowl, combine the all-purpose flour, baking powder, garlic powder, salt, and sugar.
Mix these dry ingredients well until they’re evenly blended.
This step is crucial for ensuring every bite is packed with flavor.
Step 3: Add Cheese
Now, stir in the shredded mozzarella cheese.
Make sure it’s evenly distributed throughout the dry mixture.
This cheesy goodness is what makes these breadsticks so irresistible!
Step 4: Combine Wet Ingredients
Next, pour in the milk and melted butter.
Mix everything together until a soft dough forms.
Don’t worry if it’s a bit sticky; that’s just how it should be!
Step 5: Knead the Dough
Turn the dough out onto a floured surface.
Knead it gently for about 1 minute until it’s smooth.
This helps develop the gluten, giving your breadsticks a nice texture.
Step 6: Shape the Dough
Roll the dough into a rectangle about 1/2 inch thick.
Transfer it to your prepared baking sheet.
Make sure it’s even so that all the breadsticks bake uniformly.
Step 7: Cut the Breadsticks
Using a pizza cutter or a knife, cut the dough into strips.
Don’t separate them just yet; this will help them hold their shape while baking.
It’s like creating a cheesy puzzle!
Step 8: Add Toppings
Brush the tops of the dough strips with additional melted butter.
Then, sprinkle grated Parmesan cheese and chopped parsley on top, if you’re using it.
This adds a beautiful finish and extra flavor.
Step 9: Bake
Now, it’s time to bake!
Place the baking sheet in the oven and bake for 15-20 minutes.
You’re looking for a golden brown color that signals they’re ready.
Step 10: Cool and Serve
Once they’re out of the oven, let the breadsticks cool for a few minutes.
This will make them easier to pull apart.
Serve them warm, and watch them disappear!
Tips for Success
- Use fresh ingredients for the best flavor, especially the garlic powder and cheese.
- Don’t over-knead the dough; just a minute is enough to achieve the right texture.
- For extra flavor, consider adding herbs like oregano or basil to the dough.
- Keep an eye on the breadsticks while baking; ovens can vary in temperature.
- Serve immediately for the best cheesy experience!
Equipment Needed
- Mixing bowl: A large bowl for combining ingredients; any size will do.
- Measuring cups and spoons: Essential for accuracy; use a kitchen scale if you prefer.
- Rolling pin: Helps shape the dough; a wine bottle works in a pinch!
- Baking sheet: A standard sheet will suffice; consider a stone for even baking.
- Pizza cutter or knife: For cutting the dough; kitchen scissors can also work.
Variations
- Cheesy Herb Breadsticks: Add a mix of dried herbs like oregano, thyme, or rosemary to the dough for an aromatic twist.
- Spicy Garlic Breadsticks: Incorporate a pinch of red pepper flakes into the dough for a kick that complements the garlic.
- Cheddar and Chive: Swap mozzarella for sharp cheddar and mix in chopped fresh chives for a bold flavor.
- Gluten-Free Option: Use a gluten-free all-purpose flour blend to make these breadsticks suitable for gluten-sensitive diets.
- Stuffed Breadsticks: Before rolling out the dough, add a layer of your favorite fillings like pepperoni, spinach, or additional cheese for a stuffed version.
Serving Suggestions
- Pair with marinara sauce: A classic dip that complements the cheesy goodness perfectly.
- Serve alongside pasta: These breadsticks make a great side for your favorite Italian dishes.
- Enjoy with a salad: A fresh salad balances the richness of the breadsticks.
- Presentation tip: Arrange them in a basket lined with parchment paper for a rustic touch.
FAQs about Cheesy Garlic Breadsticks
Can I make Cheesy Garlic Breadsticks ahead of time?
Absolutely! You can prepare the dough in advance and store it in the fridge for up to 24 hours. Just let it come to room temperature before rolling it out.
What can I dip my Cheesy Garlic Breadsticks in?
These breadsticks pair wonderfully with marinara sauce, ranch dressing, or even a creamy garlic dip. The options are endless!
How do I store leftover breadsticks?
Store any leftovers in an airtight container at room temperature for up to two days. You can also freeze them for longer storage; just reheat in the oven when you’re ready to enjoy!
Can I use different types of cheese?
Definitely! While mozzarella is a classic choice, feel free to experiment with cheddar, gouda, or even a blend of your favorites for a unique twist.
Are these breadsticks suitable for a vegetarian diet?
Yes! These Cheesy Garlic Breadsticks are vegetarian-friendly, making them a great option for meatless meals or gatherings.
Final Thoughts
There’s a certain joy that comes from pulling a tray of Cheesy Garlic Breadsticks from the oven.
The golden crust, the gooey cheese, and that irresistible garlic aroma create a moment worth savoring.
Whether you’re sharing them with friends or enjoying them solo, these breadsticks bring comfort and satisfaction.
They’re not just a recipe; they’re a delightful experience that transforms any meal into a celebration.
So, roll up your sleeves, gather your ingredients, and let the magic happen in your kitchen.
Trust me, once you make these, they’ll become a staple in your home!
Cheesy Garlic Breadsticks are Your New Favorite Treat!
Ingredients
Method
- Preheat your oven to 400°F (200°C) and grease a baking sheet or line it with parchment paper.
- In a large mixing bowl, combine the flour, baking powder, garlic powder, salt, and sugar. Mix well.
- Stir in the shredded mozzarella cheese until evenly distributed.
- Pour in the milk and melted butter, and mix until a soft dough forms.
- Turn the dough out onto a floured surface and knead gently for about 1 minute until smooth.
- Roll the dough into a rectangle about 1/2 inch thick and transfer it to the prepared baking sheet.
- Cut the dough into strips using a pizza cutter or knife, but do not separate them.
- Brush the tops with additional melted butter and sprinkle with grated Parmesan cheese and chopped parsley, if using.
- Bake for 15-20 minutes, or until the breadsticks are golden brown.
- Remove from the oven and let cool for a few minutes before pulling apart and serving.
Nutrition
Notes
- For a spicier kick, add a pinch of red pepper flakes to the dough.
- Try using different cheeses like cheddar or a blend for a unique flavor twist.