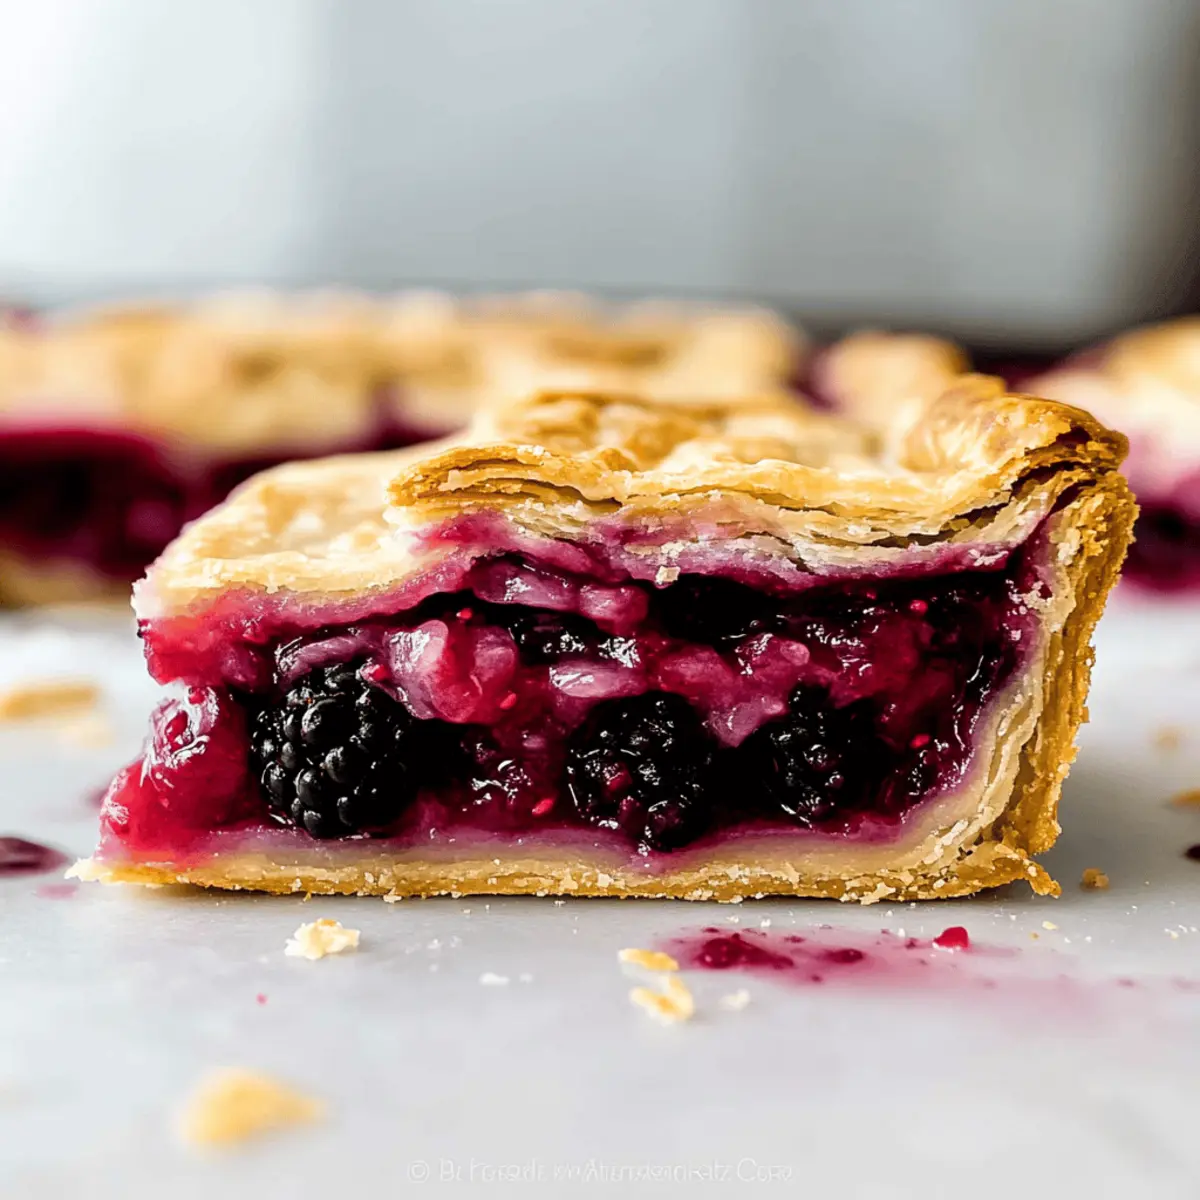
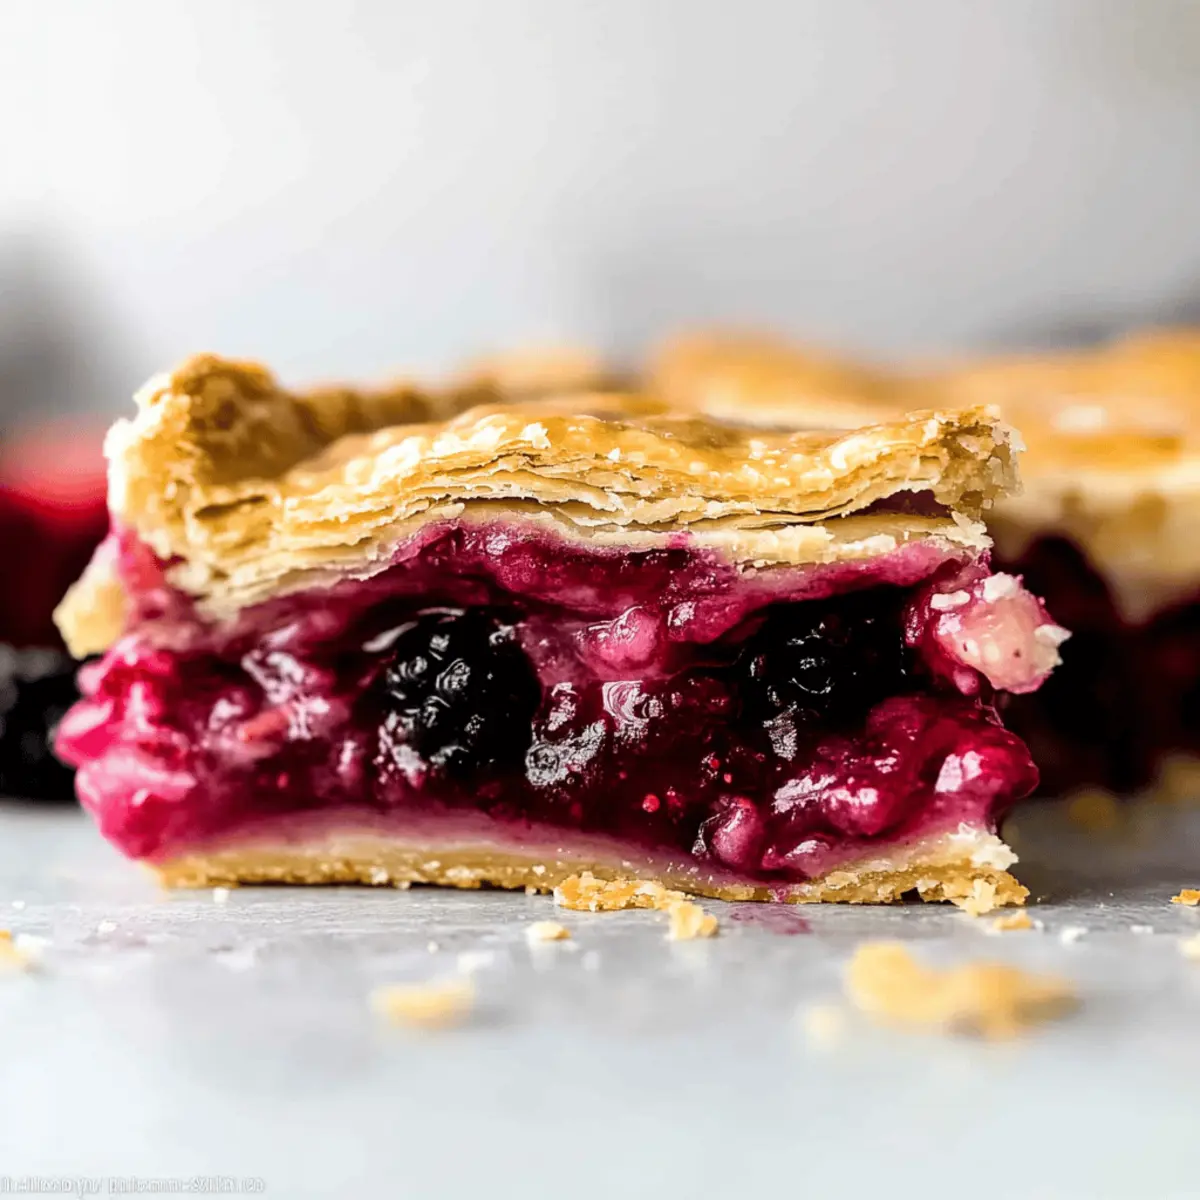
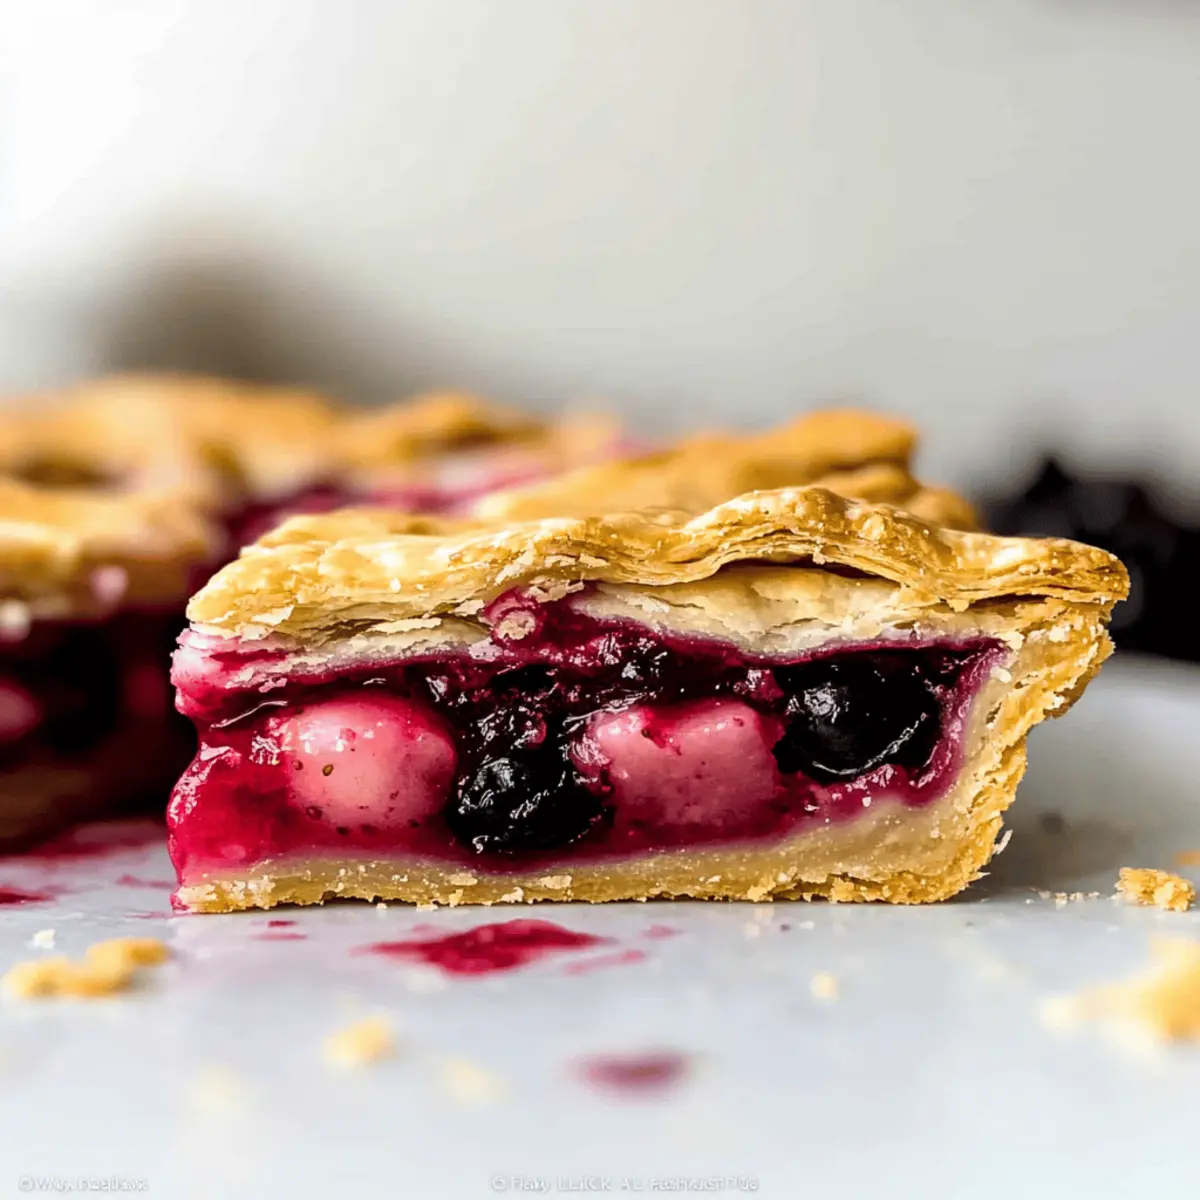
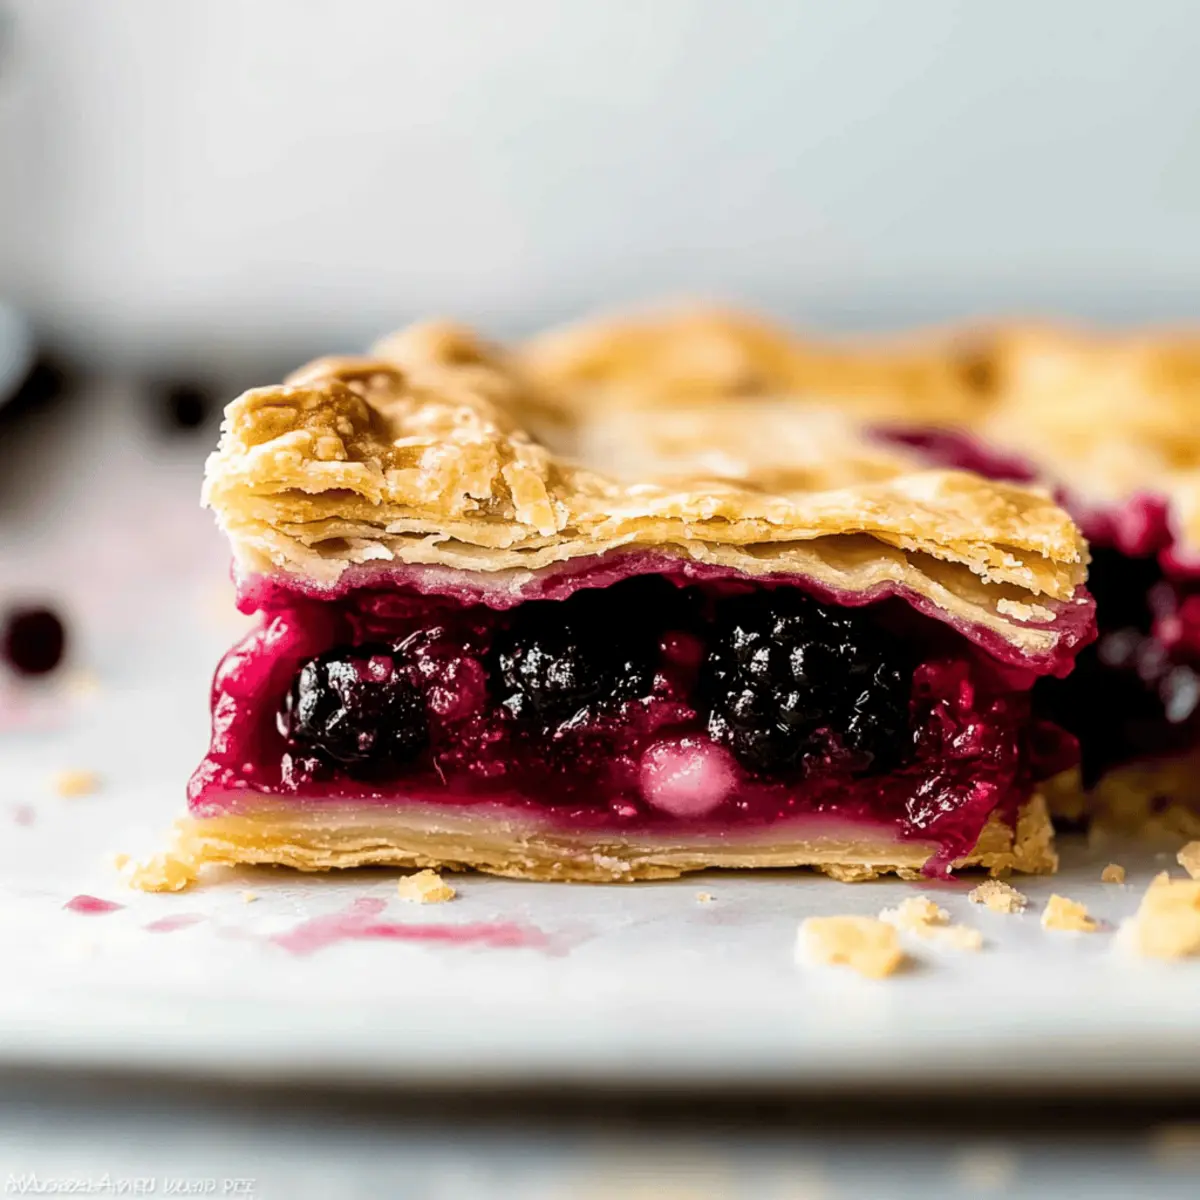
As I stood in my kitchen, the sun streaming through the window, I spotted a carton of fresh strawberries and a handful of blackberries calling out to me. That’s when inspiration struck: it was time to whip up an Easy Mixed Berry Slab Pie! This delightful dessert not only showcases the beauty of summer’s bounty but it also serves as a refreshing crowd-pleaser for any gathering. With a flaky all-butter crust that cradles a luscious, juicy filling, this berry slab pie transforms into a nostalgic, giant pop-tart experience. What’s even better? It requires minimal prep time, making it perfect for both seasoned chefs and those just starting out on their culinary adventures. So, are you ready to make a show-stopping dessert that everyone will crave?
Why is This Berry Slab Pie a Must-Try?
Effortless to make, this Mixed Berry Slab Pie is perfect for busy bakers seeking a delicious dessert without lengthy preparation. Vibrant flavors of strawberries and blackberries create a mouthwatering filling that’s both sweet and tangy. Crowd-pleasing in size, it serves multiple guests, making it ideal for summer parties. Versatile options allow you to swap in other berries like raspberries, ensuring there’s something for everyone. Looking for a delightful treat to complement your meal? This pie pairs beautifully with a scoop of ice cream or a dollop of whipped cream, making it a truly irresistible summer sensation!
Berry Slab Pie Ingredients
• Dive into the magic of summer with these simple, fresh ingredients!
For the Crust
- All-purpose flour – Provides the structure needed for a flaky texture; substitute with gluten-free flour if desired.
- Unsalted butter – Helps create that tender, flavorful crust; avoid margarine for the best results.
- Sugar – Sweetens both the pie filling and crust; feel free to reduce for a less sweet version.
- Salt – Essential for enhancing flavor and balancing the sweetness of the filling.
For the Filling
- Fresh strawberries – The star of the show, adding sweetness and juiciness; blueberries can be used for a fun substitution.
- Fresh blackberries – Contributes tartness and varied texture; steer clear of frozen varieties as they may release too much liquid.
- Lemon juice – Brightens the filling with a touch of acidity; adjust to personal taste for a perfect zing.
For the Finish
- Egg (for wash) – Gives your top crust that gorgeous golden sheen; can be skipped for a vegan option.
Get ready to whip up a berry slab pie that will leave everyone raving about its delightful flavors and comforting texture!
Step‑by‑Step Instructions for Berry Slab Pie
Step 1: Prepare Pie Crust
In a large mixing bowl, combine all-purpose flour, sugar, and salt. Cut in unsalted butter until the mixture resembles coarse crumbs. Gradually add cold water, mixing until a dough forms. Shape the dough into a disk, wrap in plastic wrap, and refrigerate for at least 2 hours. This chilling step is crucial for achieving a flaky crust in your berry slab pie.
Step 2: Roll Out Dough
After chilling, lightly flour your work surface and roll out two disks of dough to about 1/8 inch thickness. Use parchment paper to facilitate easy transfer to your rimmed baking sheet. Fit one rolled-out piece carefully into the sheet, ensuring it covers the bottom and sides. This crust will cradle the juicy mixed berries, so make sure it’s neat and smooth.
Step 3: Prepare Filling
In a medium bowl, combine sliced fresh strawberries and blackberries with sugar, lemon juice, and a pinch of salt. Mix gently to coat the berries evenly while avoiding mushiness. Using a slotted spoon, transfer the berry mixture onto the prepared crust, ensuring to leave behind any excess liquid. This step is vital to prevent a soggy berry slab pie.
Step 4: Top Pie
Roll out a second piece of dough, carefully placing it over the filled crust. Make several slits in the top crust to allow steam to escape during baking. Using a pastry brush, apply an egg wash over the top to achieve a lovely golden sheen. This final touch enhances the visual appeal of your berry slab pie, ensuring it looks as good as it tastes.
Step 5: Bake
Preheat your oven to 375°F (190°C). Place the assembled berry slab pie in the oven and bake for 40-45 minutes, or until the crust is golden brown. Keep an eye on it during the last few minutes to achieve that perfect golden hue. The aroma of baking berries and flaky crust will make it hard to resist!
Step 6: Cool & Slice
Once baked, remove the berry slab pie from the oven and allow it to cool on a wire rack for at least 30 minutes. This cooling period helps set the filling. After it has cooled, slice the pie into squares for serving. You can enjoy it warm or at room temperature, making it a perfect dessert for any summer gathering.
Make Ahead Options
These Mixed Berry Slab Pies are perfect for meal prep, making them a great treat for busy weeknights or summer gatherings! You can prepare the pie crust up to 24 hours in advance by following the first step, then wrap it tightly in plastic wrap and refrigerate it. The filling can also be prepped ahead—combine your sliced strawberries and blackberries with sugar and lemon juice, then store it in the refrigerator for up to 3 days. When you’re ready to bake, simply roll out the cold dough, fill it with the berries, top it, and pop it in the oven. This way, you’ll have a delicious dessert with minimal effort and just as much flavor!
What to Serve with Easy Mixed Berry Slab Pie
Looking to complete your summer gathering with some delightful pairings that elevate your Easy Mixed Berry Slab Pie experience?
-
Vanilla Ice Cream: A classic companion that adds creaminess and balances the tangy berry flavors, creating a refreshing contrast.
-
Fresh Whipped Cream: Light and airy, this topping enhances the pie’s sweetness while providing a velvety texture that delights the palate.
-
Lemonade Spritzer: The citrusy fizz complements the pie perfectly, adding a refreshing kick that echoes the pie’s bright filling.
-
Mint-Infused Iced Tea: Serve this cool drink alongside slices of your berry slab pie for a refreshing, herbaceous pop that brightens flavors.
For a unique twist, consider pairing the pie with a coconut cream drizzle. The tropical flavors harmonize beautifully with the berries, making each bite a mini-vacation for your taste buds!
Add a berry smoothie to the mix for a totally immersive berry experience. This nutrient-packed drink celebrates summer vibes while balancing the sweetness.
Eager to indulge in these scrumptious pairings? Let them complement your berry slab pie and create an unforgettable dessert ensemble!
Berry Slab Pie Variations & Substitutions
Feel free to get creative and make this delightful recipe your own with these exciting twists and swaps!
-
Berry Swap: Swap strawberries for blueberries or raspberries for a delicious twist, showcasing the versatility of summer berries. Each choice brings its unique flavor and sweetness to the slab pie.
-
Add Spice: Introduce a warm hint of cinnamon or nutmeg into the filling for an unexpected yet delightful kick. A sprinkle can elevate the berry flavors and create a cozy dessert experience!
-
Nutty Crust: For a unique crust flavor, incorporate ground almonds or walnuts into the dough. The added texture and taste will take your berry slab pie to the next level, perfect for nut lovers.
-
Vegan Option: Substitute the egg wash with almond milk for a plant-based twist. This keeps your pie looking golden without compromising on those hearty flavors everyone loves.
-
Sweetness Control: Reduce the sugar in the filling if you prefer a less sweet dessert. Embrace the natural sweetness of the berries; you might find you love the pure flavors even more.
-
Extra Zing: Add a splash of vanilla extract to the berry filling for an aromatic upgrade. It pairs beautifully with the fruits, making each bite a little slice of heaven.
-
Chilled Version: For a refreshing summer dessert, let the baked slab pie cool completely and then chill in the fridge before serving. The textures meld wonderfully, creating a delightful contrast with the cool fruit filling.
While you’re at it, consider pairing this pie with a scoop of vanilla ice cream or a dollop of whipped cream for a truly memorable treat! Whether you try this incredible Lemon Raspberry Crumble next or enjoy a slice alongside a bowl of Berry Chia Pudding, your dessert table will be a hit!
How to Store and Freeze Berry Slab Pie
Room Temperature: Keep your pie covered at room temperature for up to 3 days for the freshest taste. Avoid direct sunlight to maintain its flavor.
Fridge: If you want to extend its shelf life, store the berry slab pie in an airtight container in the fridge for up to 5 days. This will keep the crust from getting soggy.
Freezer: For long-term storage, wrap the pie tightly in plastic wrap and then aluminum foil. It can be frozen for up to 3 months.
Reheating: Thaw the berry slab pie in the refrigerator overnight or at room temperature for a few hours. Reheat in the oven at 350°F (175°C) for about 10-15 minutes to restore its flaky crust.
Expert Tips for Berry Slab Pie
-
Choose Fresh Berries: Use fresh strawberries and blackberries to enhance flavor and texture; avoid frozen berries to prevent excess moisture.
-
Slotted Spoon Trick: Transfer the filling with a slotted spoon to keep excess liquid from making the crust soggy, ensuring a perfect berry slab pie.
-
Chill Dough Properly: Allow the dough to chill for at least 2 hours; this is essential for creating a flaky and tender texture in your pie crust.
-
Look for Golden Brown: Bake until the crust is golden brown for optimal flavor; keep a close eye during the last few minutes for that perfect hue.
-
Serve with Style: Consider pairing your berry slab pie with a scoop of vanilla ice cream or a dollop of whipped cream for an extra indulgent treat!
Berry Slab Pie Recipe FAQs
What is the best way to select ripe berries for this pie?
Absolutely! Choose berries that are firm, plump, and brightly colored. Look for strawberries without dark spots or bruises, and blackberries that are deep black and shiny. Avoid any that show signs of mold or excess softness, as these will not provide the best flavor or texture in your berry slab pie.
How should I store leftovers of the berry slab pie?
You can keep your berry slab pie covered at room temperature for up to 3 days. If you want to extend its shelf life, consider refrigerating it in an airtight container, where it can last up to 5 days. This will help prevent the crust from becoming soggy, while still keeping the delicious berry flavors intact!
Can I freeze the berry slab pie?
Very! To freeze your berry slab pie, wrap it tightly in plastic wrap followed by aluminum foil. This protective layering keeps the pie fresh and prevents freezer burn. You can store it in the freezer for up to 3 months. When you’re ready to enjoy it, simply thaw it in the refrigerator overnight or at room temperature, then reheat in the oven at 350°F (175°C) for about 10-15 minutes to restore its flaky crust.
What should I do if my pie crust turns out soggy?
No need to fret! If your berry slab pie crust turns out soggy, it’s often due to excess liquid in the fruit filling. To prevent this, always use a slotted spoon to transfer the berry mixture onto the crust, leaving behind any juice. If you’re still struggling, pre-bake the crust for 5-10 minutes before adding the filling, which helps create a barrier against moisture.
Are there any dietary considerations for the berry slab pie?
If you’re looking for dietary alternatives, you can easily make a vegan version by omitting the egg wash and using a plant-based butter substitute. For those with allergies, ensure you’re using gluten-free flour if necessary, and be mindful of any berry allergies. The beauty of this berry slab pie is its versatility—feel free to swap the berries for ones that suit your dietary needs!

Sweet and Tangy Berry Slab Pie Perfect for Summer Gatherings
Ingredients
Equipment
Method
- In a large mixing bowl, combine all-purpose flour, sugar, and salt. Cut in unsalted butter until the mixture resembles coarse crumbs. Gradually add cold water, mixing until a dough forms. Shape the dough into a disk, wrap in plastic wrap, and refrigerate for at least 2 hours.
- After chilling, lightly flour your work surface and roll out two disks of dough to about 1/8 inch thickness. Use parchment paper to facilitate easy transfer to your rimmed baking sheet.
- In a medium bowl, combine sliced fresh strawberries and blackberries with sugar, lemon juice, and a pinch of salt. Mix gently to coat the berries evenly while avoiding mushiness.
- Roll out a second piece of dough, carefully placing it over the filled crust. Make several slits in the top crust to allow steam to escape during baking. Apply an egg wash over the top.
- Preheat your oven to 375°F (190°C). Place the assembled berry slab pie in the oven and bake for 40-45 minutes, or until the crust is golden brown.
- Once baked, remove the berry slab pie from the oven and allow it to cool on a wire rack for at least 30 minutes. After it has cooled, slice the pie into squares for serving.


