

As I stood in my kitchen, the sweet aroma of sizzling sweet potatoes filled the air, instantly lifting my spirits. It’s this very warmth that inspired me to whip up a batch of Gluten-Free Sweet Potato Latkes. With their crispy exterior and tender center, these latkes are not just a treat for the taste buds; they’re also a quick and easy way to create a memorable meal without the fuss. Perfect for cozy dinners or festive gatherings, they offer the irresistible benefit of being both gluten-free and versatile, allowing you to customize flavors to your heart’s desire. Whether you serve them with a dollop of sour cream or a sprinkle of fresh herbs, they’re bound to make everyone feel right at home. Curious about how to make these delightful bites? Let’s dive into the recipe!

Why are Sweet Potato Latkes a Must-Try?
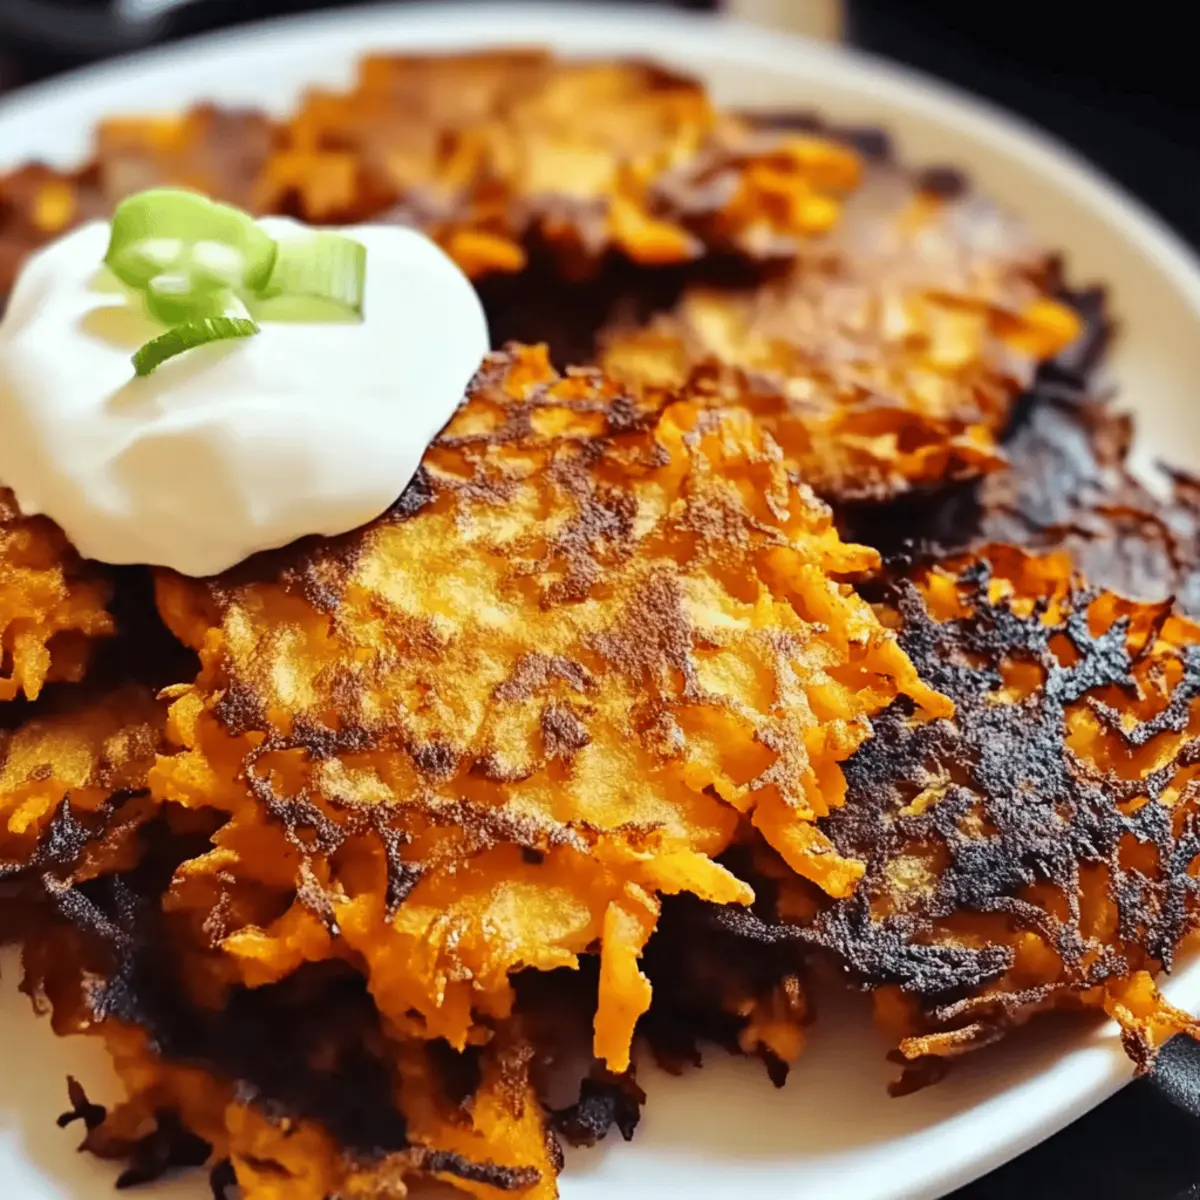
Crispy Perfection: These latkes boast a golden-brown, crispy exterior that gives way to a soft, fluffy center, creating a satisfying texture that you won’t forget!
Quick & Easy: Whipping up a batch takes no time at all, making them an ideal solution for busy weeknight dinners or last-minute gatherings.
Versatile Flavor: Customize with spices or fresh herbs, or even adapt for dietary needs with vegan options—perfect for everyone at the table!
Comfort Food Delight: With the warmth of sweet potatoes, these latkes offer that cozy, home-cooked feeling, reminiscent of family traditions and festive meals.
Crowd-Pleasing Appeal: Serve them at your next get-together, and watch as guests come back for more—just like you’ll see with my delightful Bacon Potato Egg dish!
Sweet Potato Latke Ingredients
For the Latkes
• Sweet Potato – Adds natural sweetness and a soft texture; can be peeled or unpeeled for convenience.
• Onion – Provides moisture and a savory kick; yellow or sweet onion works best for flavor.
• Scallions – Adds freshness and crunch; finely slice for even distribution in your sweet potato latkes.
• Eggs – Binds ingredients together for structure; crucial for preventing latkes from falling apart.
• Tapioca Flour – A gluten-free binder that helps achieve the perfect texture; almond flour is a great crunchy substitute.
• Sea Salt – Enhances flavors and balances the sweetness of the sweet potatoes.
• Baking Powder – Helps achieve a light texture by giving the latkes a slight puff during cooking.
• Oil for Frying – Essential for creating that golden, crispy exterior; avocado oil is preferred due to its high smoke point.
Optional Toppings
• Sour Cream – A classic choice that complements the sweet flavor; also consider Greek yogurt for a lighter alternative.
• Applesauce – Adds a lovely sweetness and is traditionally served alongside latkes.
• Fresh Herbs – Dills or parsley can elevate flavors; sprinkle them on before serving for a fresh burst.
Let’s get cooking! With these Sweet Potato Latke ingredients at your disposal, you’re all set to create crispy comfort food that’s sure to delight!
Step‑by‑Step Instructions for Sweet Potato Latkes
Step 1: Prep the Sweet Potatoes
Begin by shredding the sweet potatoes using a grater or a food processor until you achieve fine shreds. Transfer the shredded sweet potatoes into a large mixing bowl, ensuring they are evenly distributed. This initial step is crucial for making your sweet potato latkes crispy, so if possible, opt for freshly shredded potatoes instead of prepackaged.
Step 2: Mix Vegetables
To the bowl of sweet potatoes, add the finely sliced onion and scallions. Stir the mixture gently until the vegetables are well combined, allowing their flavors to meld together. This blend of textures and tastes will give your sweet potato latkes a fragrant base, setting the stage for a delicious outcome.
Step 3: Combine Mixtures
In a separate bowl, crack the eggs and beat them well to ensure a cohesive blend. Add in the tapioca flour, sea salt, and baking powder, and mix thoroughly. Once combined, fold this egg mixture into the sweet potato and vegetable mixture, coating everything evenly. This will provide the necessary binding to keep your latkes from falling apart during cooking.
Step 4: Heat Oil
Heat a generous amount of oil in a large frying pan over medium-high heat until shimmering. The oil should be hot, around 350°F, to achieve that crispy golden-brown effect on the latkes. Use a frying thermometer if you have one, as maintaining the right temperature is key to achieving perfect sweet potato latkes without them becoming soggy.
Step 5: Form and Cook Latkes
Once the oil is hot, use a scoop to portion out the sweet potato mixture and gently flatten them into patties, about ½ inch thick, directly in the hot oil. Fry for about 3-5 minutes on each side, or until they turn a beautiful golden brown and develop a crispy crust. This will create the delightful texture that makes sweet potato latkes so irresistible.
Step 6: Drain and Serve
Once cooked, carefully transfer the latkes to a plate lined with paper towels to drain off any excess oil. Let them rest briefly to retain their crispiness, then serve them hot. Whether you dip them in sour cream, applesauce, or a fresh herb garnish, these sweet potato latkes will surely delight everyone at your table.

Sweet Potato Latkes Variations
Feel free to get creative with these delicious sweet potato latkes and turn them into something uniquely yours!
-
Zucchini Swap: Substitute shredded zucchini for a lighter version, making sure to squeeze out excess moisture beforehand. The fresh taste of zucchini adds a delightful twist to the classic recipe!
-
Spice Boost: Add a teaspoon of paprika or garlic powder for a flavor enhancer. A little kick can elevate the latkes, making them even more mouthwatering.
-
Vegan Option: Use a flaxseed mixture (1 tablespoon flaxseed meal + 2.5 tablespoons water) in place of eggs. This swap keeps the latkes cohesive while being completely plant-based!
-
Herb Infusion: Incorporate fresh herbs like dill or parsley for added flavor. The aromatic herbs not only taste great but also bring a vibrant color to your dish.
-
Sweet Twist: Include finely diced apples or pears for a unique and sweet surprise. This unexpected addition can transform each bite into a delightful experience.
-
Cheesy Delight: Mix in dairy-free cheese or nutritional yeast for a creamy taste. The cheesy flavor can add an indulgent twist that everyone will enjoy.
-
Heat Factor: Add cayenne pepper or crushed red pepper flakes if you enjoy spicy latkes. A bit of heat contrasts beautifully with the sweetness of the sweet potatoes!
Pair these variations with some delicious sauces, like a dollop of sour cream or homemade applesauce. You might also like to explore serving these latkes alongside my Twice Baked Potato for an even more comforting meal. Enjoy your cooking adventure!
Expert Tips for Sweet Potato Latkes
-
Get the Right Shred: Use the largest grater holes to shred the sweet potatoes; this maximizes surface area for better crispiness in your sweet potato latkes.
-
Dry Before Mixing: After shredding, pat sweet potatoes dry with paper towels to avoid excess moisture that can make the latkes soggy.
-
Heat Matters: Always ensure the oil is hot enough before adding latkes; too cool will result in greasy, undercooked latkes, while overly hot oil can burn them.
-
Batch Cooking: Fry latkes in small batches to maintain oil temperature. Overcrowding the pan can lead to uneven cooking and less crispy results.
-
Rest Before Serving: Let your cooked latkes rest on paper towels for a couple of minutes; this helps them maintain that satisfying crunch while the excess oil drains.
What to Serve with Gluten-Free Sweet Potato Latkes
Imagine a table filled with vibrant colors and mouthwatering aromas, where each dish brings out the warmth and comfort of homemade meals.
-
Crispy Green Salad: A fresh, vibrant salad with crisp greens, cucumbers, and a tangy vinaigrette balances the richness of the latkes beautifully. The crunch from the salad will provide a refreshing counterpoint to the soft, sweet potatoes.
-
Applesauce Delight: A classic pairing, applesauce adds a sweet and tangy flavor that complements the savory notes of the latkes. Serve it warm for an extra comforting touch!
-
Sour Cream Swirl: The creaminess of sour cream enhances the latkes’ flavor, while also providing a delightful contrast to their crispy texture. Try mixing in some fresh herbs for an elevated twist!
-
Roasted Vegetables: A mix of seasonal roasted vegetables, like Brussels sprouts or carrots, adds a hearty and nutritious side. Their caramelized sweetness echoes the sweet potatoes while offering delightful variety.
-
Smoky Duck Breast: For a savory, sophisticated option, consider pairing with thinly sliced smoked duck breast, whose earthy flavors balance the sweetness of the latkes and create a gourmet experience.
-
Herbed Yogurt Dip: A yogurt dip infused with garlic, lemon, and fresh herbs creates a zesty accompaniment. This dip adds a creamy element and a punch of flavor, making every bite unforgettable.
-
Chilled Beet Soup: A chilled beet soup brings an earthy sweetness and vibrant color to your meal. Serve it as a refreshing starter that complements the rich flavors of sweet potato latkes beautifully.
-
Sparkling Cider: A glass of sparkling cider or a crisp white wine makes for a delightful drink pairing, balancing the richness of the latkes and refreshing the palate between bites.
These delicious pairings can help create a full feast that captures the essence of comfort and joy at the dinner table.
Make Ahead Options
These Sweet Potato Latkes are perfect for meal prep, allowing you to enjoy homemade bites without the last-minute rush. You can shred the sweet potatoes and mix them with the onions and scallions up to 24 hours in advance; simply store the mixture in an airtight container in the fridge to keep it fresh. For best results, prepare the egg mixture (eggs, tapioca flour, sea salt, and baking powder) and refrigerate it separately. When you’re ready to cook, just combine the two mixtures, form the latkes, and fry them until golden and crispy. This way, you’ll have delicious, homemade latkes that taste just as delightful as freshly made—without the stress of same-day prep!
How to Store and Freeze Sweet Potato Latkes
-
Room Temperature: Sweet potato latkes are best enjoyed fresh, but if left out, they can sit at room temperature for up to 2 hours before they should be refrigerated.
-
Fridge: Store leftovers in an airtight container in the fridge for up to 2 days. Allow the latkes to cool completely before sealing to prevent moisture buildup.
-
Freezer: To maximize freshness, freeze cooked latkes in a single layer on a baking sheet. Once frozen, transfer them to a freezer bag, where they will keep for up to 2 weeks.
-
Reheating: For optimal crispiness, reheat frozen sweet potato latkes in the oven at 375°F (190°C) for about 15-20 minutes, flipping halfway through.
Sweet Potato Latkes Recipe FAQs
How do I choose the right sweet potatoes for latkes?
Absolutely! When selecting sweet potatoes, look for firm ones with smooth skin, avoiding those with dark spots or blemishes. Fresh sweet potatoes should feel heavy for their size and have a vibrant orange color. You can opt for either peeled or unpeeled, as both work beautifully.
How should I store leftover sweet potato latkes?
Very easily! To store leftover latkes, allow them to cool completely, then place them in an airtight container in the fridge. They’ll stay fresh for about 1-2 days. When you’re ready to enjoy them again, just reheat in a hot pan for that crispy texture!
Can I freeze sweet potato latkes?
Indeed, you can! To freeze, first lay the cooked latkes in a single layer on a baking sheet and place them in the freezer until firm. Then, transfer them to a freezer bag, where they can be stored for up to 2 weeks. To reheat, just pop them in the oven at 375°F (190°C) for about 15-20 minutes!
What to do if my sweet potato latkes fall apart while cooking?
If that happens, don’t worry! Ensure your eggs are beaten well before mixing them into the sweet potato mixture, as they help bind it together. If needed, add a touch more tapioca flour to give it additional structure. Frying in small batches also prevents overcrowding and helps maintain the right temperature, keeping your latkes intact.
Are sweet potato latkes safe for someone with gluten allergies?
Absolutely! These sweet potato latkes are gluten-free, especially when you use tapioca flour or almond flour. Always double-check ingredient labels, especially for any added spices or sauces you may want to use as toppings, to ensure they meet gluten-free standards.
What’s the best way to reheat latkes to keep them crispy?
To keep your latkes crispy, reheat them in an oven instead of a microwave. Preheat the oven to 375°F (190°C) and bake the latkes for about 15-20 minutes, flipping halfway through to ensure even heating. Using this method will keep them deliciously crunchy, just like when they were freshly made!

Crispy Sweet Potato Latkes: Your New Favorite Comfort Food
Ingredients
Equipment
Method
- Begin by shredding the sweet potatoes using a grater or a food processor until you achieve fine shreds.
- To the bowl of sweet potatoes, add the finely sliced onion and scallions. Stir until well combined.
- In a separate bowl, beat the eggs and mix in the tapioca flour, sea salt, and baking powder. Fold into the sweet potato mixture.
- Heat oil in a large frying pan over medium-high heat until shimmering, about 350°F.
- Scoop the sweet potato mixture and flatten into patties in the hot oil. Fry for 3-5 minutes on each side until golden brown.
- Transfer the latkes to a plate lined with paper towels to drain excess oil. Serve hot.