

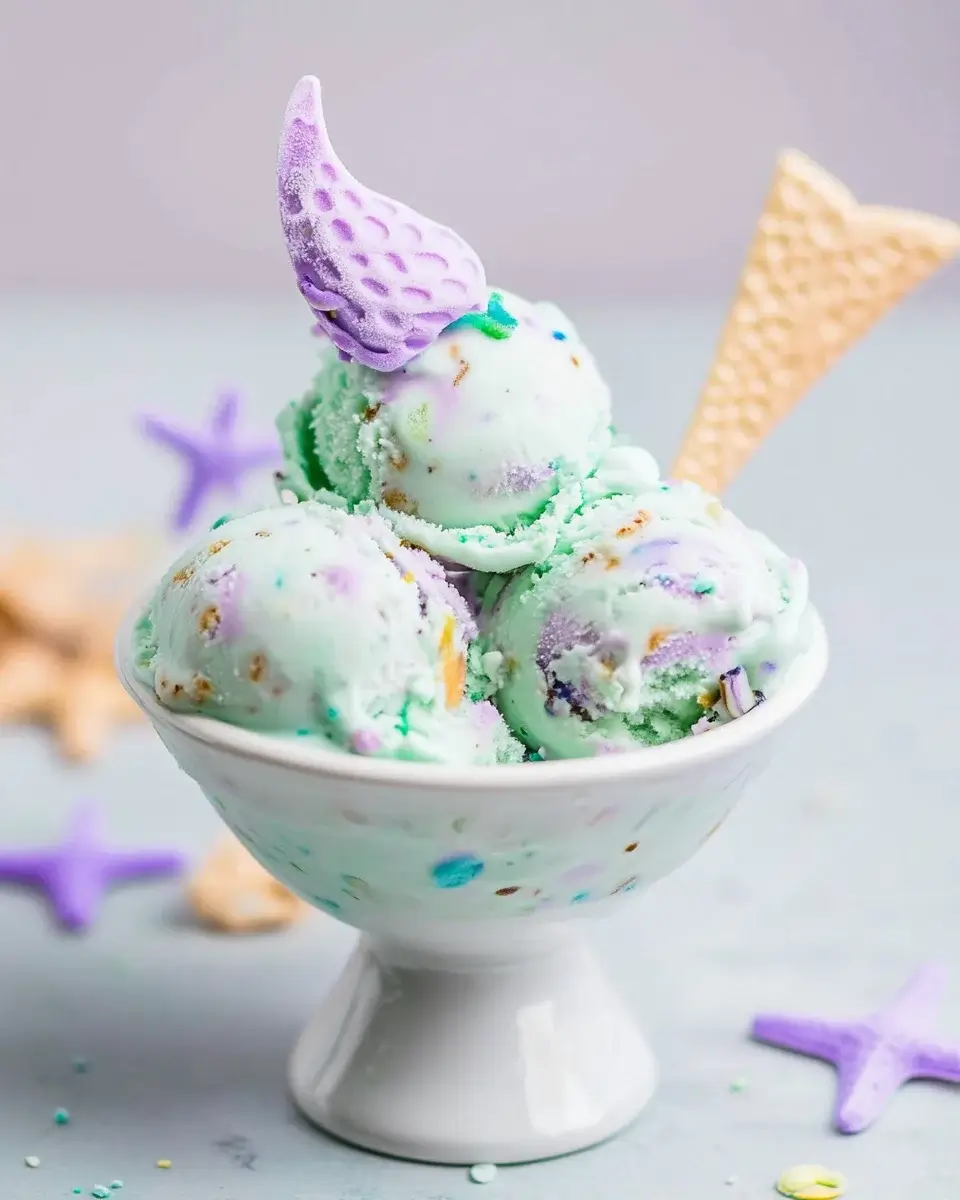
Mermaid No-Churn Ice Cream
Summer days call for something special, don’t they? That’s where my Mermaid No-Churn Ice Cream comes in, a delightful treat that’s as fun to make as it is to eat. With vibrant colors and a creamy texture, this ice cream is perfect for impressing friends or simply enjoying a sweet moment with family. Plus, it’s a quick solution for those busy afternoons when you crave something cool and refreshing. No ice cream maker? No problem! This recipe is all about ease and creativity, making it a must-try for any home cook.
Why You’ll Love This Mermaid No-Churn Ice Cream
This Mermaid No-Churn Ice Cream is a game changer for summer desserts. It’s incredibly easy to whip up, taking just 15 minutes of your time. No fancy equipment is needed, and the flavors are out of this world! The vibrant colors make it visually stunning, perfect for gatherings or a fun family treat. Plus, it’s a delightful way to cool off on those hot days, bringing smiles all around.
Ingredients for Mermaid No-Churn Ice Cream
Gathering the right ingredients is the first step to creating your colorful masterpiece. Here’s what you’ll need:
- Heavy whipping cream: This is the base of your ice cream, providing that rich, creamy texture we all love.
- Sweetened condensed milk: This adds sweetness and creaminess, making your ice cream indulgent without the need for an ice cream maker.
- Vanilla extract: A splash of vanilla enhances the flavor, giving it a warm, comforting note.
- Salt: Just a pinch helps balance the sweetness and brings out the flavors.
- Blue, pink, and purple food coloring: These vibrant colors are what make this ice cream so magical and mermaid-like. Feel free to get creative!
- Sprinkles (optional): For that extra fun touch, sprinkles can add a delightful crunch and visual appeal.
For those looking to lighten things up, consider substituting half of the heavy cream with Greek yogurt. You can also customize the colors using natural food dyes or fruit purees for a unique flavor twist. Exact measurements for each ingredient can be found at the bottom of the article, ready for printing!
How to Make Mermaid No-Churn Ice Cream
Creating your own Mermaid No-Churn Ice Cream is a fun adventure that anyone can embark on. Follow these simple steps, and you’ll be diving into a bowl of colorful goodness in no time!
Step 1: Whip the Cream
Start by pouring the heavy whipping cream into a large mixing bowl. Using an electric mixer, whip the cream until stiff peaks form. This usually takes about 3-5 minutes. The cream should be thick and fluffy, resembling clouds on a sunny day. This step is crucial for that light, airy texture we all love in ice cream.
Step 2: Combine the Condensed Milk Mixture
In another bowl, mix together the sweetened condensed milk, vanilla extract, and salt. Stir until everything is well combined. This mixture will add sweetness and a creamy base to your ice cream. It’s like the secret sauce that ties everything together!
Step 3: Fold the Mixtures Together
Now, gently fold the whipped cream into the condensed milk mixture. Use a spatula to combine them without deflating the whipped cream. This step is all about being gentle. You want to keep that airy texture intact, which is key to a delightful no-churn ice cream.
Step 4: Color the Ice Cream
Divide the mixture evenly into three separate bowls. Add blue food coloring to one bowl, pink to the second, and purple to the third. Stir each bowl until the colors are vibrant and well blended. This is where the magic happens! Feel free to adjust the colors to your liking; after all, it’s your mermaid creation!
Step 5: Create the Swirl Effect
Grab a freezer-safe container and start layering the colored mixtures. Alternate spoonfuls of each color to create a beautiful swirled effect. If you’re feeling adventurous, use a knife or skewer to gently swirl the colors together. This step is all about creativity—let your inner artist shine!
Step 6: Freeze and Enjoy
Cover the container with a lid or plastic wrap and pop it in the freezer. Let it freeze for at least 6 hours or until firm. Once it’s ready, scoop out your colorful Mermaid No-Churn Ice Cream and enjoy! Each bite is a delightful reminder of summer fun and creativity.
Tips for Success
- Make sure your mixing bowls and utensils are clean and dry for the best results.
- Chill your mixing bowl for whipping cream; it helps achieve better volume.
- Don’t rush the folding process; take your time to keep the mixture light and airy.
- Experiment with different color combinations for a unique look.
- For a creamier texture, let the ice cream sit at room temperature for a few minutes before scooping.
Equipment Needed
- Large mixing bowl: A sturdy bowl for whipping cream. A glass or metal bowl works best.
- Electric mixer: Essential for whipping cream. A whisk can work, but it’ll take longer.
- Spatula: Perfect for folding mixtures gently.
- Freezer-safe container: Any airtight container will do for freezing your ice cream.
Variations
- Fruit Purees: Swap out food coloring for natural fruit purees like strawberry, blueberry, or mango for a fruity twist.
- Nut Butters: Add a swirl of almond or peanut butter for a nutty flavor that complements the sweetness.
- Chocolate Chips: Mix in mini chocolate chips for a delightful crunch and extra sweetness.
- Dairy-Free Option: Use coconut cream and dairy-free condensed milk for a vegan-friendly version.
- Flavor Extracts: Experiment with different extracts like almond or coconut to change up the flavor profile.
Serving Suggestions
- Pair your Mermaid No-Churn Ice Cream with fresh fruit like strawberries or blueberries for a refreshing contrast.
- Serve in colorful bowls or cones to enhance the fun presentation.
- Drizzle with chocolate or caramel sauce for an extra indulgent touch.
- Enjoy with a side of homemade cookies for a delightful dessert combo.
FAQs about Mermaid No-Churn Ice Cream
Can I use different colors for my Mermaid No-Churn Ice Cream?
Absolutely! Feel free to get creative with your color choices. You can use natural food dyes or even fruit purees to achieve unique shades. The sky’s the limit!
How long does it take to freeze the ice cream?
For the best results, let your Mermaid No-Churn Ice Cream freeze for at least 6 hours. This ensures it’s firm and ready to scoop. Patience is key!
Can I make this ice cream dairy-free?
Yes! You can easily make a dairy-free version by substituting heavy cream with coconut cream and using dairy-free sweetened condensed milk. It’s just as delicious!
What’s the best way to store leftover ice cream?
Store your Mermaid No-Churn Ice Cream in an airtight container in the freezer. It should stay fresh for about 2-3 weeks, but I doubt it will last that long!
Can I add mix-ins to the ice cream?
Definitely! Feel free to mix in chocolate chips, nuts, or even cookie pieces before freezing. Just fold them in gently to keep that airy texture.
Final Thoughts
Creating Mermaid No-Churn Ice Cream is more than just a recipe; it’s an experience filled with joy and creativity. Each vibrant scoop brings a smile, reminding us of carefree summer days and the magic of childhood. Whether you’re serving it at a party or enjoying a quiet evening at home, this colorful treat is sure to delight. Plus, the simplicity of making it means you can whip it up anytime the craving strikes. So, gather your loved ones, dive into this delicious adventure, and let the flavors transport you to a whimsical world of fun and laughter!
Mermaid No-Churn Ice Cream: Dive into a Colorful Treat!
Ingredients
Method
- In a large mixing bowl, whip the heavy cream using an electric mixer until stiff peaks form, about 3-5 minutes.
- In another bowl, combine the sweetened condensed milk, vanilla extract, and salt. Mix until well combined.
- Gently fold the whipped cream into the condensed milk mixture until fully incorporated.
- Divide the mixture evenly into three separate bowls.
- Add blue food coloring to one bowl, pink to the second, and purple to the third. Stir each bowl until the colors are well blended.
- In a freezer-safe container, alternate spoonfuls of each colored mixture to create a swirled effect. Use a knife or skewer to gently swirl the colors together if desired.
- If using, sprinkle the top with sprinkles for added fun.
- Cover the container with a lid or plastic wrap and freeze for at least 6 hours or until firm.
Nutrition
Notes
- For a lighter version, substitute half of the heavy cream with Greek yogurt.
- You can customize the colors by using natural food dyes or fruit purees for a different flavor profile.