

As the sun cascades through the kitchen window, I’m reminded that summer is the perfect excuse to indulge in something sweet and refreshing. Enter the no-bake pineapple cheesecake, a delightful dessert that brings together the creaminess of cream cheese and the vibrant sweetness of pineapple without ever turning on the oven. This easy recipe is ideal for those warm days when you want to impress guests or simply treat yourself without fuss. With its light, airy texture and stunning presentation, it’s not just a dessert—it’s a summer celebration on a plate! So, ready to dive into a dessert that’s both a showstopper and a breeze to make? Let’s get started!
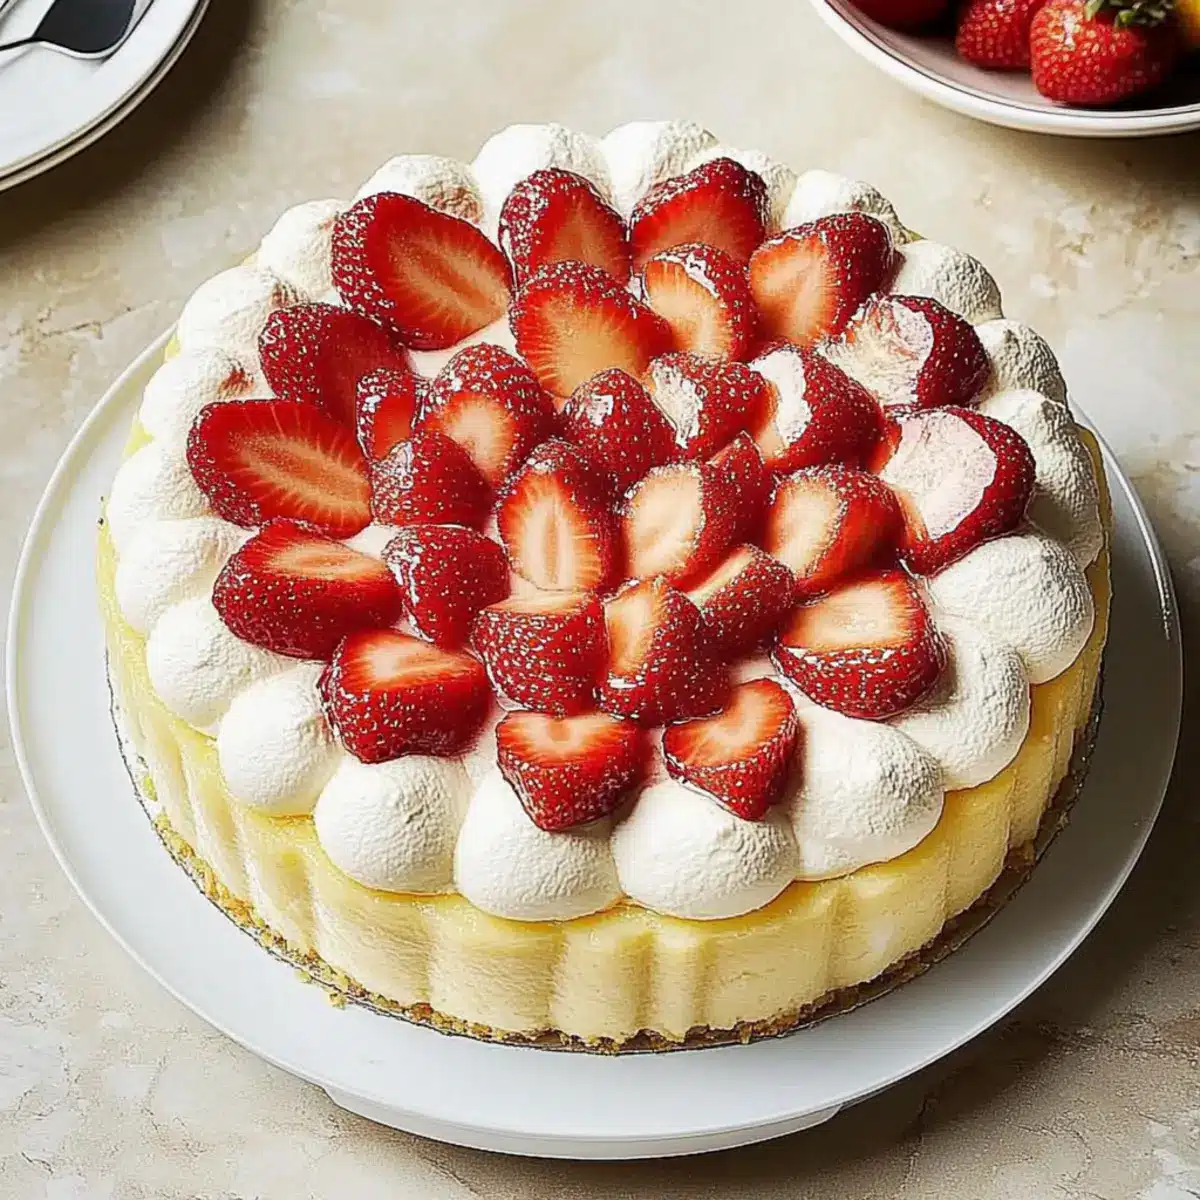
Why is this cheesecake so irresistible?
Simplicity: This no-bake pineapple cheesecake is incredibly easy to whip up, making it a stress-free choice for any summer gathering.
Refreshing Flavor: The vibrant taste of pineapple combined with the smooth creaminess creates a refreshing treat that’s perfect for warm weather.
Crowd-Pleaser: Whether for family, friends, or a potluck, this dessert is sure to impress and leave everyone asking for seconds!
Versatility: Feel free to customize with different fruits or toppings. Try adding toasted coconut or serving with fresh strawberries for a touch of elegance.
Make-Ahead Magic: Prepare this cheesecake in advance and keep it in the fridge overnight, allowing you more time to relax and enjoy your gatherings.
For similar easy and delicious desserts, check out this Caramel Swirl Cheesecake or this delightful Tiramisu Cheesecake Dessert.
Pineapple Cheesecake Ingredients
• Preparing this no-bake delight is simple with these essential ingredients!
For the Filling
- Cream Cheese – Provides the rich, creamy base for the pineapple cheesecake; use full-fat cream cheese for optimal texture and flavor.
- Sugar – Adds the perfect amount of sweetness to balance the cream cheese’s tanginess; adjust sweetness based on your taste and type of pineapple used.
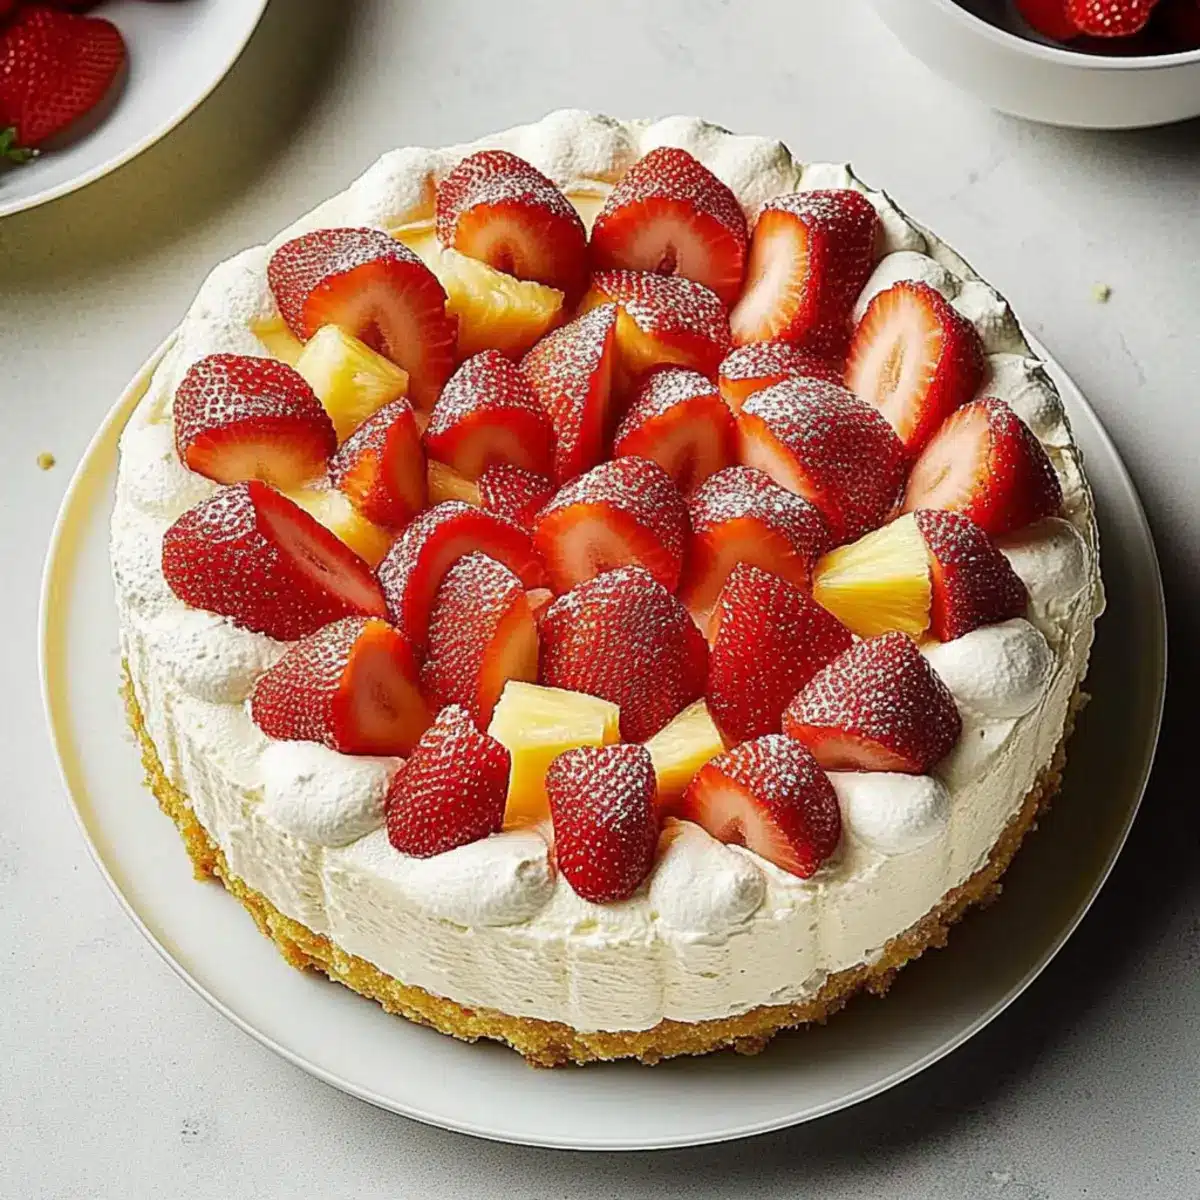
- Crushed Pineapple – Offers natural sweetness and a fruity flavor; canned pineapple is convenient, but fresh can give a brighter taste.
- Frozen Whipped Topping (Cool Whip) – Adds lightness and fluffiness to the filling; if preferred, homemade whipped cream can be substituted, though adjustments might be needed for stability.
For the Crust
- Ladyfingers – Creates the base and sides, giving structure to the cheesecake; graham cracker crumbs can be a delightful alternative for a different flavor profile.
For the Topping
- Fresh Strawberries – Adds a decorative touch and a burst of freshness; feel free to swap with other berries like blueberries or raspberries for variety.
Step‑by‑Step Instructions for Pineapple Cheesecake
Step 1: Beat Cream Cheese and Sugar
In a large mixing bowl, combine 8 ounces of softened cream cheese and 1 cup of sugar. Using an electric mixer, beat them together on medium speed until the mixture is smooth and creamy, about 2-3 minutes. You want a fluffy consistency with no lumps, which will form the base of your delicious Pineapple Cheesecake.
Step 2: Add Crushed Pineapple
Once your cream cheese and sugar are blended, carefully fold in 1 cup of drained crushed pineapple. Use a rubber spatula to gently mix until the pineapple is evenly distributed throughout the filling, giving your cheesecake that delightful fruity flavor. Ensure the mixture remains silky-smooth as you combine them for the best texture.
Step 3: Fold in Whipped Topping
Next, take 1 cup of thawed frozen whipped topping (like Cool Whip) and gently fold it into the pineapple and cream cheese mixture. This step is crucial, as it lightens the filling without losing its airy texture. Aim for just combined—overmixing will create a denser cheesecake. Set the filling aside as you prepare the crust.
Step 4: Prepare the Crust
Grease the sides of a 9-inch springform pan with butter or non-stick spray for easy removal. Next, arrange ladyfingers vertically around the sides and tightly on the bottom of the pan. If you prefer an alternative crust, consider using graham cracker crumbs mixed with melted butter for a more traditional choice.
Step 5: Fill the Pan
Pour the prepared pineapple cheesecake filling into the lined springform pan, spreading it evenly with a spatula. Create a smooth surface on top to ensure a beautiful presentation when serving. This filling is going to be so delightful!
Step 6: Refrigerate to Set
Cover the cheesecake with plastic wrap and place it in the refrigerator. Chill for at least 8 hours or overnight to allow the flavors to meld and the cheesecake to set properly. You’ll know it’s ready when the filling is firm to the touch and overall looks set.
Step 7: Serve with Fresh Strawberries
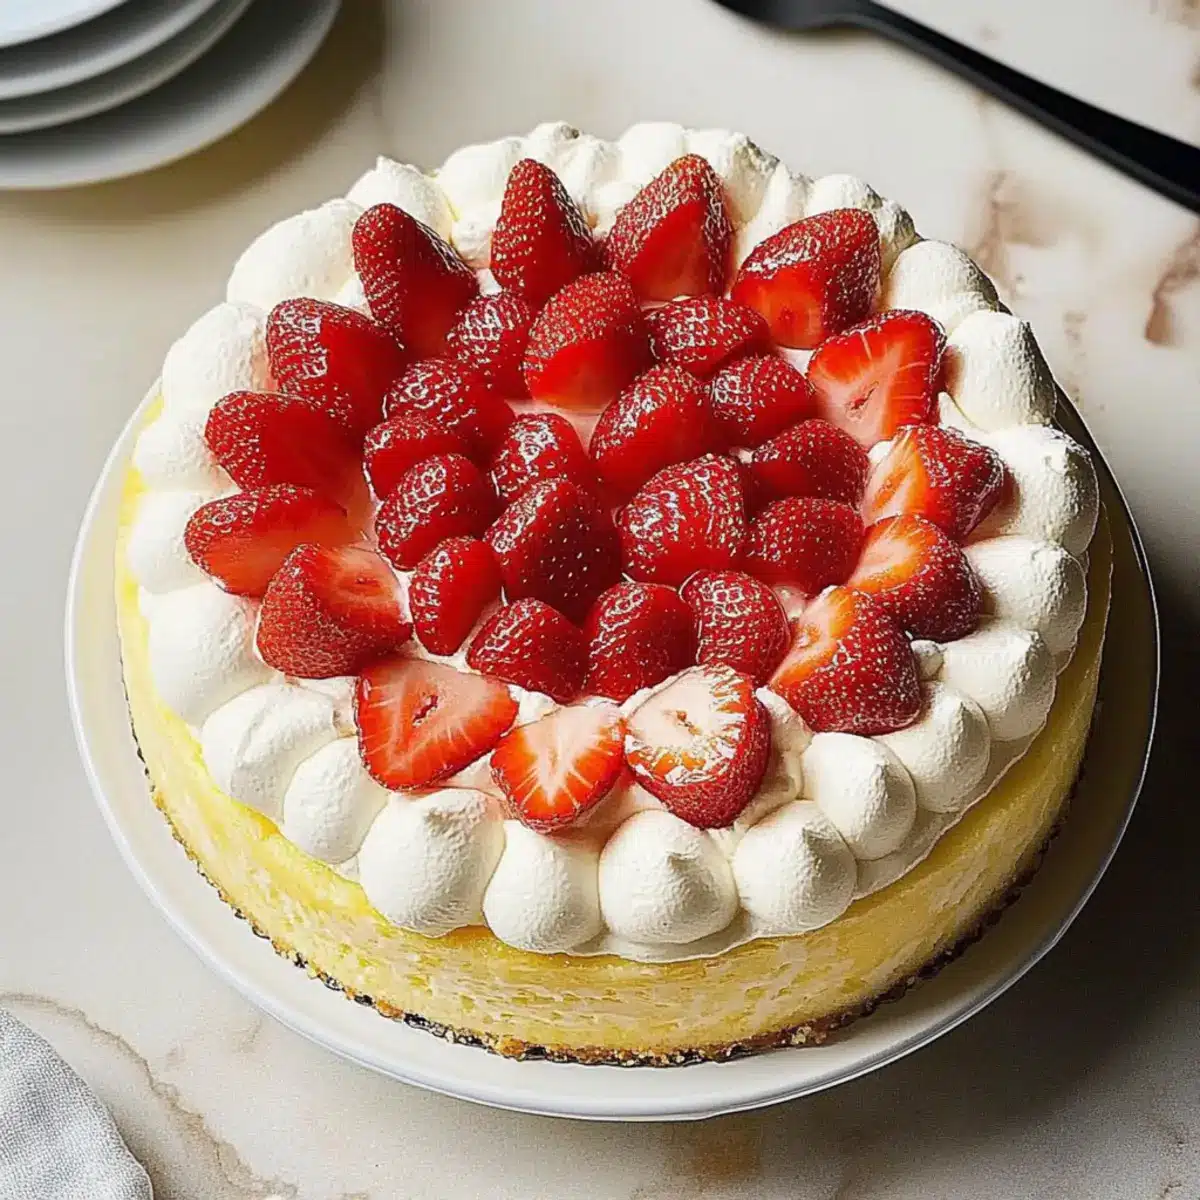
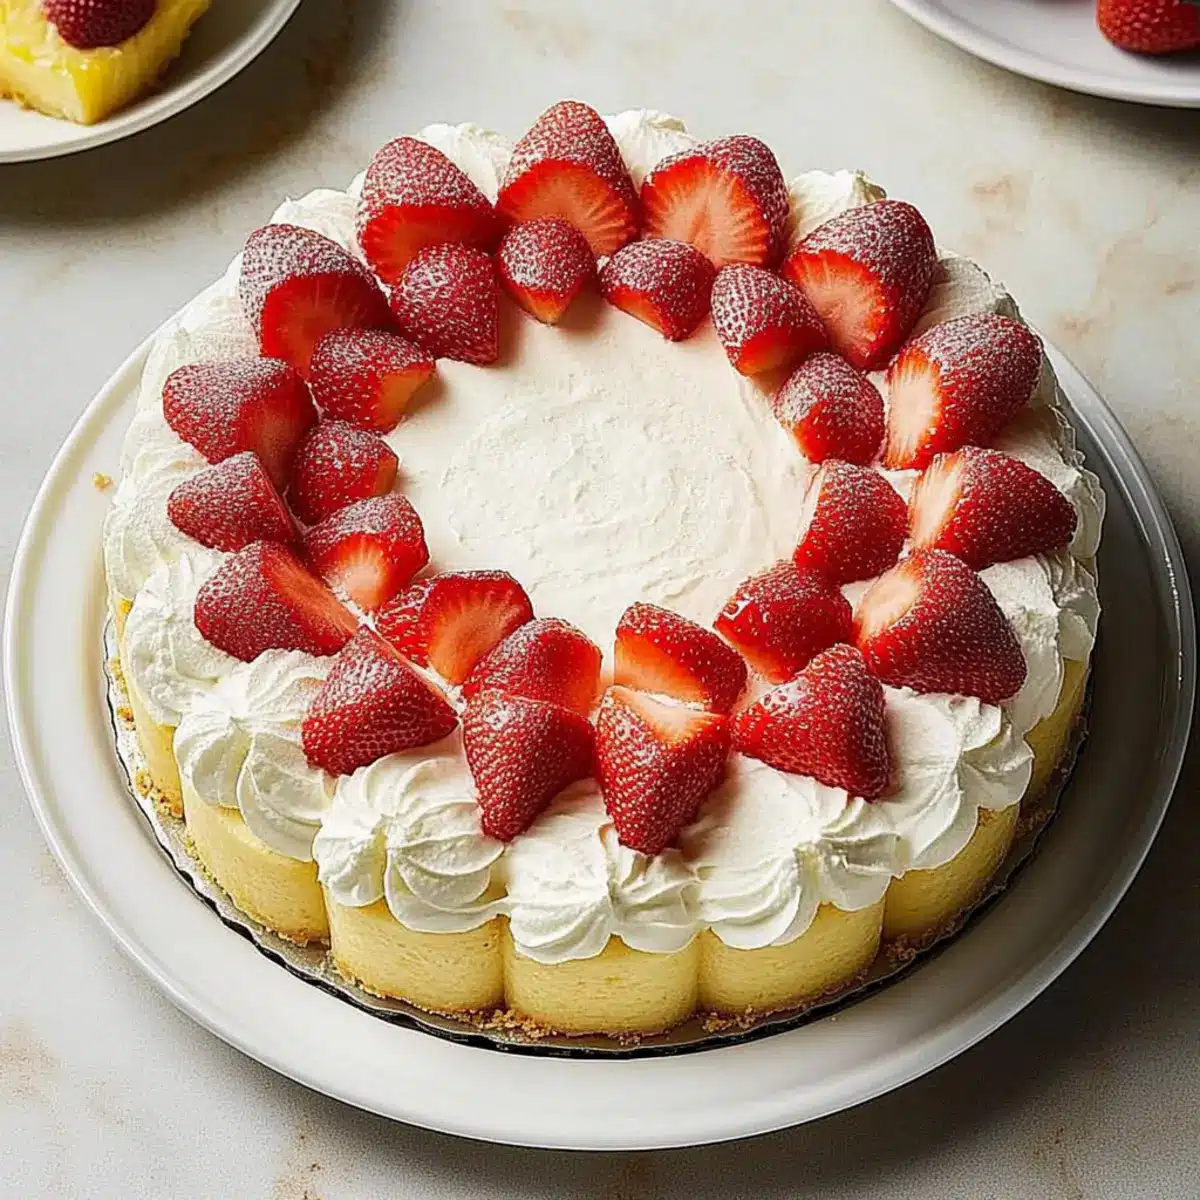
Once the cheesecake has set, gently remove the sides of the springform pan. To serve, top the cheesecake with fresh strawberries for a pop of color and flavor. Slice into pieces, and enjoy the creamy, tropical bliss of your homemade Pineapple Cheesecake!
Expert Tips for Pineapple Cheesecake
-
Smooth Filling: To achieve a very smooth filling, utilize a hand mixer or stand mixer with a paddle attachment to thoroughly blend the ingredients.
-
Drain Pineapple Well: Always ensure that the crushed pineapple is well-drained to avoid a soggy crust, which can ruin the texture of your pineapple cheesecake.
-
Chill Well: Letting the cheesecake chill for at least 8 hours or overnight is crucial for it to set properly. Patience will reward you with a deliciously firm dessert!
-
Creative Crusts: Experiment with different bases; use graham cracker crumbs for a classic version. Just mix with melted butter for a lovely alternative texture and flavor.
-
Garnish with Freshness: Top your cheesecake with fresh berries or a drizzle of fruit sauce right before serving for an extra pop of color and flavor that looks simply gorgeous!
-
Storage Reminder: Always cover your cheesecake tightly with plastic wrap in the refrigerator to maintain freshness, ideally enjoying it within a week for the best flavor.
How to Store and Freeze Pineapple Cheesecake
Fridge: Store your pineapple cheesecake in the refrigerator, covered with plastic wrap, for up to 1 week to maintain freshness and flavor.
Freezer: If you want to make it ahead, freeze your cheesecake wrapped tightly in plastic wrap and then aluminum foil for up to 2–3 months.
Thawing: When ready to enjoy, thaw the cheesecake in the refrigerator overnight before serving for the best texture.
Reheating: This cheesecake is best served cold; there’s no need to reheat as it’s a delightful chilled dessert!
What to Serve with No-Bake Pineapple Cheesecake
Indulging in a slice of creamy pineapple cheesecake is only half the fun—let’s complete your summer feast!
- Tropical Fruit Salad: A medley of fresh fruits like mango, kiwi, and berries adds a colorful and vibrant complement, heightening the fruity flavor of the cheesecake.
- Coconut Whipped Cream: This fluffy topper elevates the dessert experience, enhancing its tropical essence and adding a delightful creaminess with each bite.
- Cool Mint Iced Tea: A refreshing beverage choice, infused with mint, balances the richness of the cheesecake while offering a cooling effect for hot summer days.
- Grilled Pineapple Skewers: Caramelizing pineapple on the grill deepens its sweetness, creating a tasty contrast with the creamy cheesecake that’ll wow your guests.
- Chocolate Drizzle: A light drizzle of melted dark chocolate enhances the dessert’s appeal, adding a luscious richness that contrasts beautifully with the pineapple’s bright flavors.
- Lemon Sorbet: This light and tangy treat provide a palate-cleansing finish, offering a refreshing contrast to the creamy cheesecake and vibrant tropical notes.
- Almond Biscotti: Crunchy and subtly sweet, these cookies deliver a satisfying bite alongside each creamy slice, creating a delightful texture contrast and an elegant touch.
- Chilled Sparkling Water: Serve this bubbly drink garnished with a slice of citrus for a light, refreshing pairing that cleanses the palate without overpowering the dessert.
- Chewy Coconut Macaroons: Perfectly chewy and sweet, these little cookies echo the tropical themes and add an enjoyable textural dimension when served with cheesecake.
Make Ahead Options
These no-bake pineapple cheesecake is a fantastic option for meal prep enthusiasts! You can prepare the filling up to 24 hours in advance, allowing the flavors to meld beautifully. Simply make the filling by beating together the cream cheese, sugar, and crushed pineapple, then fold in the thawed whipped topping. Store the filling in an airtight container in the refrigerator until you’re ready to assemble. For the crust, you can arrange the ladyfingers around the pan up to 3 days before serving—this helps maintain their texture. When ready to serve, simply spoon the filling into the crust and refrigerate for about 8 hours or overnight to set. Your guests will enjoy a dessert that’s just as delicious despite being made ahead!
Variations & Substitutions for Pineapple Cheesecake
Feel free to explore these ideas and customize your pineapple cheesecake for a unique, delightful twist that awakens your senses!
-
Dairy-Free: Substitute cream cheese with a dairy-free alternative, and use coconut whipped cream for a luscious texture.
-
Fruit Fusion: For a tropical twist, mix in other fruits like mango or passion fruit puree alongside the pineapple.
-
Chocolate Delight: Fold in 2-3 tablespoons of cocoa powder or melted dark chocolate for a decadent chocolate pineapple cheesecake.
-
Crunchy Topping: Instead of strawberries, top with chopped nuts such as pecans or walnuts for added crunch and flavor.
-
Graham Cracker Crust: Swap ladyfingers for a graham cracker crust by combining crumbs with melted butter for a classic texture.
-
Toasted Coconut: Mix ½ cup of toasted shredded coconut into the filling for added flavor and a delightful chewiness.
For more inspiration, check out this delicious Pecan Pie Cheesecake and add a seasonal twist!
Pineapple Cheesecake Recipe FAQs
What type of pineapple is best for this cheesecake?
Absolutely! While you can use either canned or fresh crushed pineapple, fresh pineapple offers a brighter and more vibrant flavor. If you choose canned pineapple, look for options with no added sugar for a healthier choice. Always remember to drain it well to avoid excess moisture in your cheesecake.
How long can I store the pineapple cheesecake in the refrigerator?
Your no-bake pineapple cheesecake can be stored in the refrigerator, covered with plastic wrap, for up to 1 week. For optimal freshness, enjoy it within this timeframe, as the flavors tend to mellow over time.
Can I freeze pineapple cheesecake and for how long?
Yes, you can freeze your cheesecake! Wrap it tightly in plastic wrap and then in aluminum foil to prevent freezer burn, and it will keep well for up to 2 to 3 months. When you’re ready to enjoy it, thaw the cheesecake in the refrigerator overnight for the best texture and flavor.
Why is my cheesecake filling too runny?
Very! A runny cheesecake filling is typically due to excess moisture from the pineapple. To troubleshoot, ensure that the crushed pineapple is completely drained before folding it into the mixture. Additionally, make sure it chills for at least 8 hours; this helps it set properly. If you find the filling too soft, adding a little more cream cheese might help thicken it up.
Are there any dietary considerations I should keep in mind?
Absolutely! For those with dairy allergies, consider using vegan cream cheese alternatives and a non-dairy whipped topping. If you’re concerned about serving this to pets, keep in mind that certain ingredients, like sugar, should be consumed in moderation. Additionally, always check labels for allergens if you’re serving guests with dietary restrictions.
Can I use different toppings aside from strawberries?
The more the merrier! You can definitely get creative with your toppings. Consider using blueberries, raspberries, or even a drizzle of chocolate sauce for an added flair. Toasted coconut can provide a lovely tropical touch, complementing the pineapple beautifully. Don’t hesitate to mix things up!
Refreshing Pineapple Cheesecake You Can Make in Minutes
Ingredients
Equipment
Method
- In a large mixing bowl, combine cream cheese and sugar. Beat until smooth and creamy, about 2-3 minutes.
- Fold in the drained crushed pineapple until evenly distributed.
- Gently fold in the thawed whipped topping into the mixture.
- Grease the sides of a 9-inch springform pan. Arrange ladyfingers vertically around the sides and on the bottom.
- Pour the pineapple cheesecake filling into the pan and spread it evenly.
- Cover with plastic wrap and refrigerate for at least 8 hours.
- Once set, remove sides of the pan and top with fresh strawberries before serving.