

There I was, wandering through the aisles of my local grocery store, staring at jar after jar of pickles, when inspiration struck. What if I wrapped those tangy delights in crispy bacon and creamy cheese? Enter my Crispy Bacon-Wrapped Pickle Poppers, the ultimate snack that’s both easy to prepare and a guaranteed crowd-pleaser. Perfect for game days, parties, or simply when you want to treat yourself, these poppers deliver a mouthwatering crunch and irresistible flavor in each bite. Not only are they a fantastic way to elevate traditional pickle lovers’ favorites, but they also come together in under 30 minutes, making them a go-to option for busy evenings. So, why settle for takeout when you could whip up these savory little gems at home? Ready to dive into this delicious adventure? Let’s get started!
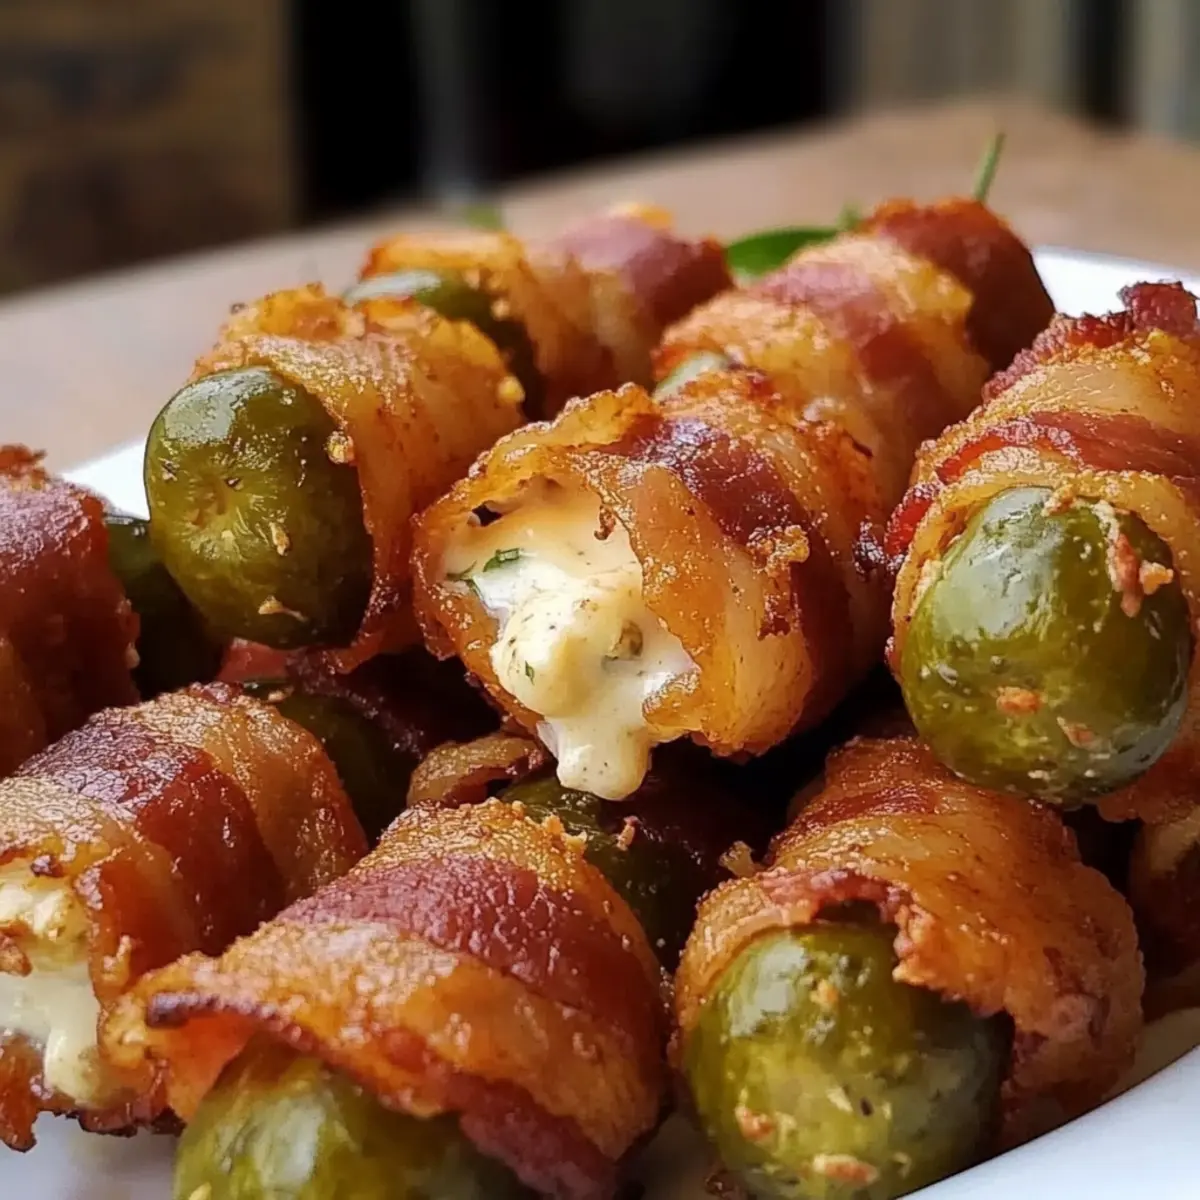
Why are Pickle Poppers so irresistible?
Crispy Texture: The golden-brown bacon wraps deliver a satisfying crunch, while the creamy cheese filling adds a deliciously smooth contrast.
Quick to Make: You can whip these up in under 30 minutes—perfect for impromptu gatherings or snack cravings!
Customizable Options: Feel free to switch the cheeses or add a spicy twist, like jalapeños or hot sauce, to suit your taste.
Crowd-Pleasing Flavor: These poppers are always a hit, ensuring your guests go back for seconds at your next get-together. Don’t forget to check out our tips for easy appetizers to keep your entertaining stress-free!
Perfectly Shareable: Ideal for game days or parties, these bite-sized delights are made for sharing and enjoying together.
Pickle Poppers Ingredients
• Here’s everything you need!
For the Poppers
- Pickles – Choose whole or halved dill pickles for that perfect crunch and tang.
- Cream Cheese – Adds a rich creaminess; flavored varieties can elevate your poppers!
- Shredded Cheese – Opt for cheddar or pepper jack for a melty texture and an extra flavor boost.
- Bacon – Delivers the savory crispness; turkey bacon works well for a lighter alternative.
For the Seasoning
- Garlic Powder – Sprinkle for an aromatic twist that enhances the creamy filling.
- Paprika – Adds depth and warmth; a dash makes your poppers even more flavorful.
Enjoy crafting these delightful Pickle Poppers, the ultimate party snack that packs a punch!
Step‑by‑Step Instructions for Crispy Bacon-Wrapped Pickle Poppers
Step 1: Preheat the Oven
Begin by preheating your oven to 375°F (190°C). This ensures it’s hot enough to achieve that perfect crispy texture on your bacon-wrapped Pickle Poppers. While the oven heats up, gather your baking sheet and line it with parchment paper for easy cleanup.
Step 2: Prepare the Pickles
Slice the pickles in half lengthwise, creating a boat-like shape. Carefully scoop out a bit of the pulp from each half using a small spoon, making enough space for your filling. This step not only allows for more filling but enhances the crunch. Set these hollowed pickles aside on a plate.
Step 3: Mix the Cheese Filling
In a mixing bowl, combine the cream cheese with any optional spices like garlic powder or paprika for added flavor. Stir until smooth and creamy, ensuring everything is well blended. This mixture will be the delightful filling for your Pickle Poppers, so make sure it’s flavorful and ready to rock!
Step 4: Fill the Pickles
Using a spoon, generously fill each hollowed pickle half with the cream cheese mixture. Be sure to pack it in, but leave the top slightly heaped for a delightful mess of cheese. This creamy center will contrast beautifully with the crispy bacon, making your Pickle Poppers even more irresistible.
Step 5: Wrap in Bacon
Take a slice of bacon and carefully wrap it around each filled pickle, making sure to secure the ends. If needed, use toothpicks to hold the bacon in place. This step is critical as the bacon will crisp up during baking, enveloping the creamy filling in savory goodness.
Step 6: Bake the Poppers
Place your bacon-wrapped Pickle Poppers on the lined baking sheet, spacing them evenly apart. Bake them in the preheated oven for about 25 minutes. Keep an eye out for a golden-brown hue on the bacon, which indicates it’s reaching that crunchy perfection you want.
Step 7: Cool and Serve
Once baked, remove the Pickle Poppers from the oven and allow them to cool for a few minutes. This cooling period will help prevent burns while ensuring the flavors meld together beautifully. Arrange them on a platter and they’re ready to be enjoyed with your favorite dipping sauces!
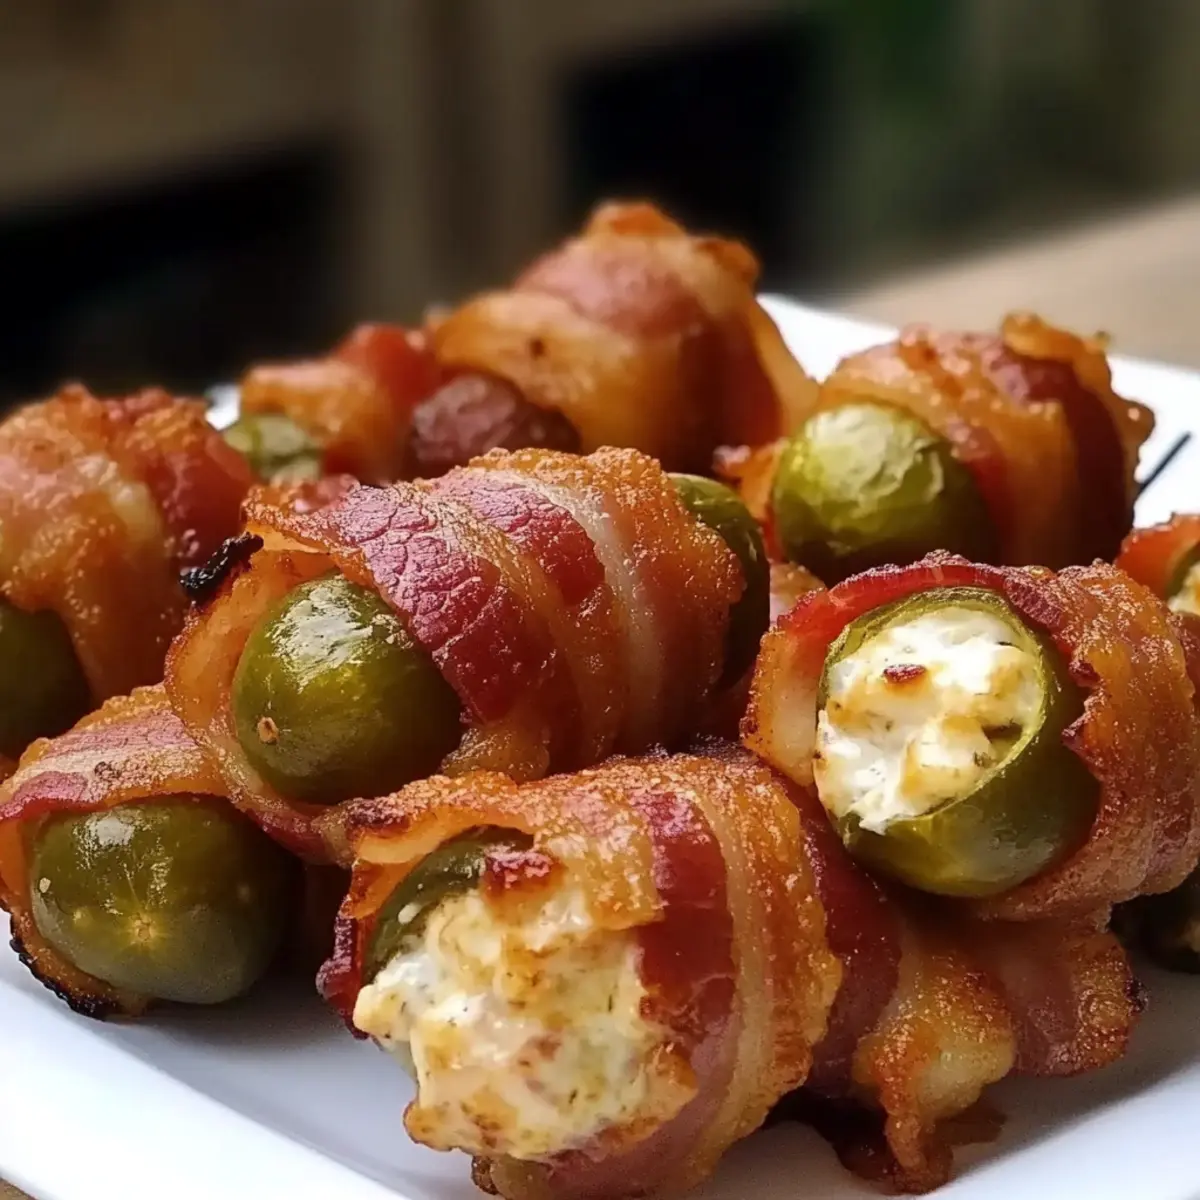
Make Ahead Options
These Crispy Bacon-Wrapped Pickle Poppers are fantastic for meal prep! You can prepare them up to 24 hours in advance by assembling the poppers and wrapping them in bacon. Place the assembled poppers on a baking sheet and cover it tightly with plastic wrap or aluminum foil before refrigerating. This not only saves prep time but also allows the flavors to meld beautifully. When you’re ready to bake, simply preheat your oven and pop them in, adding a few extra minutes to the baking time if they’re coming straight from the fridge. This way, you’ll enjoy perfectly crispy poppers just as delicious as when freshly made, all while keeping your busy weeknights hassle-free!
How to Store and Freeze Pickle Poppers
Fridge: Store leftover Pickle Poppers in an airtight container, and they’ll stay fresh for up to 3 days. Make sure they’re completely cooled before sealing.
Freezer: To freeze, place the unbaked, wrapped poppers on a baking sheet and freeze until solid, then transfer to a freezer bag. They can be stored for up to 2 months.
Reheating: Bake frozen Pickle Poppers directly in the oven at 375°F (190°C) for about 30 minutes or until heated through and crispy.
Make-Ahead: Prepare Pickle Poppers a day ahead, keep them uncooked in the fridge, and simply pop them in the oven when ready to serve.
Pickle Poppers Variations & Substitutions
Feel free to customize your Pickle Poppers and create your own unique twist that tantalizes your taste buds!
-
Dairy-Free: Replace cream cheese with a dairy-free alternative, like cashew cream, for a lighter, vegan option.
Your poppers can still be creamy and delightful without the dairy! -
Spicy Kick: Add chopped jalapeños or crushed red pepper flakes into the cheese mixture to bring a little heat.
A spicy version could be a fantastic surprise for your guests, igniting their taste buds! -
Cheese Variety: Swap cheddar for gouda, feta, or even blue cheese for a unique flavor profile.
Each cheese brings a distinct taste, transforming your poppers into something extraordinary! -
Bacon Alternatives: Use turkey bacon or prosciutto for a lighter option without sacrificing flavor.
Prosciutto will lend an elegant twist and an irresistible crispiness while keeping it delicious! -
Crunchy Topping: Top with panko breadcrumbs before baking for an extra crunchy layer.
This variation elevates the texture, giving your poppers an added dimension of deliciousness! -
Herb Infusion: Mix in fresh herbs like dill or chives into your cream cheese.
Not only does this elevate the flavors, but it brings a burst of freshness to each bite! -
Low-Carb Delight: Opt to omit the bacon and try wrapping the cheese-stuffed pickles in zucchini strips.
Going low-carb doesn’t mean you have to compromise on flavor or enjoyment! -
Vegetarian Friendly: Replace the pickles with roasted mushrooms for a hearty, veggie-based popper.
A delicious change that highlights the textures and flavors in a new way, perfect for plant lovers!
For even more delicious ideas, check out our guide to easy appetizers and get ready to impress everyone at your next gathering!
Expert Tips for Perfect Pickle Poppers
- Choose the Right Pickles: Opt for whole dill pickles for the best crunch. Squeeze out excess moisture before filling to prevent sogginess.
- Bacon Matters: For crispy results, use thin-cut bacon and wrap it tightly around the pickles. This will help achieve that ideal crunch.
- Flavored Cream Cheese: Elevate your cheese filling by using flavored cream cheese or adding herbs and spices to enhance the taste of your Pickle Poppers.
- Watch the Baking Time: Keep a close eye on the oven as baking times can vary. Remove them once the bacon is golden-brown to avoid burning.
- Serving Suggestions: Pair your poppers with a variety of dipping sauces like ranch, spicy mayo, or zesty hot sauce for an extra flavor burst.
What to Serve with Crispy Bacon-Wrapped Pickle Poppers
Elevate your gathering with delightful accompaniments that perfectly complement the bold flavors of these savory snacks.
-
Creamy Ranch Dip:
A classic pairing, this rich dip balances the tanginess of pickles and adds a cool touch to each bite. -
Spicy Mayo:
Drizzling this spicy sauce on your poppers provides a heat that contrasts beautifully with the creamy filling, creating a memorable experience. -
Crispy Potato Wedges:
Their soft interior and crunchy exterior make these potatoes a hearty side that matches the poppers’ texture perfectly. -
Tangy Coleslaw:
The freshness and crunchiness of slaw offer a refreshing contrast to the richness of the poppers, cleansing your palate wonderfully. -
Guacamole:
This creamy avocado dip enhances the flavor profile and adds a velvety texture that pairs smoothly with each crispy bite. -
Beer or Cider:
The carbonation in these drinks complements the saltiness of bacon and pickle, enhancing the overall flavor experience for your guests. -
Sweet Cornbread Muffins:
Their slight sweetness balances the savory elements of the poppers, making them a delightful side that guests can’t resist.
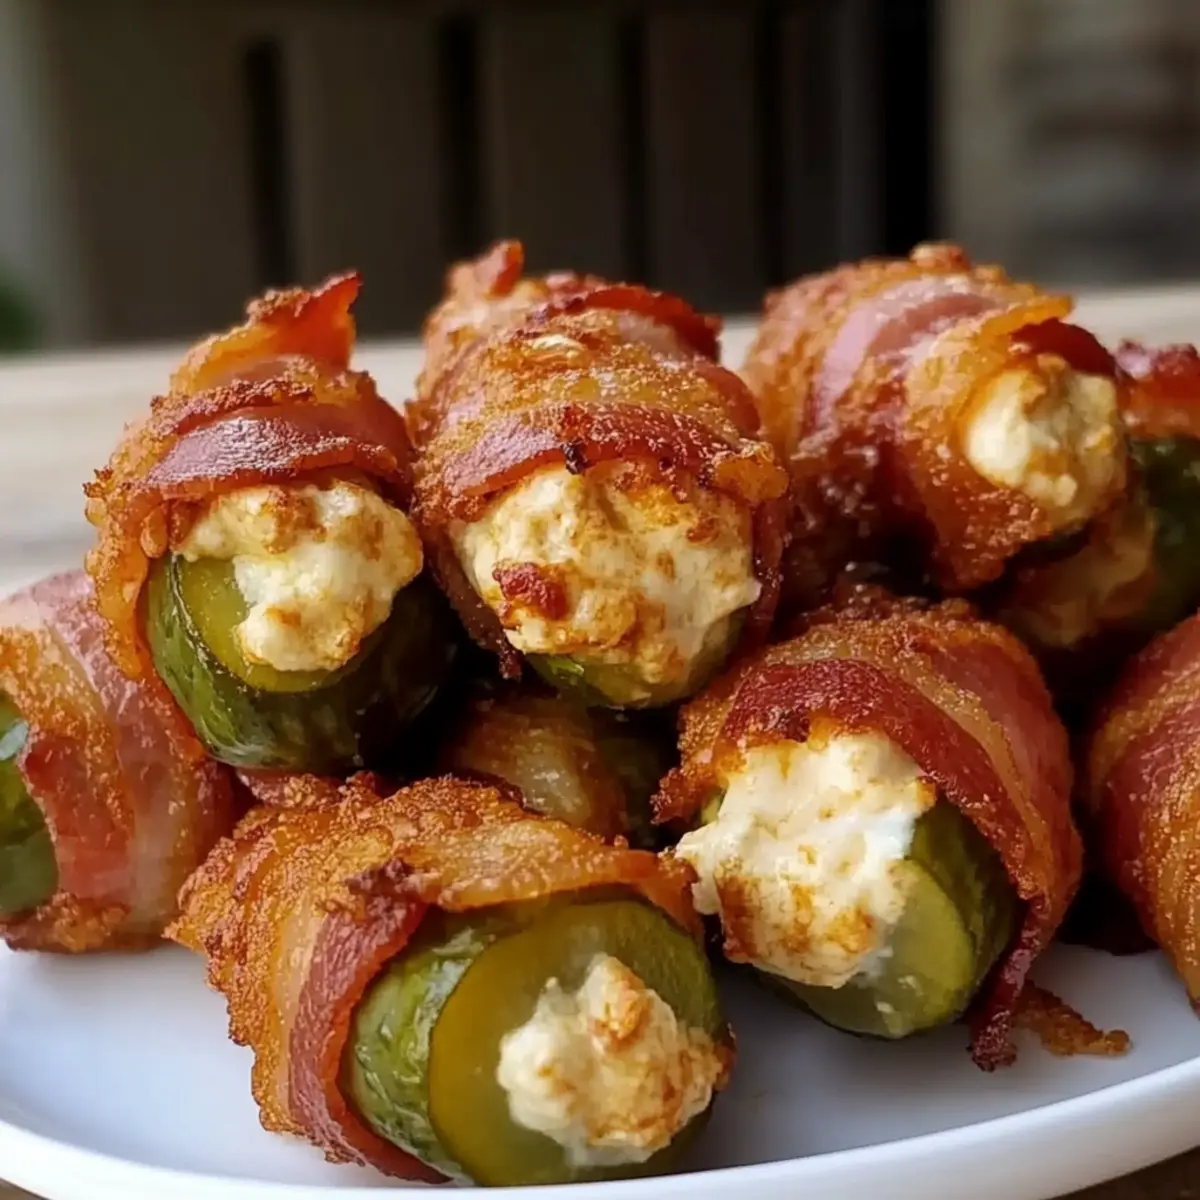
Pickle Poppers Recipe FAQs
What type of pickles should I use for Pickle Poppers?
Opt for whole dill pickles for the best crunch and flavor. If you choose halved pickles, make sure they’re sturdy enough to withstand the filling and baking. I recommend looking for pickles that are firm with no dark spots all over for the freshest taste.
How do I store leftover Pickle Poppers?
After indulging, store your leftover Pickle Poppers in an airtight container in the fridge. They’ll stay fresh for about 2 to 3 days. Be sure to let them cool completely before sealing to maintain their texture.
Can I freeze Pickle Poppers?
Absolutely! If you want to freeze them, prepare the poppers but don’t bake them yet. Arrange the unbaked, wrapped poppers on a baking sheet and freeze until solid (about 1 to 2 hours). Then, transfer them to a freezer bag, where they can be kept for up to 2 months. When ready to enjoy, simply bake them straight from the freezer.
What should I do if my bacon isn’t getting crispy while baking?
If you find that your bacon isn’t crispy after the recommended baking time, don’t worry! Try a few things: ensure you’re using thin-cut bacon, which cooks faster. If they still seem soggy, raise the oven temperature to 400°F (200°C) for the last few minutes, keeping a close watch to prevent burning.
Are Pickle Poppers suitable for people with dietary restrictions?
These crispy delights can be adjusted for various dietary needs! For a gluten-free option, simply use gluten-free bacon and confirm no hidden ingredients in the other components. If you’re vegetarian, swap the bacon for prosciutto or skip it altogether, using just cheese and pickles for a delightful snack. Always check for any cheese allergies or sensitivities before serving!
Can I make Pickle Poppers ahead of time?
Yes, you can prepare Pickle Poppers a day ahead of your event! Just assemble them and store them uncooked in the fridge, covered tightly. When you’re ready to snack, simply pop them into the oven following the baking instructions. This way, you’ll have fresh, crunchy poppers that everyone will love!
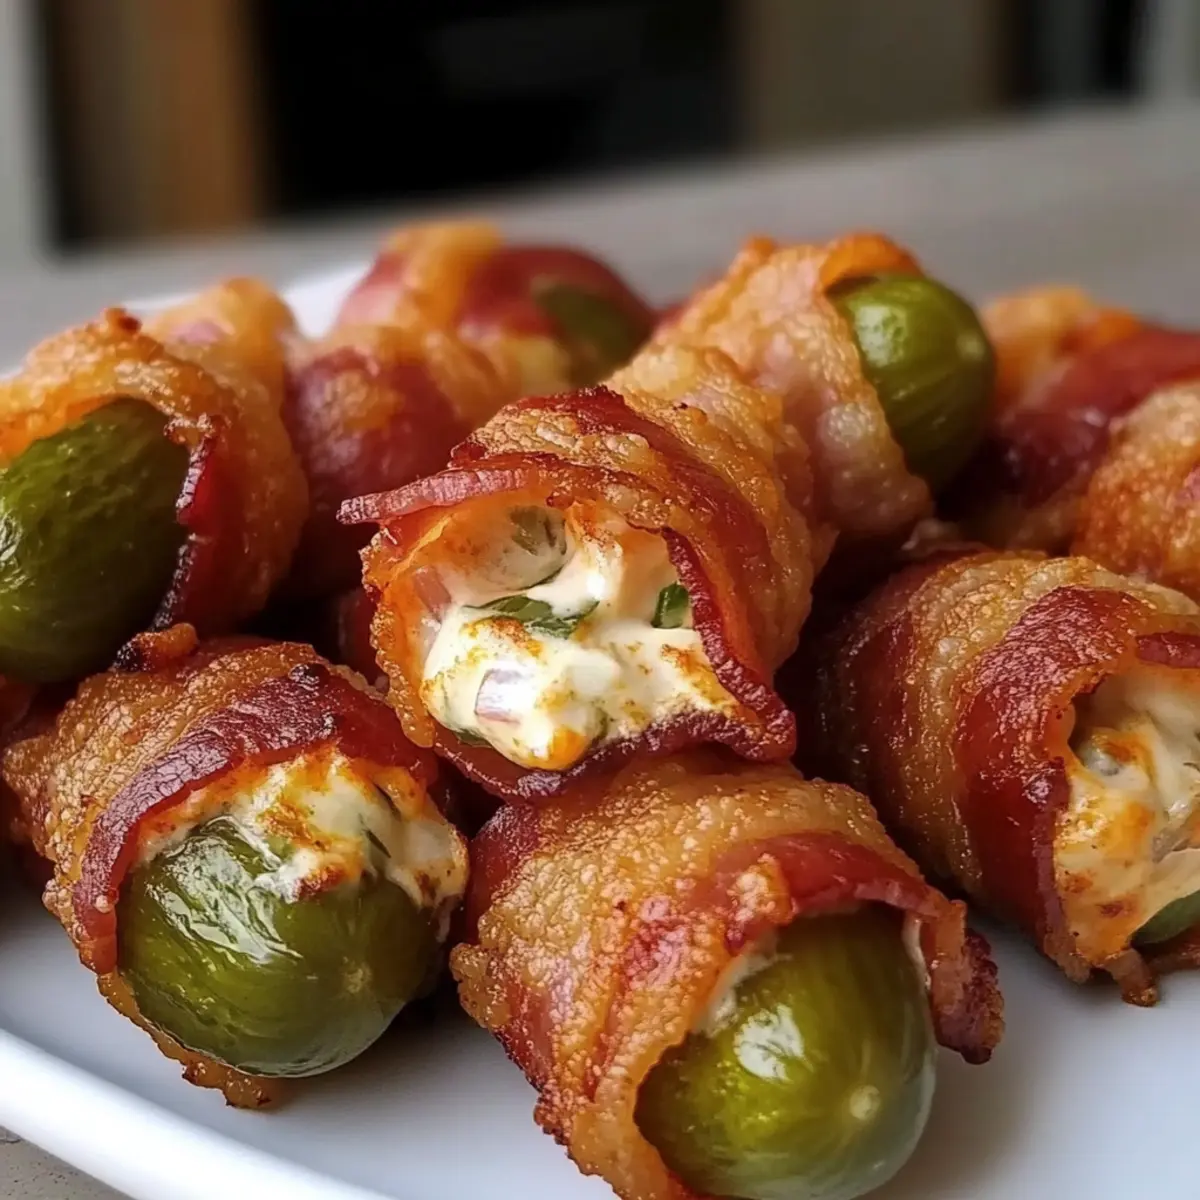
Deliciously Crunchy Pickle Poppers You Can't Resist
Ingredients
Equipment
Method
- Preheat your oven to 375°F (190°C) and line a baking sheet with parchment paper.
- Slice the pickles in half lengthwise and scoop out the pulp to create space for filling.
- Mix cream cheese with garlic powder and paprika until smooth and creamy.
- Fill each hollowed pickle half with the cream cheese mixture, heaping it slightly.
- Wrap each filled pickle with a slice of bacon and secure with toothpicks if necessary.
- Place the wrapped poppers on the baking sheet and bake for about 25 minutes until golden brown.
- Let the poppers cool for a few minutes before arranging them on a platter to serve.